Experiments with a new style of vinyl stencilling on porcelain in progress for an exhibition at Absolution tattoo studio in Christchurch - June 2025
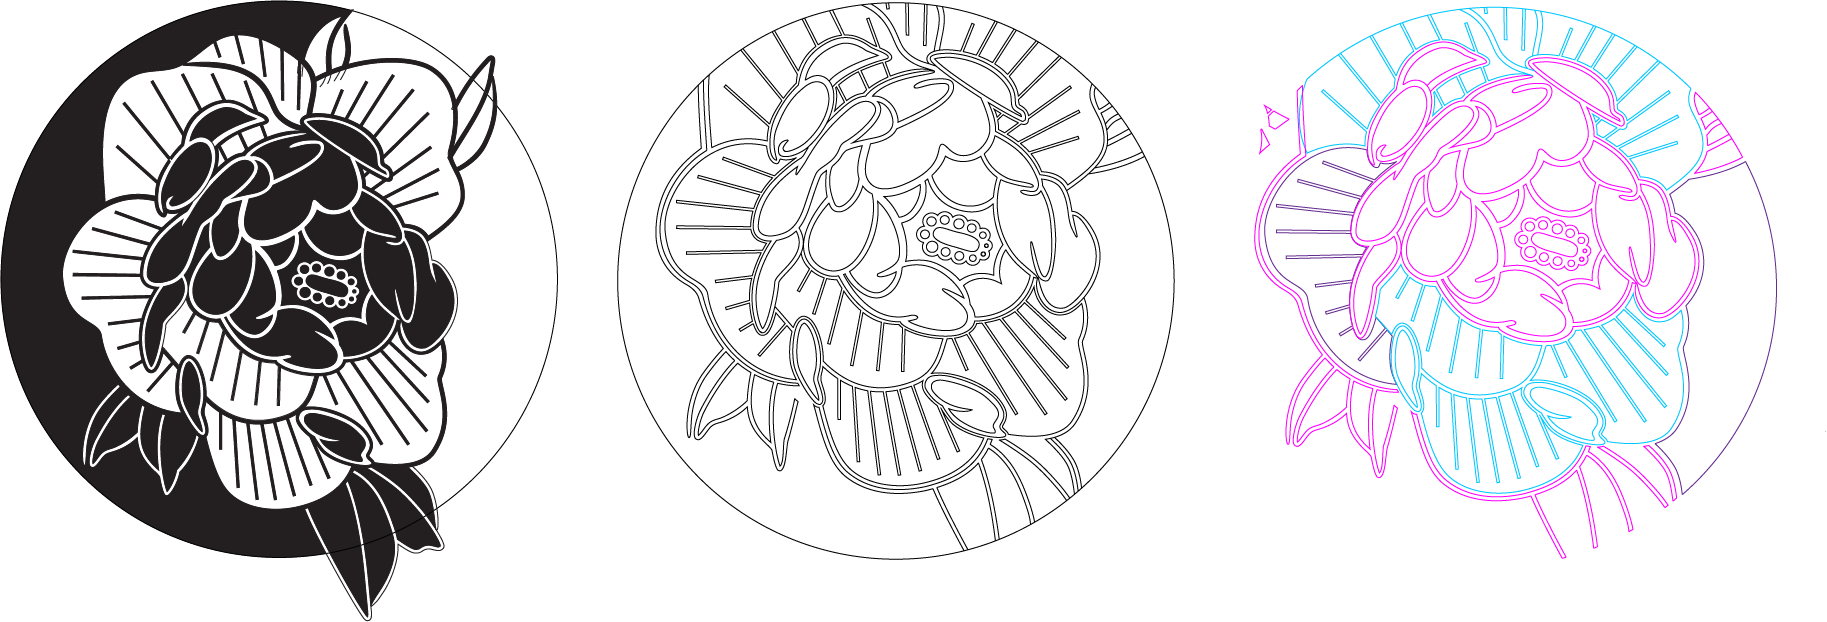
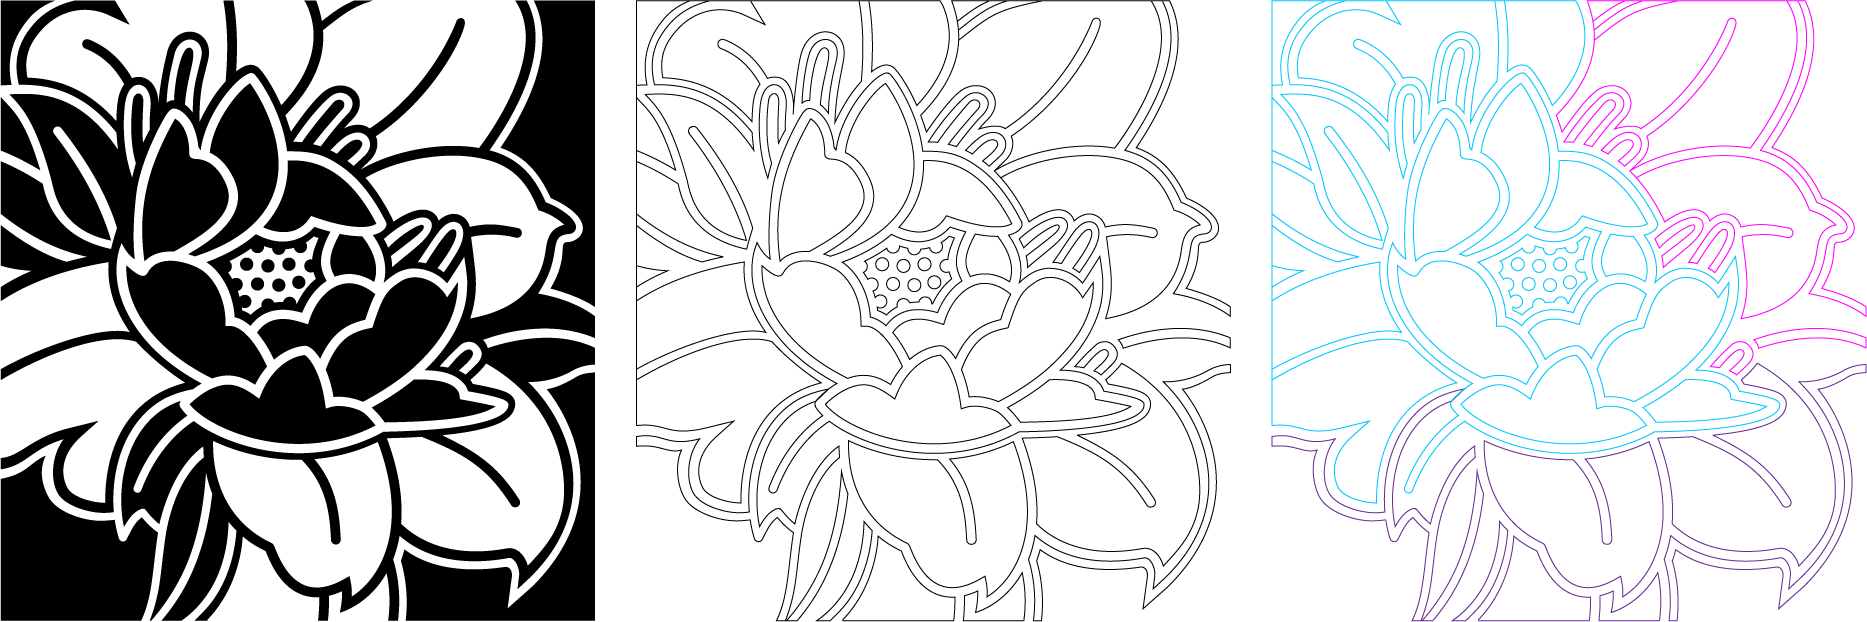
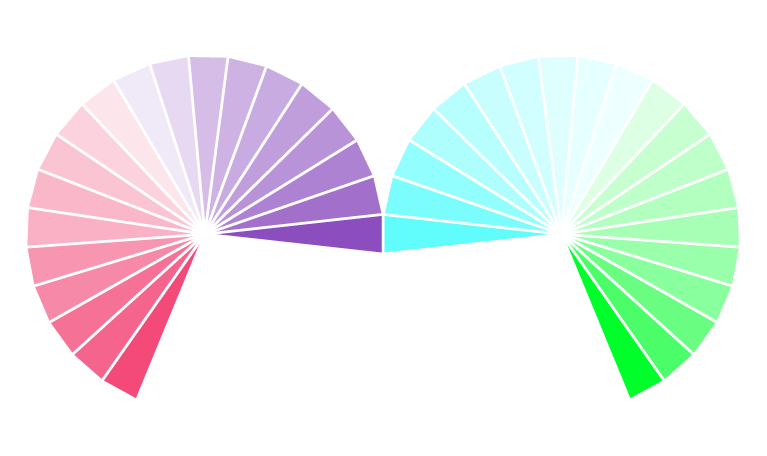
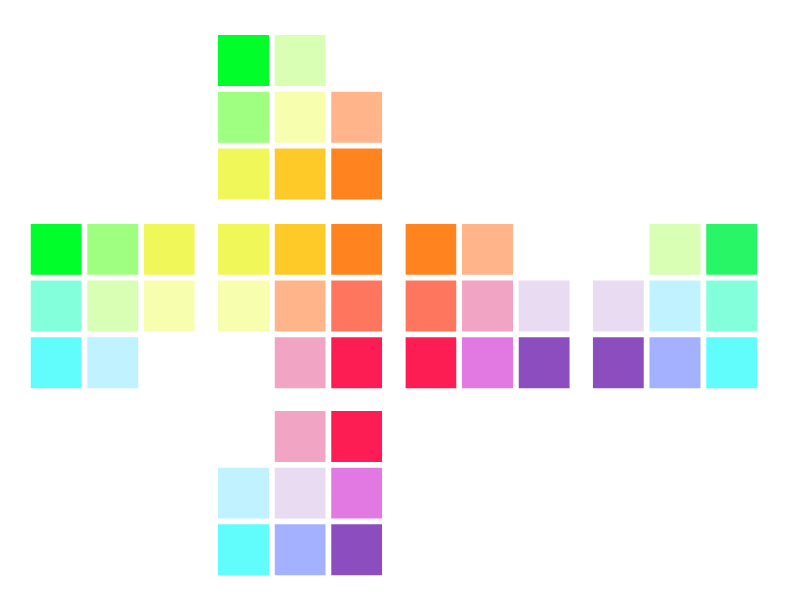
Digital design, outline for vinyl cutting, and separation of the design into smaller pieces to fit size constraints of the vinyl cutter
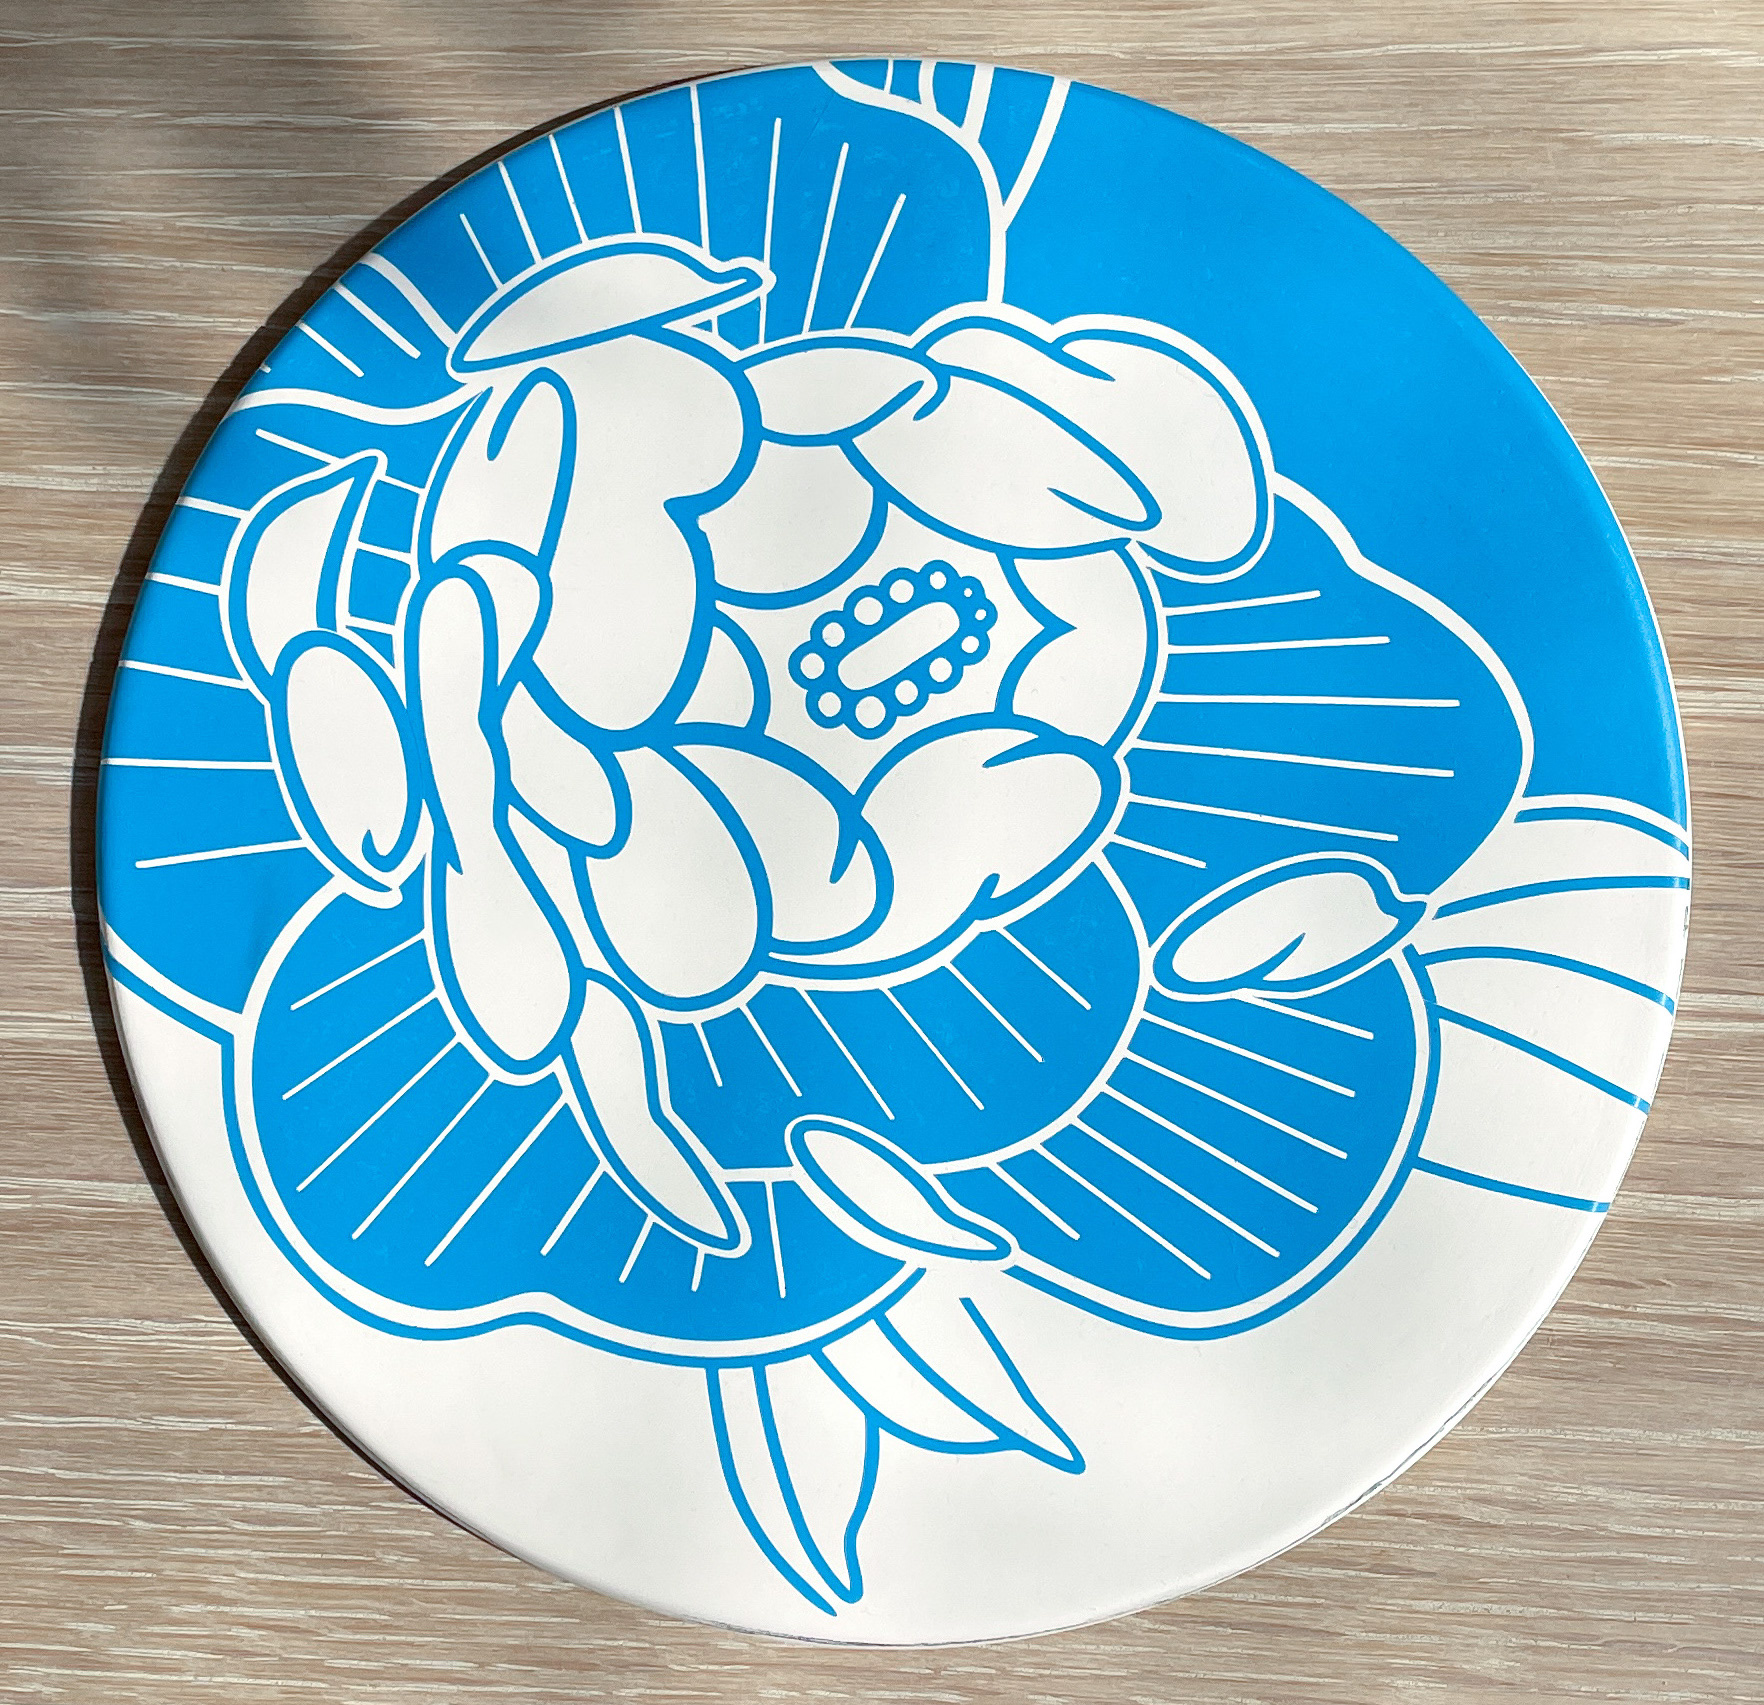
Porcelain tile with blue vinyl stencil ready to be glazed
The design for the tile in the video and outlines for vinyl cutting
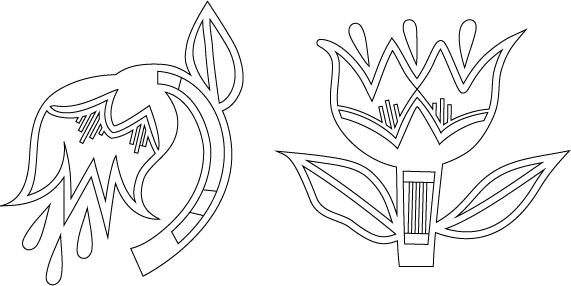
Outlines of a digital design for vinyl cutting
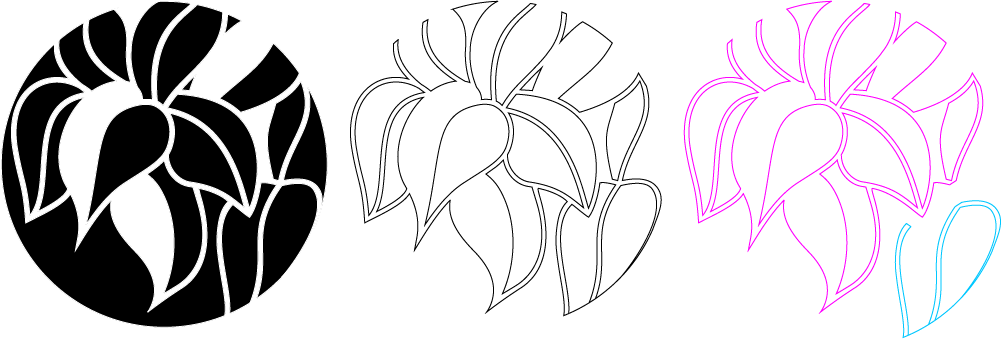
Digital design, outline for vinyl cutting, and separation of the design into smaller pieces to fit size constraints of the vinyl cutter
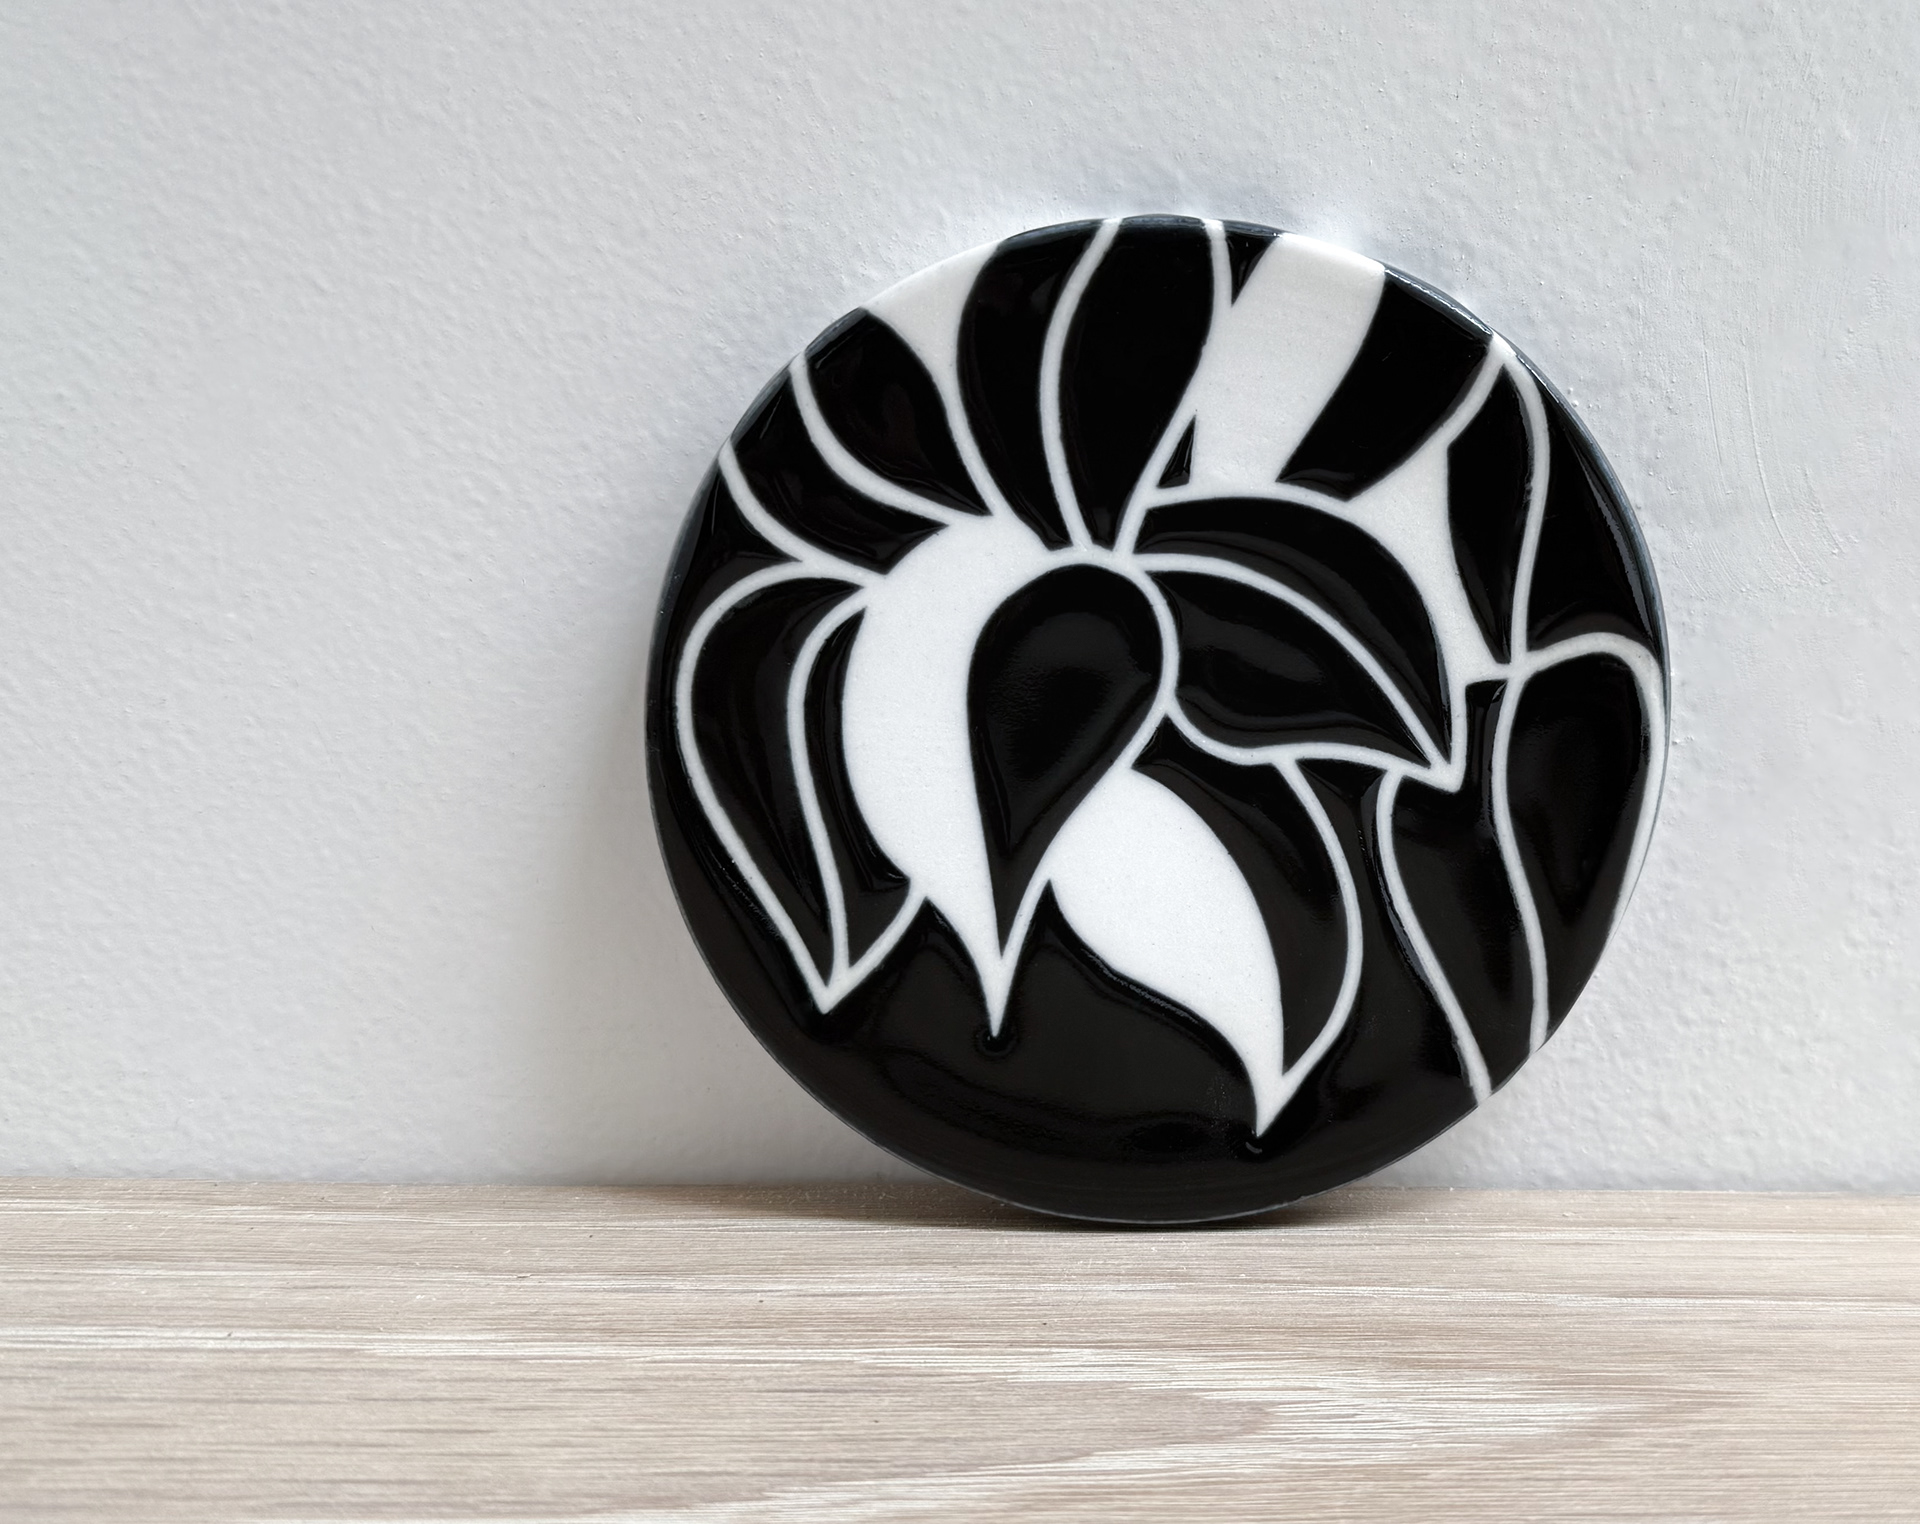
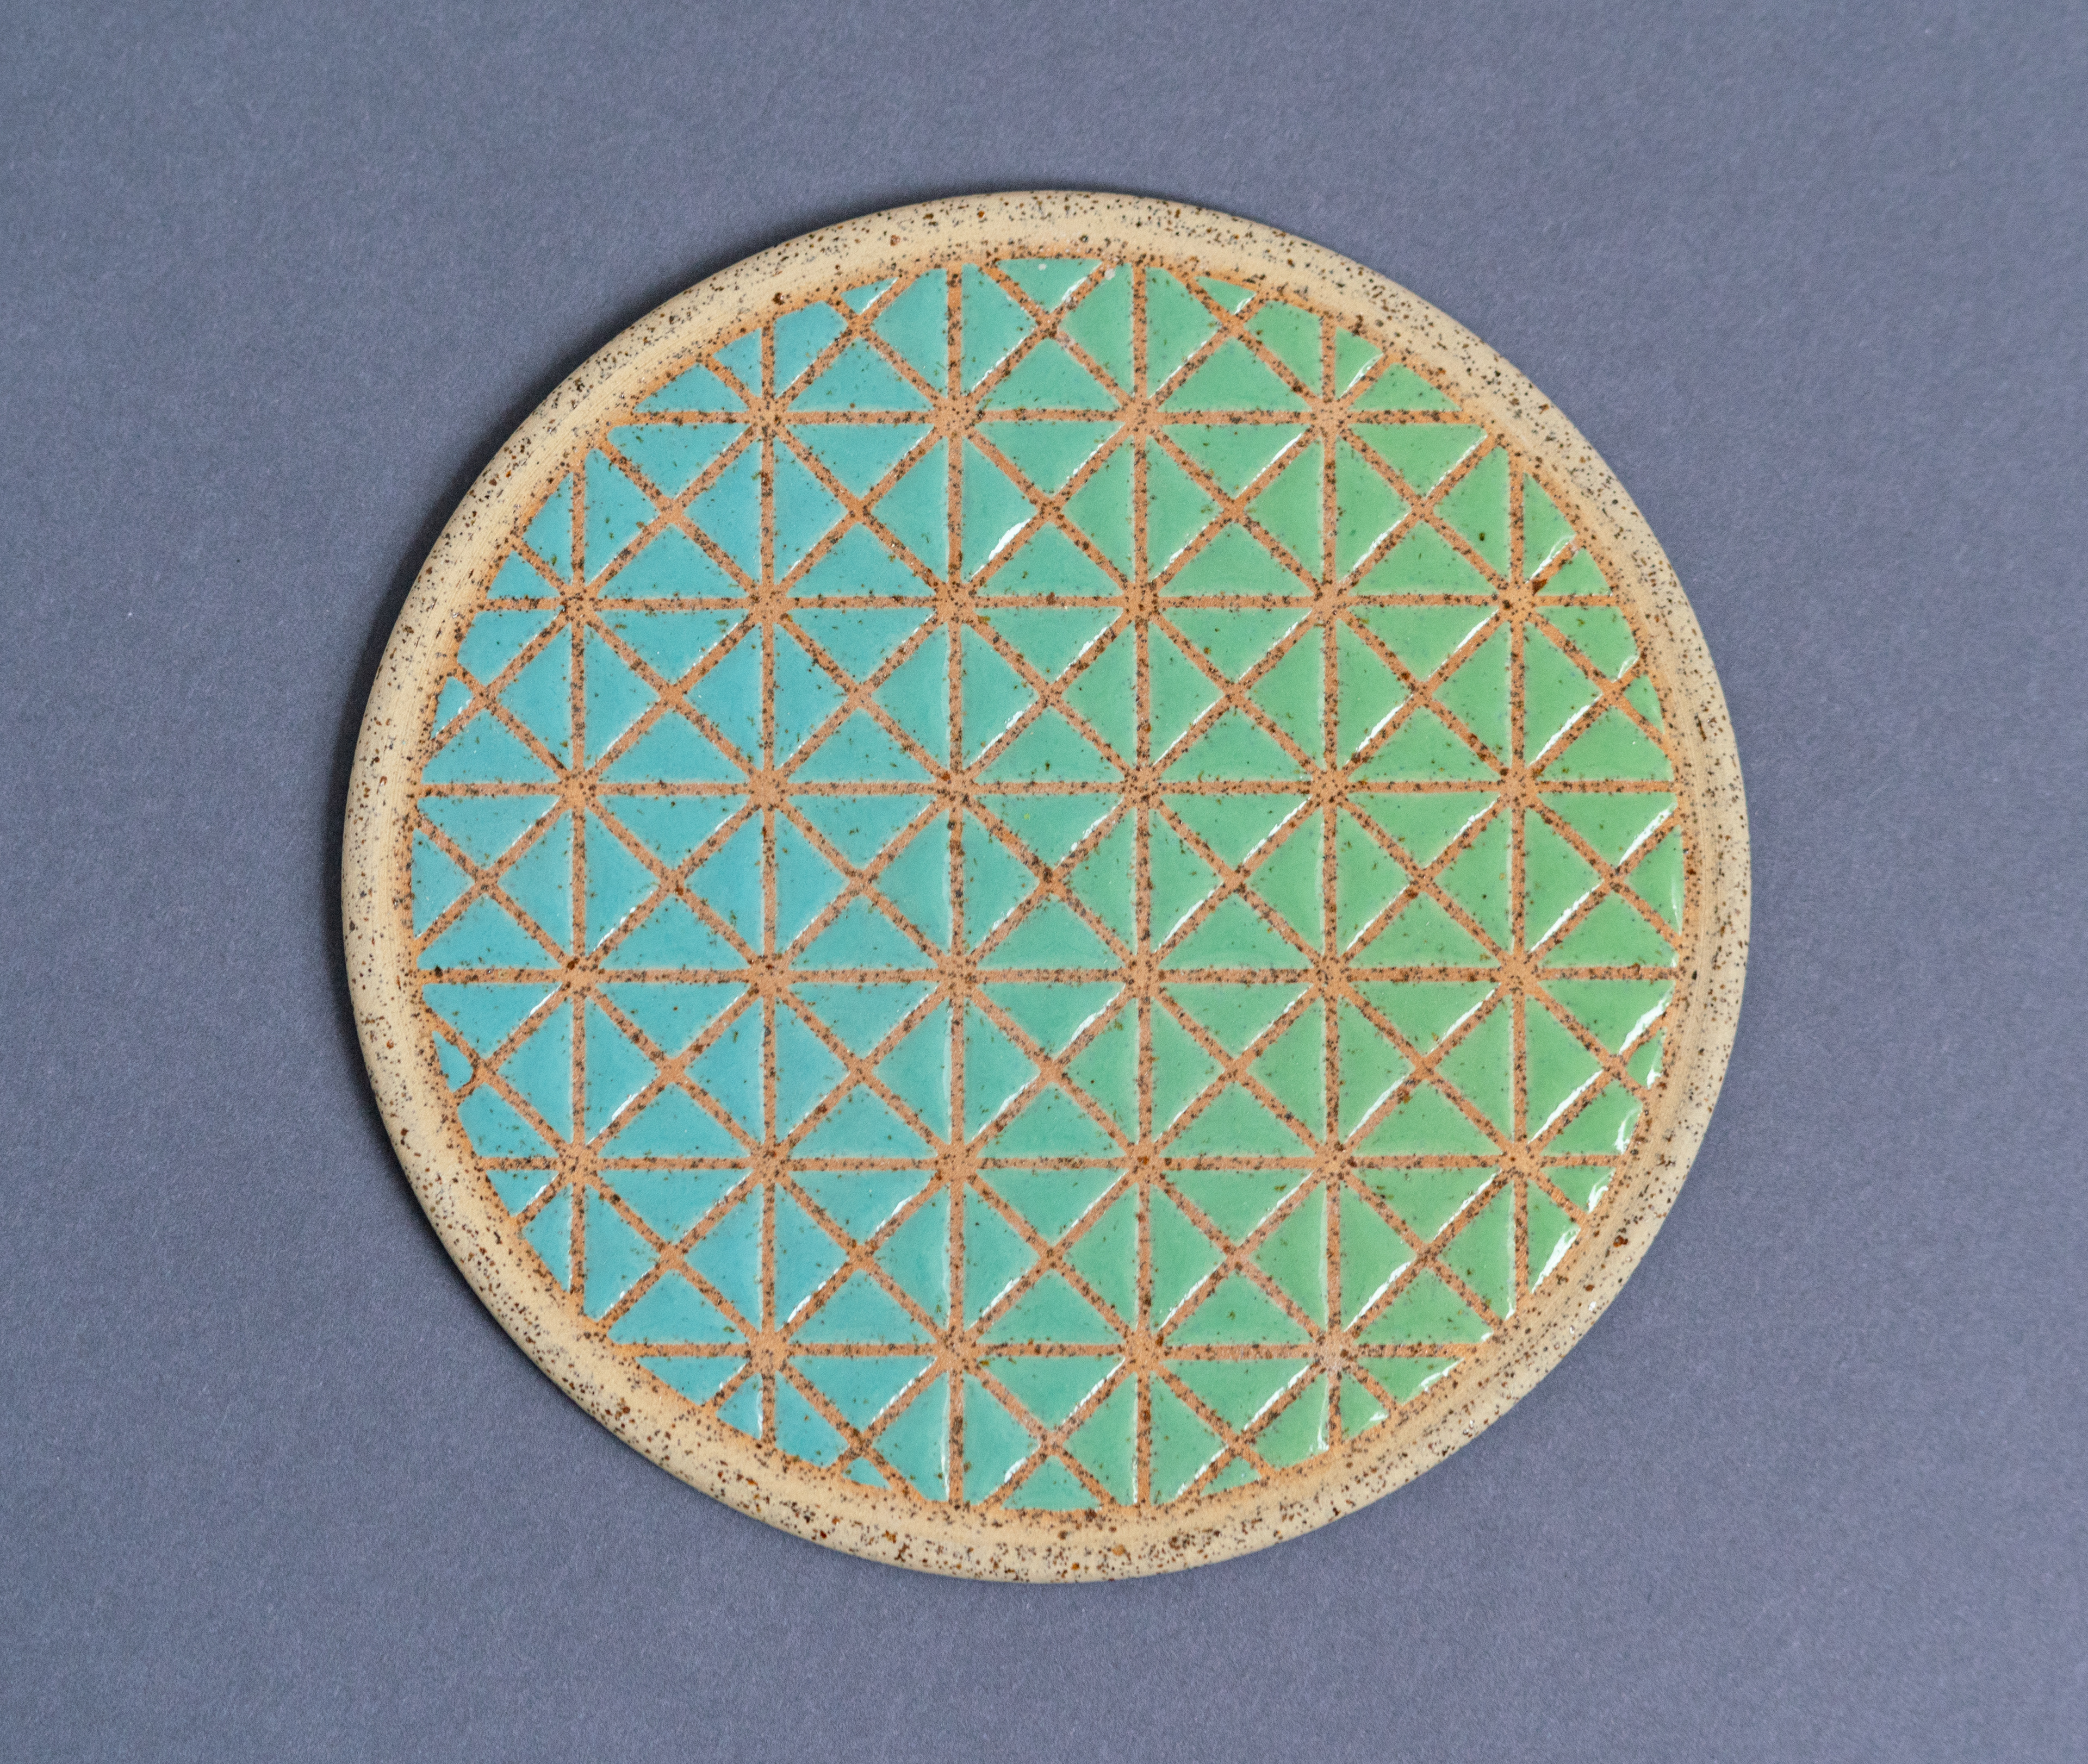
Finished porcelain wall tile after glaze firing
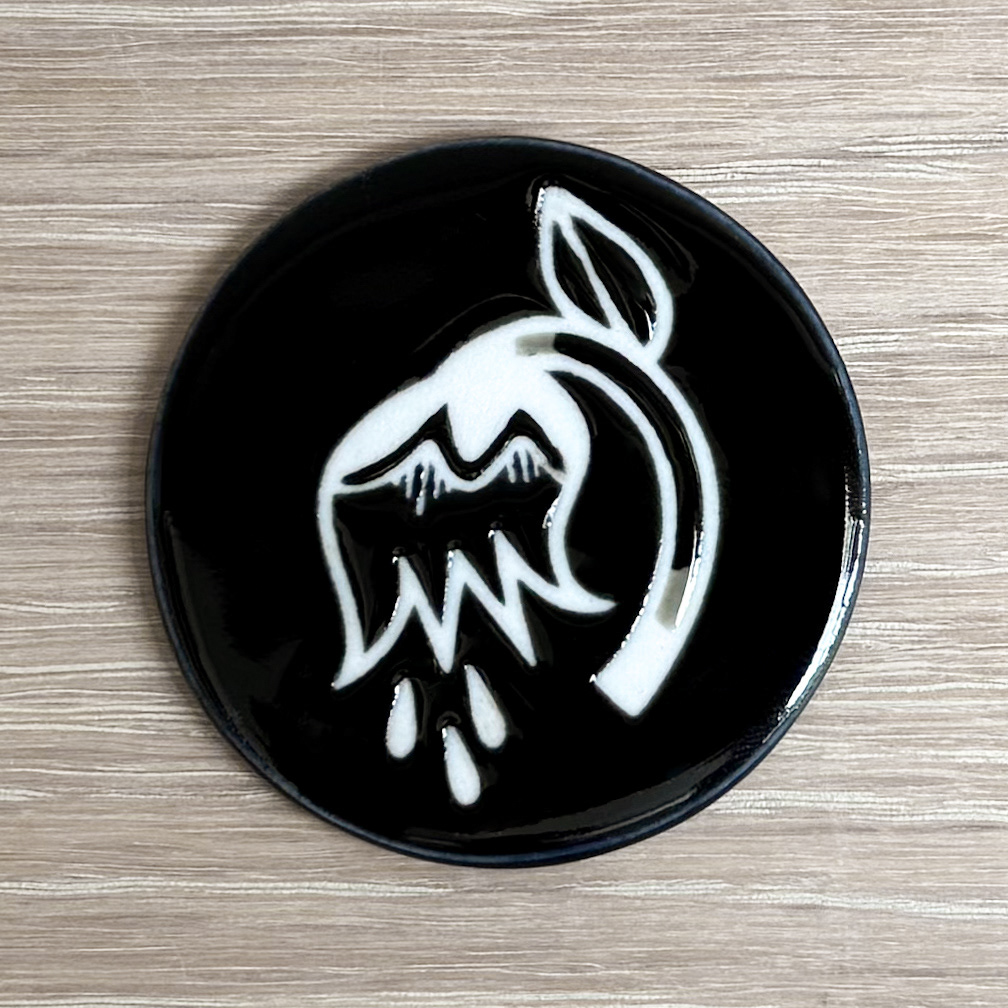
Porcelain test tile after glaze firing
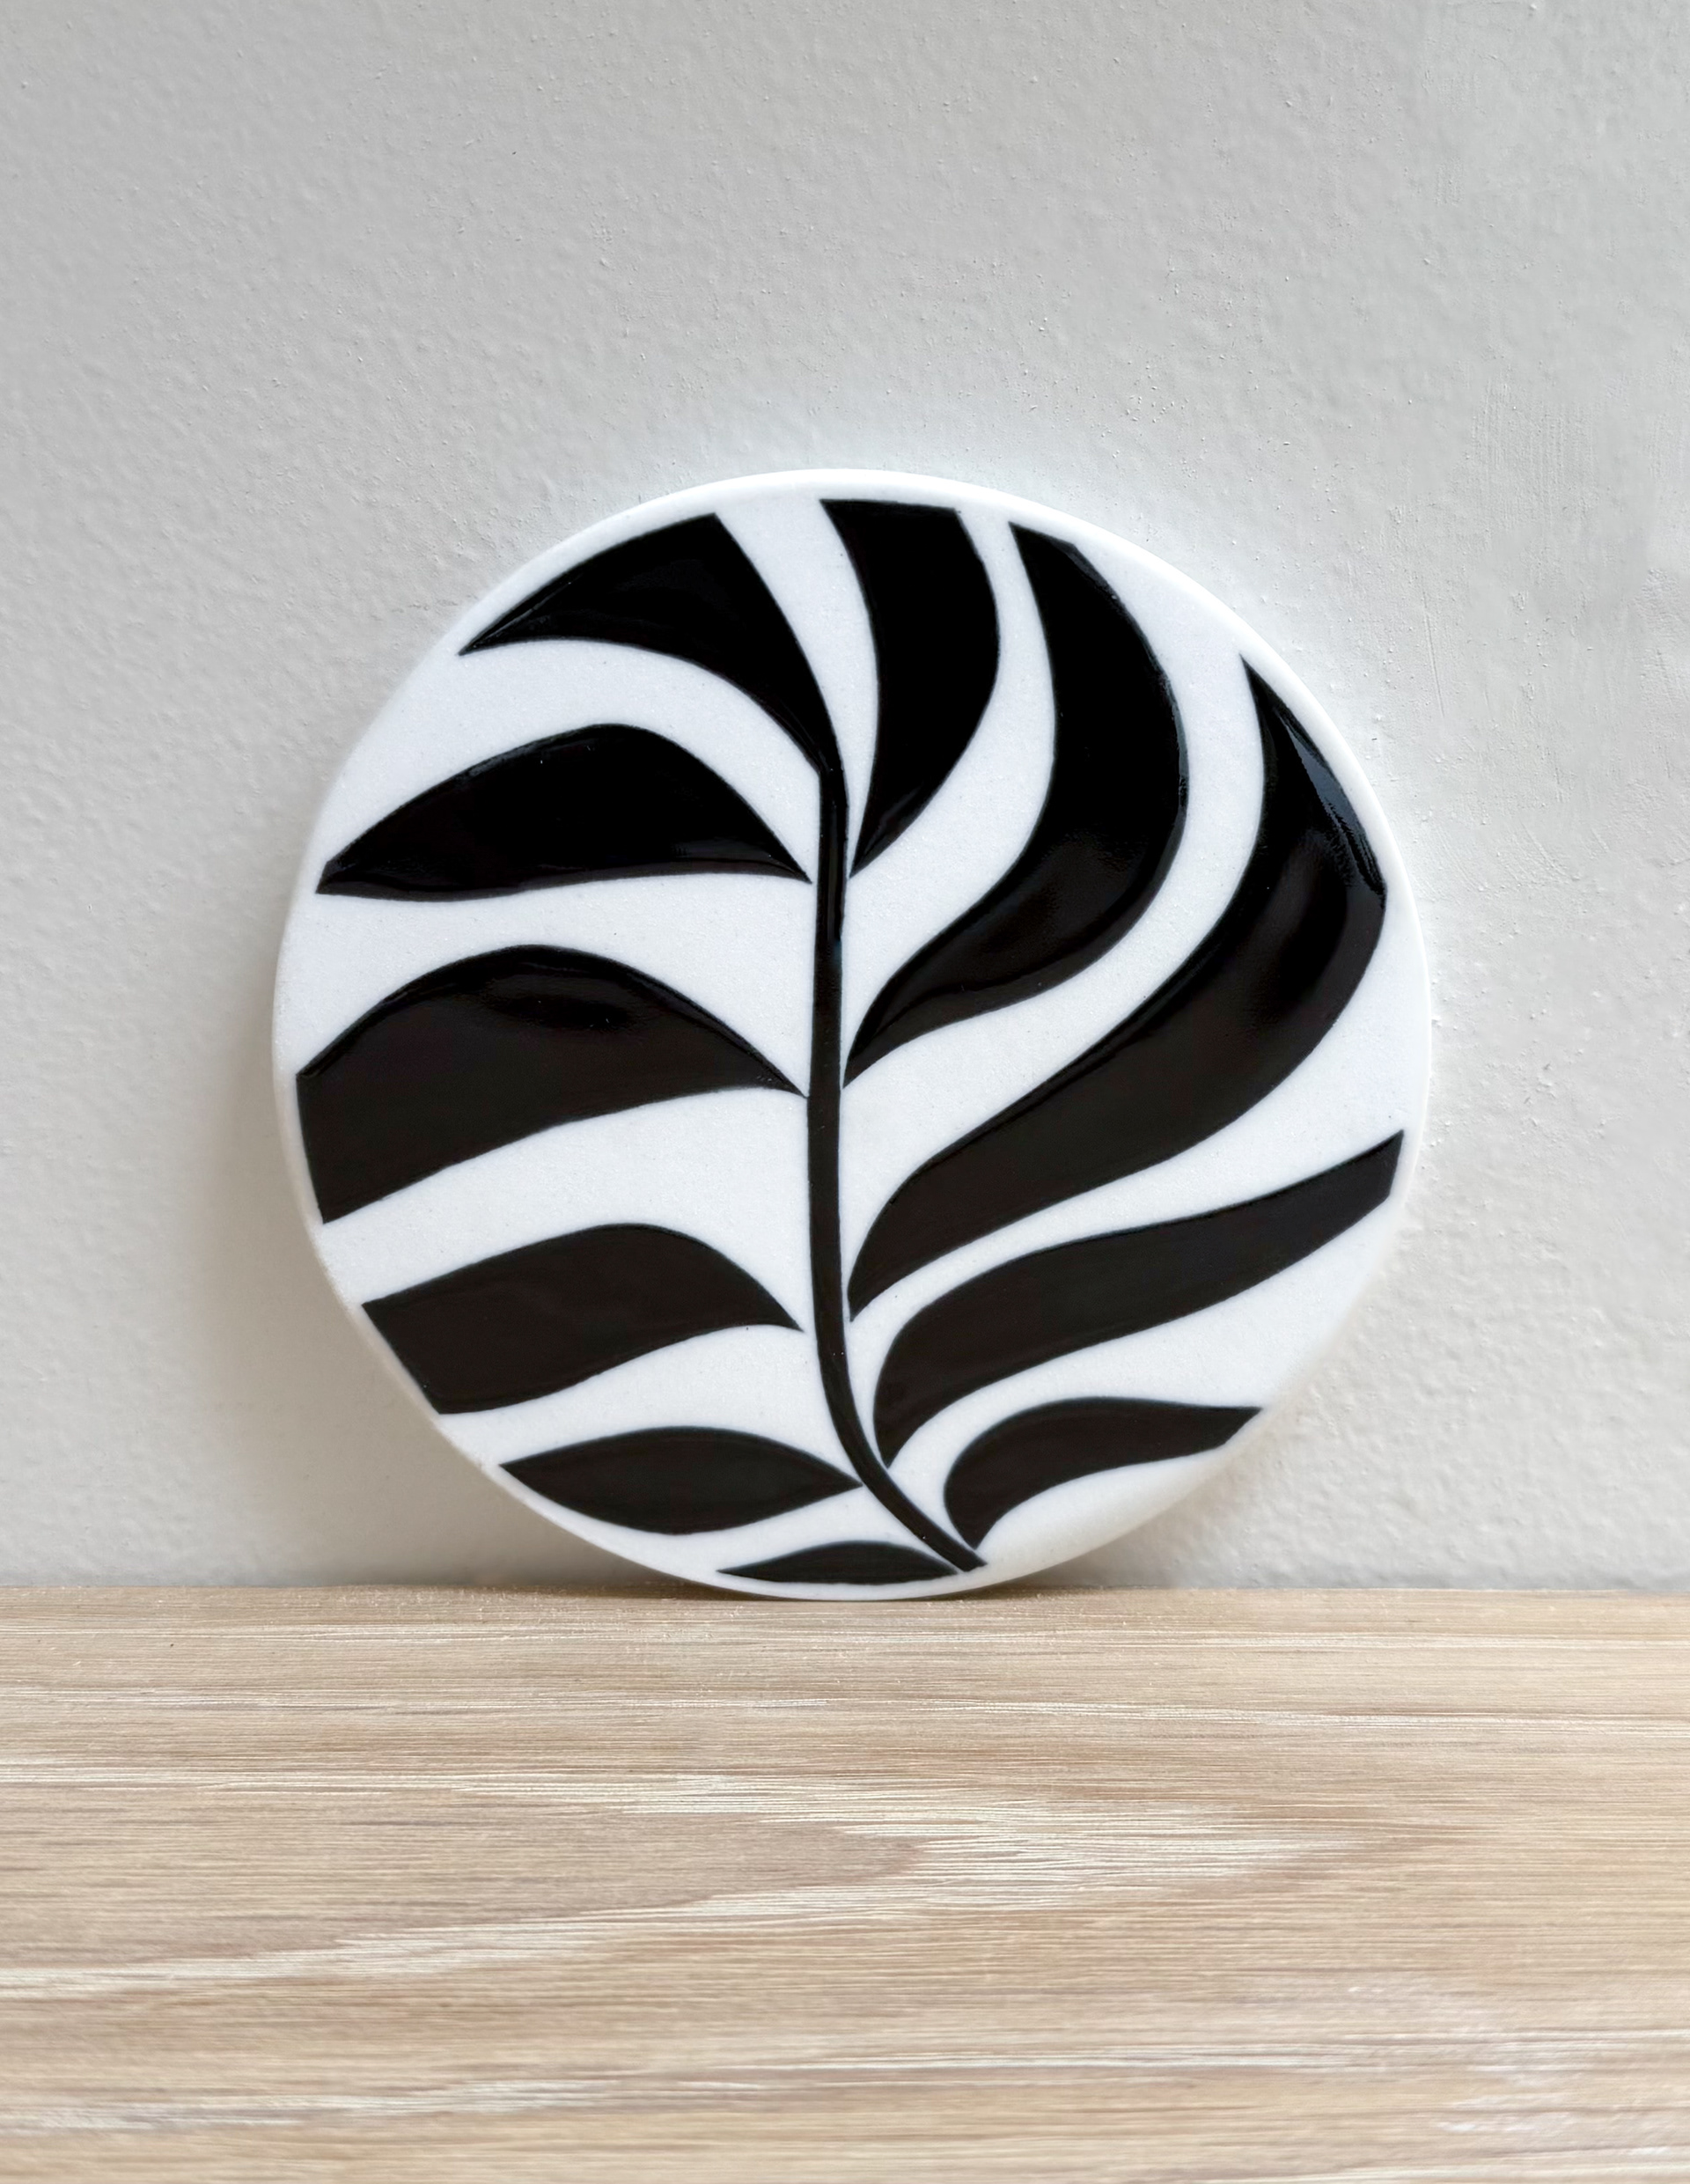
Finished porcelain wall tile after glaze firing
Digital design, outline for vinyl cutting, and separation of the design into smaller pieces to fit size constraints of the vinyl cutter
Examples of the design process for turning digital art into finished ceramic tiles. See photo captions for details.
The exhibition will include my designs as well as collaborations with the tattoo artists, turning their flash designs into ceramic art. This exhibition space is only a wall, while this would normally be incompatible with pottery it is perfect for this style of work. It allows me to focus on my experiments with transferring digital designs onto ceramics on a flat surface, taking away the challenges with more complex shapes.
Putting patterns or other designs on 3D surfaces is more challenging.
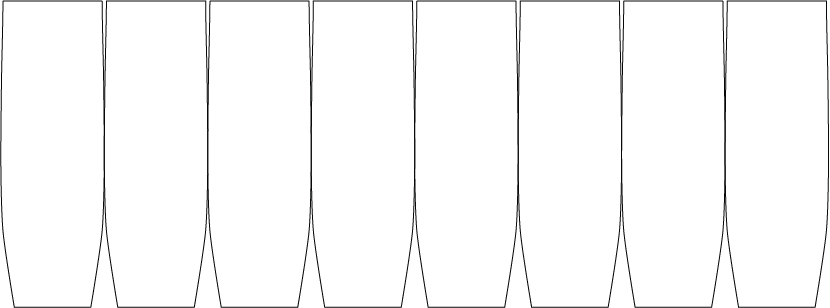
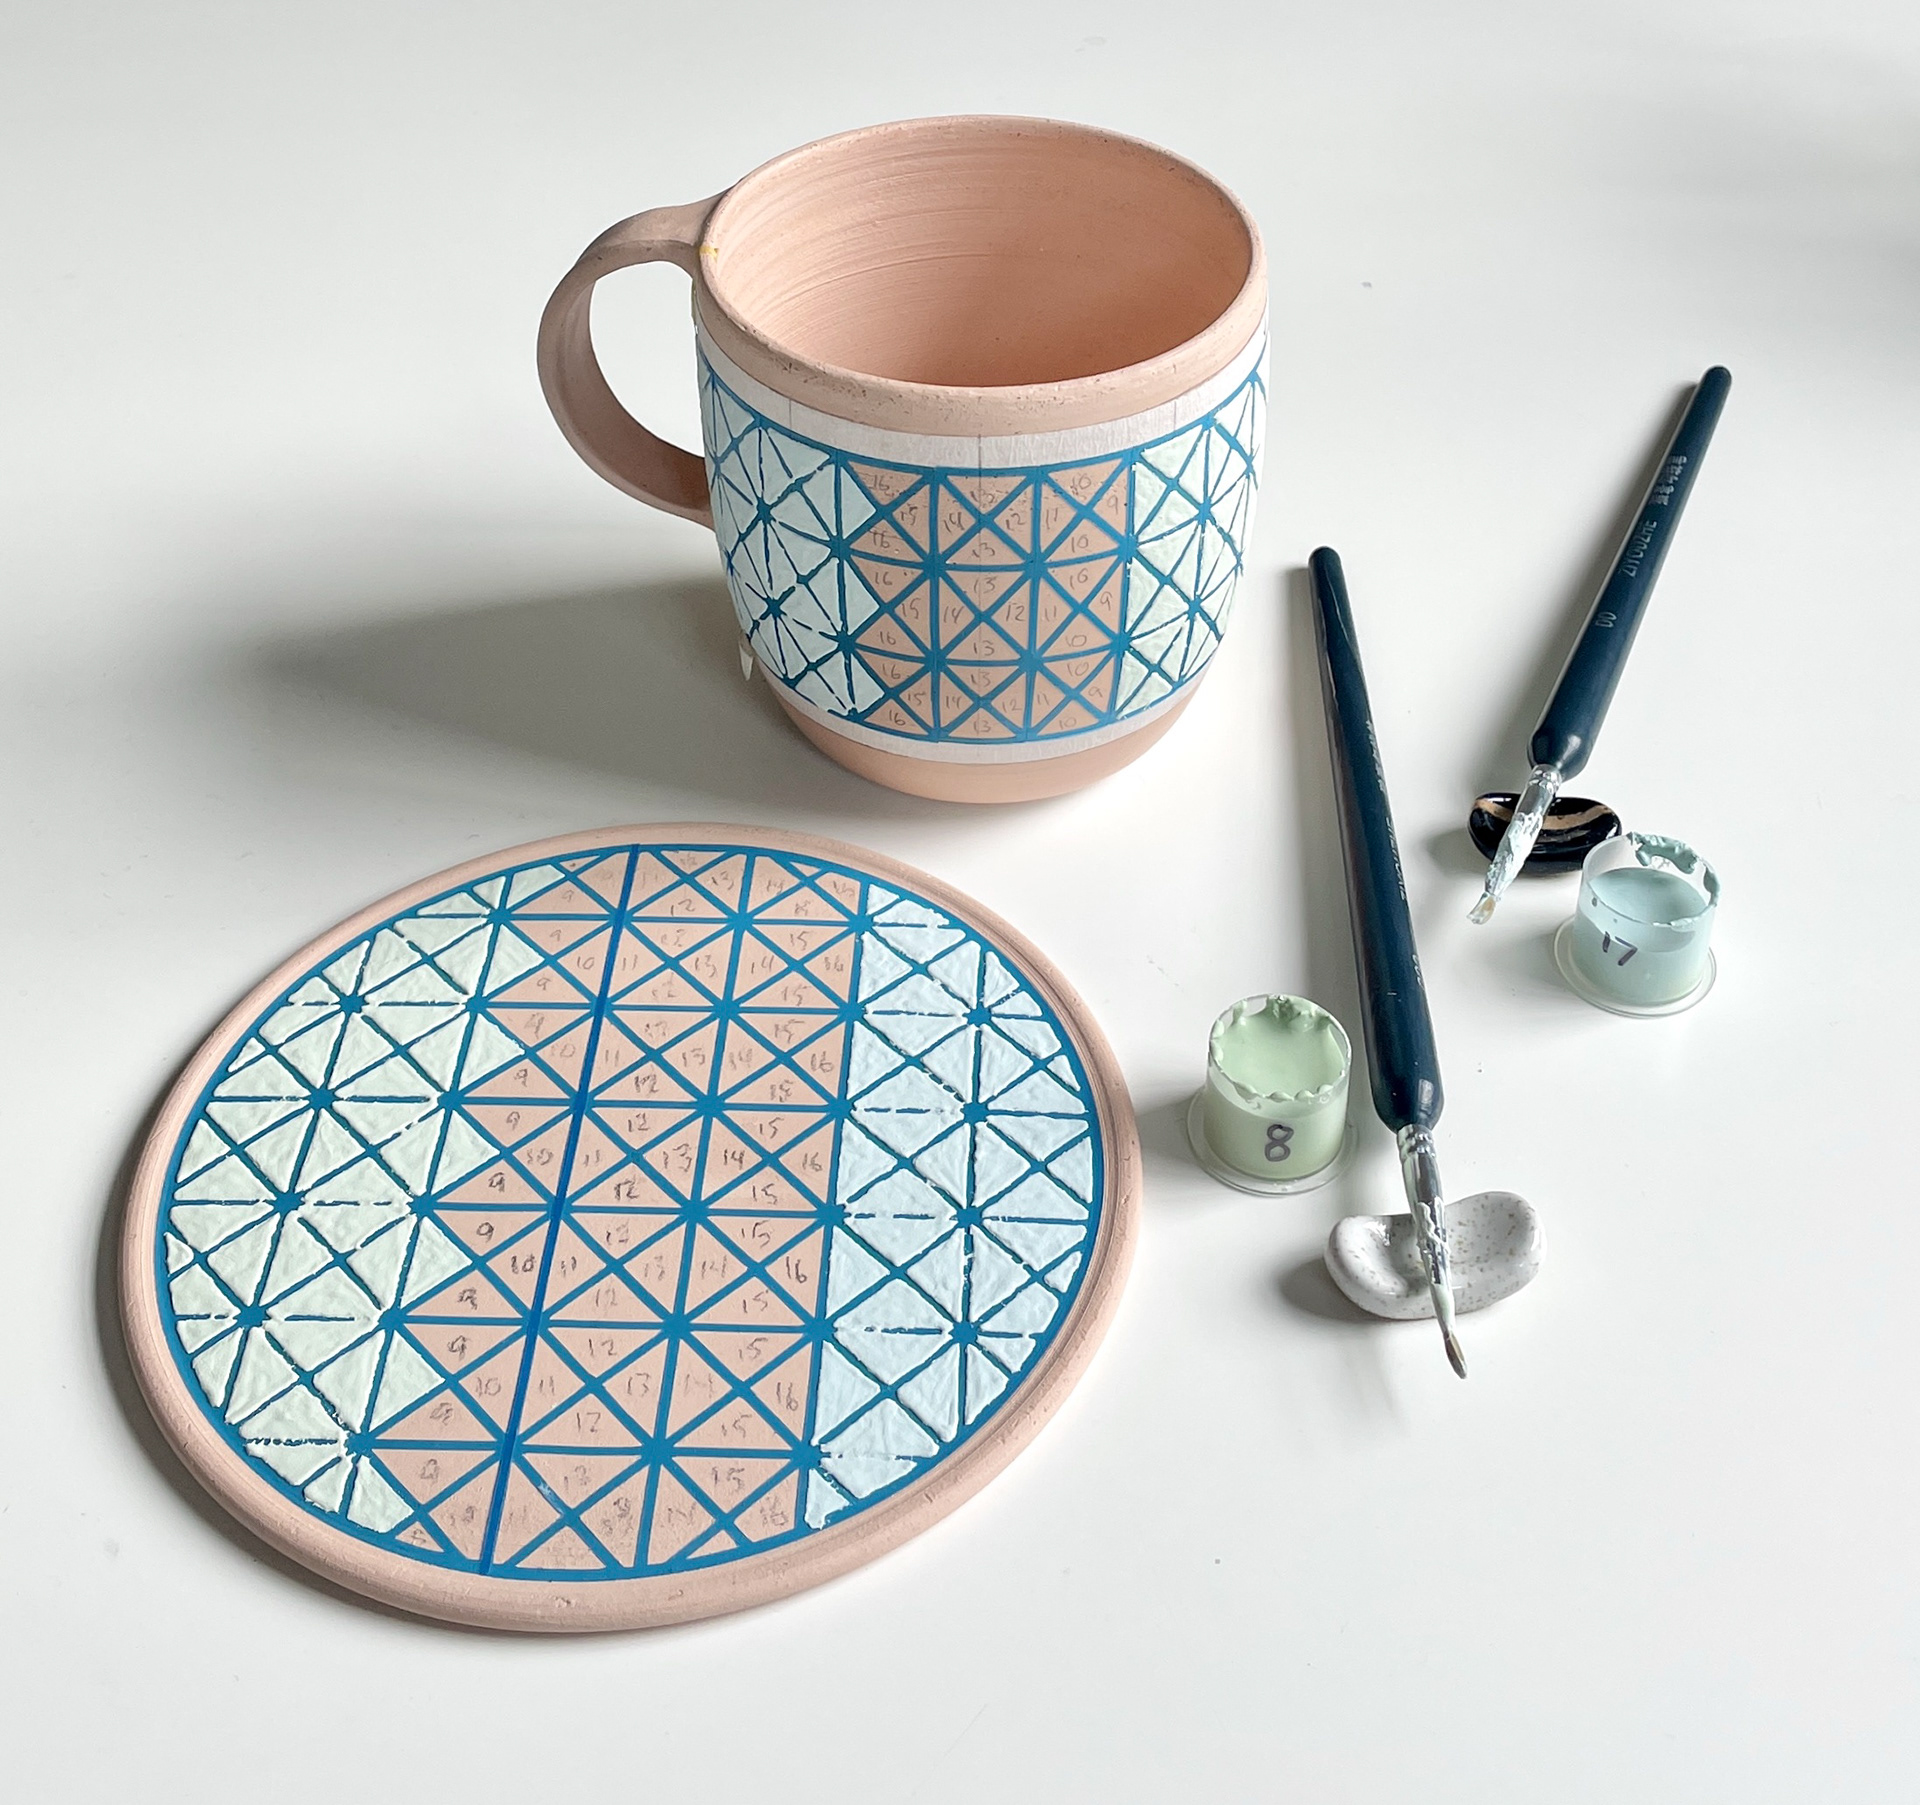
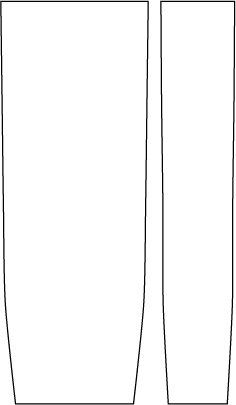
Pattern for an average ceramic cup as if it was cut open and laid flat
A cup thrown on the wheel is almost never a perfect cylinder. This image illustrates what an average cup would look like if it was cut open and laid flat. It resembles a sewing pattern with darts cut out.
In order to create this 'pattern' the cup has been individually split into sections and then each section is measured at the top, middle, and bottom. When those measurements are put into illustrator it creates this shape. These measurements have to be precise as even 1/4 mm off will add up over each piece of the pattern and leave a 4mm gap.
Porcelain cup after glazing before the final glaze firing
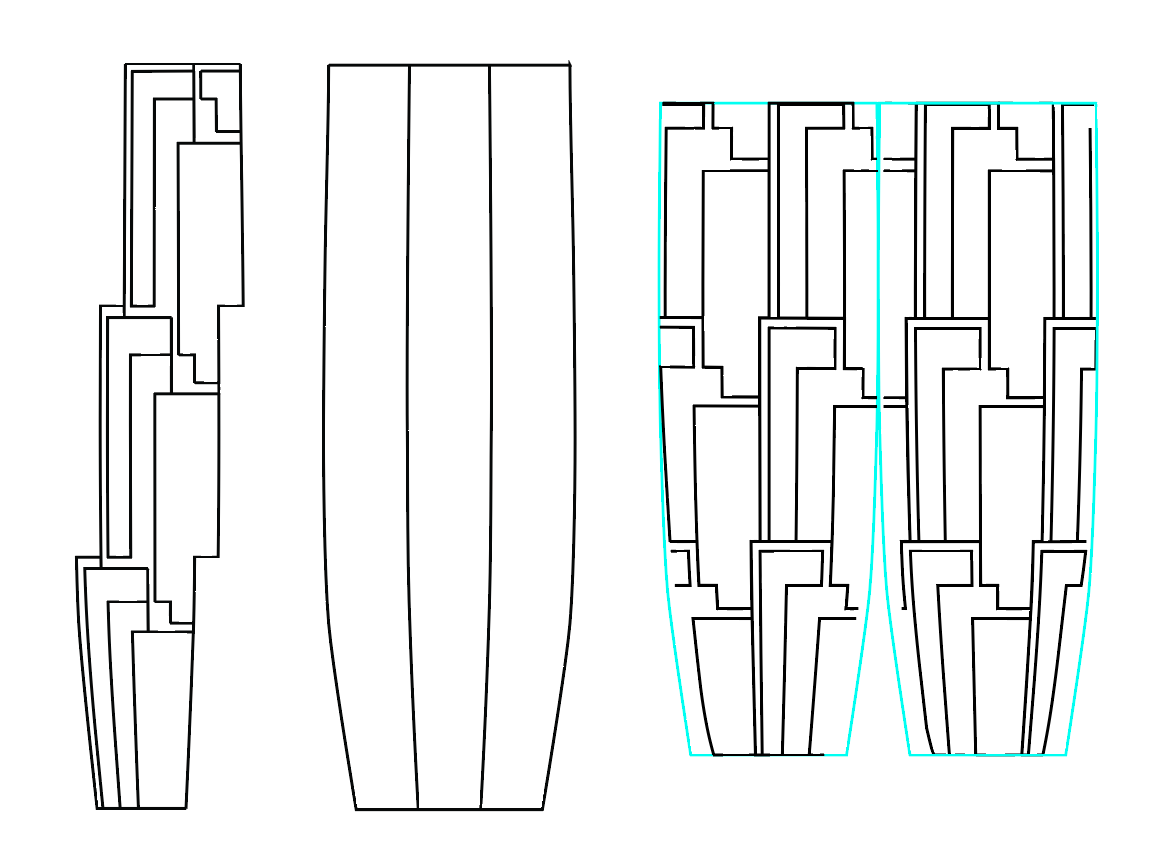
The process for taking the 4 sections on the left and having them repeat around the cup
Porcelain cup after glazing before the final glaze firing
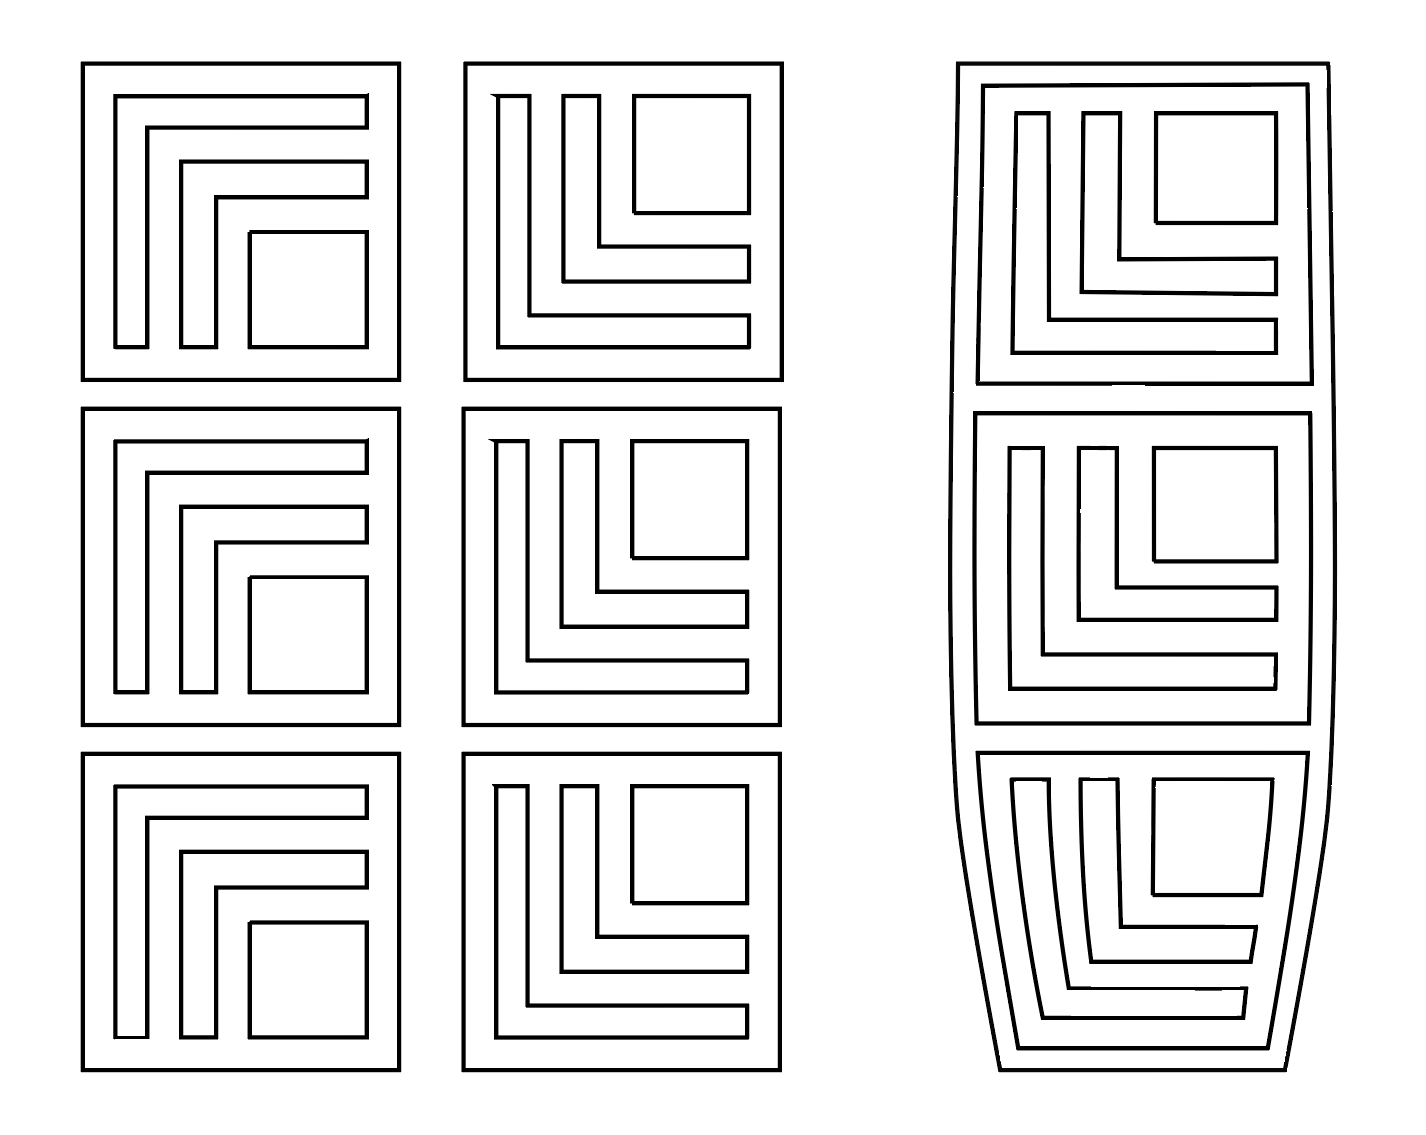
Once the two patterns on the left are warped to the correct shape they can be mirrored so there are four patterns to repeat around the cup
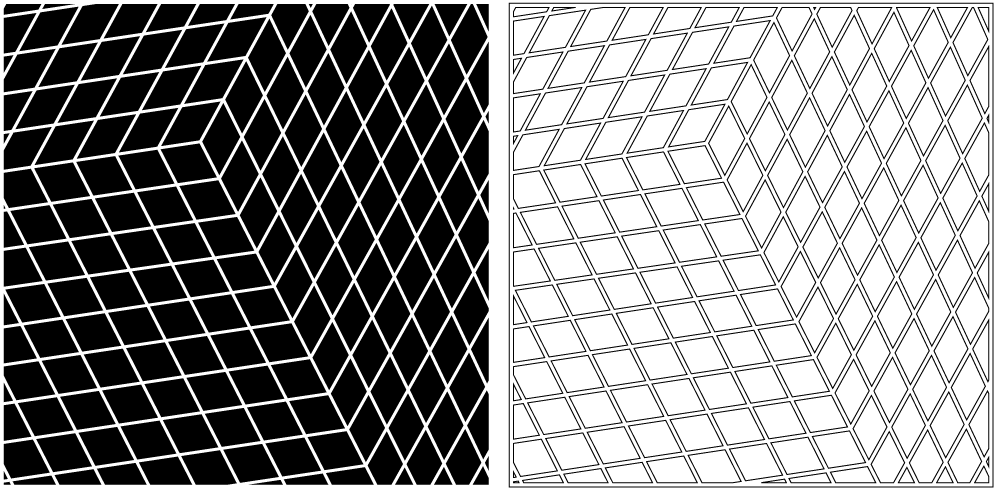
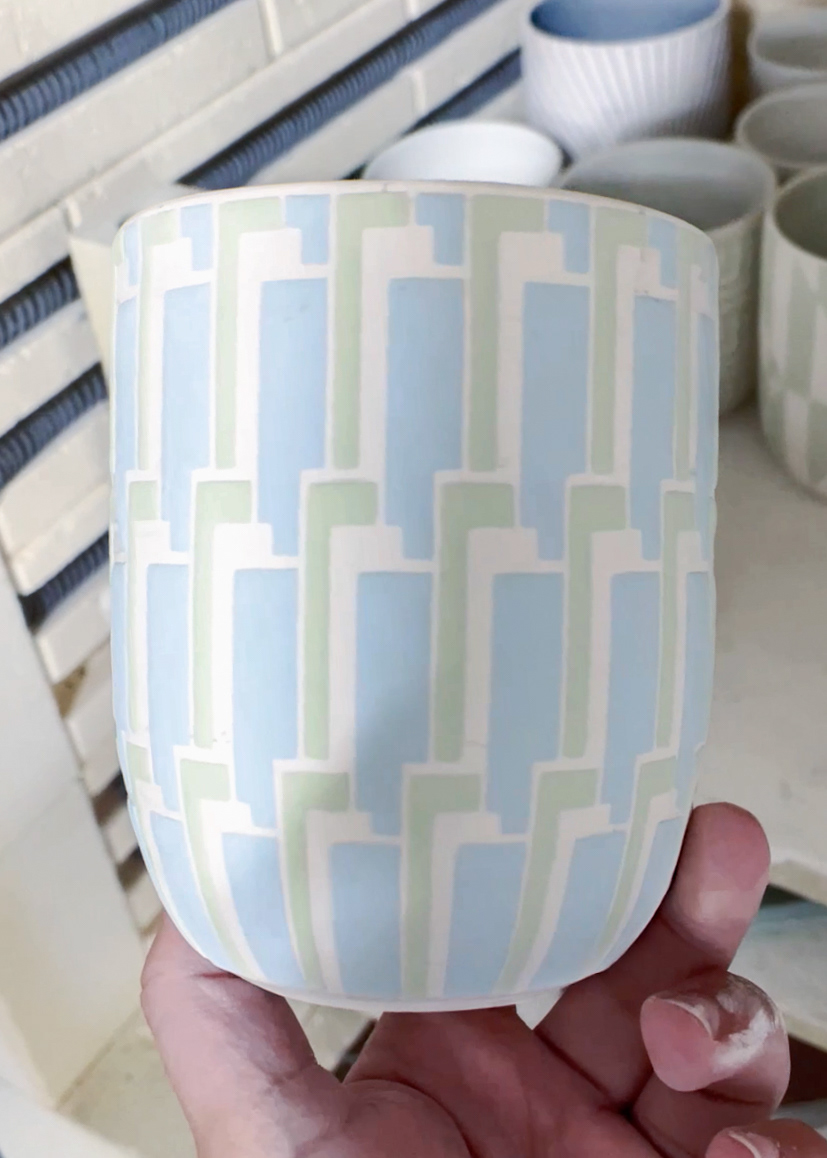
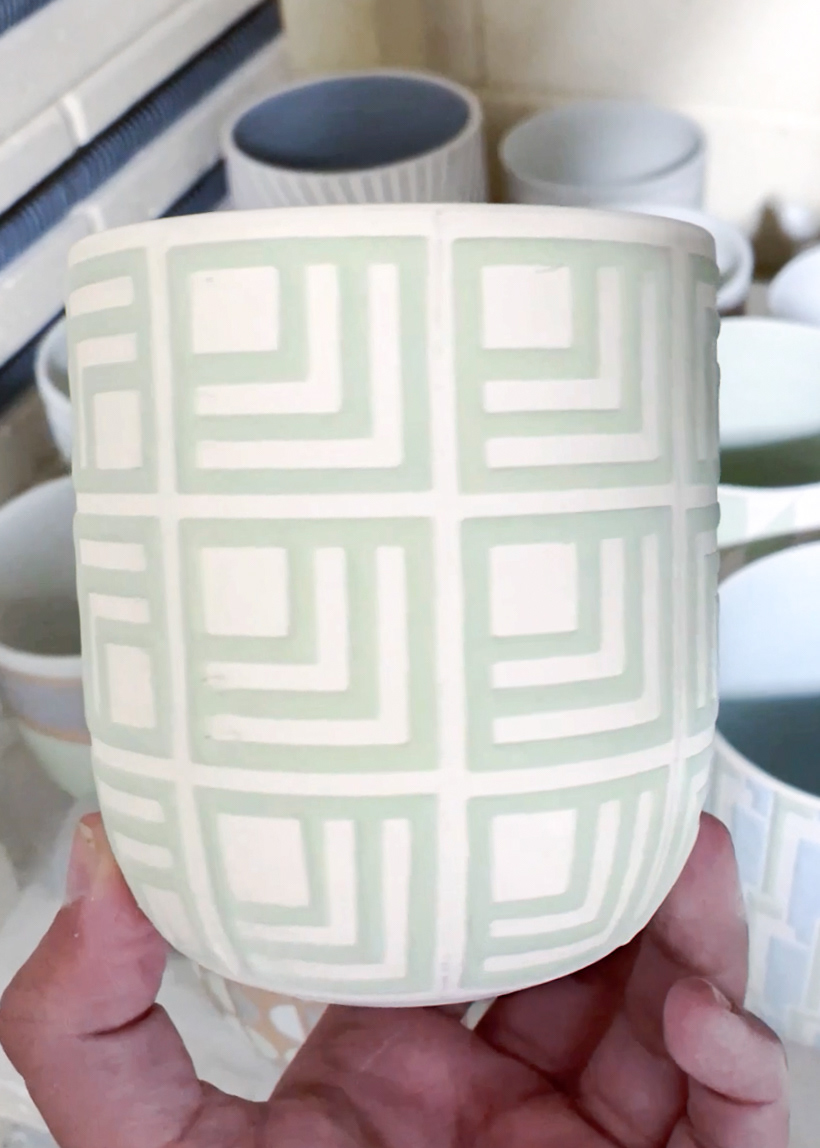
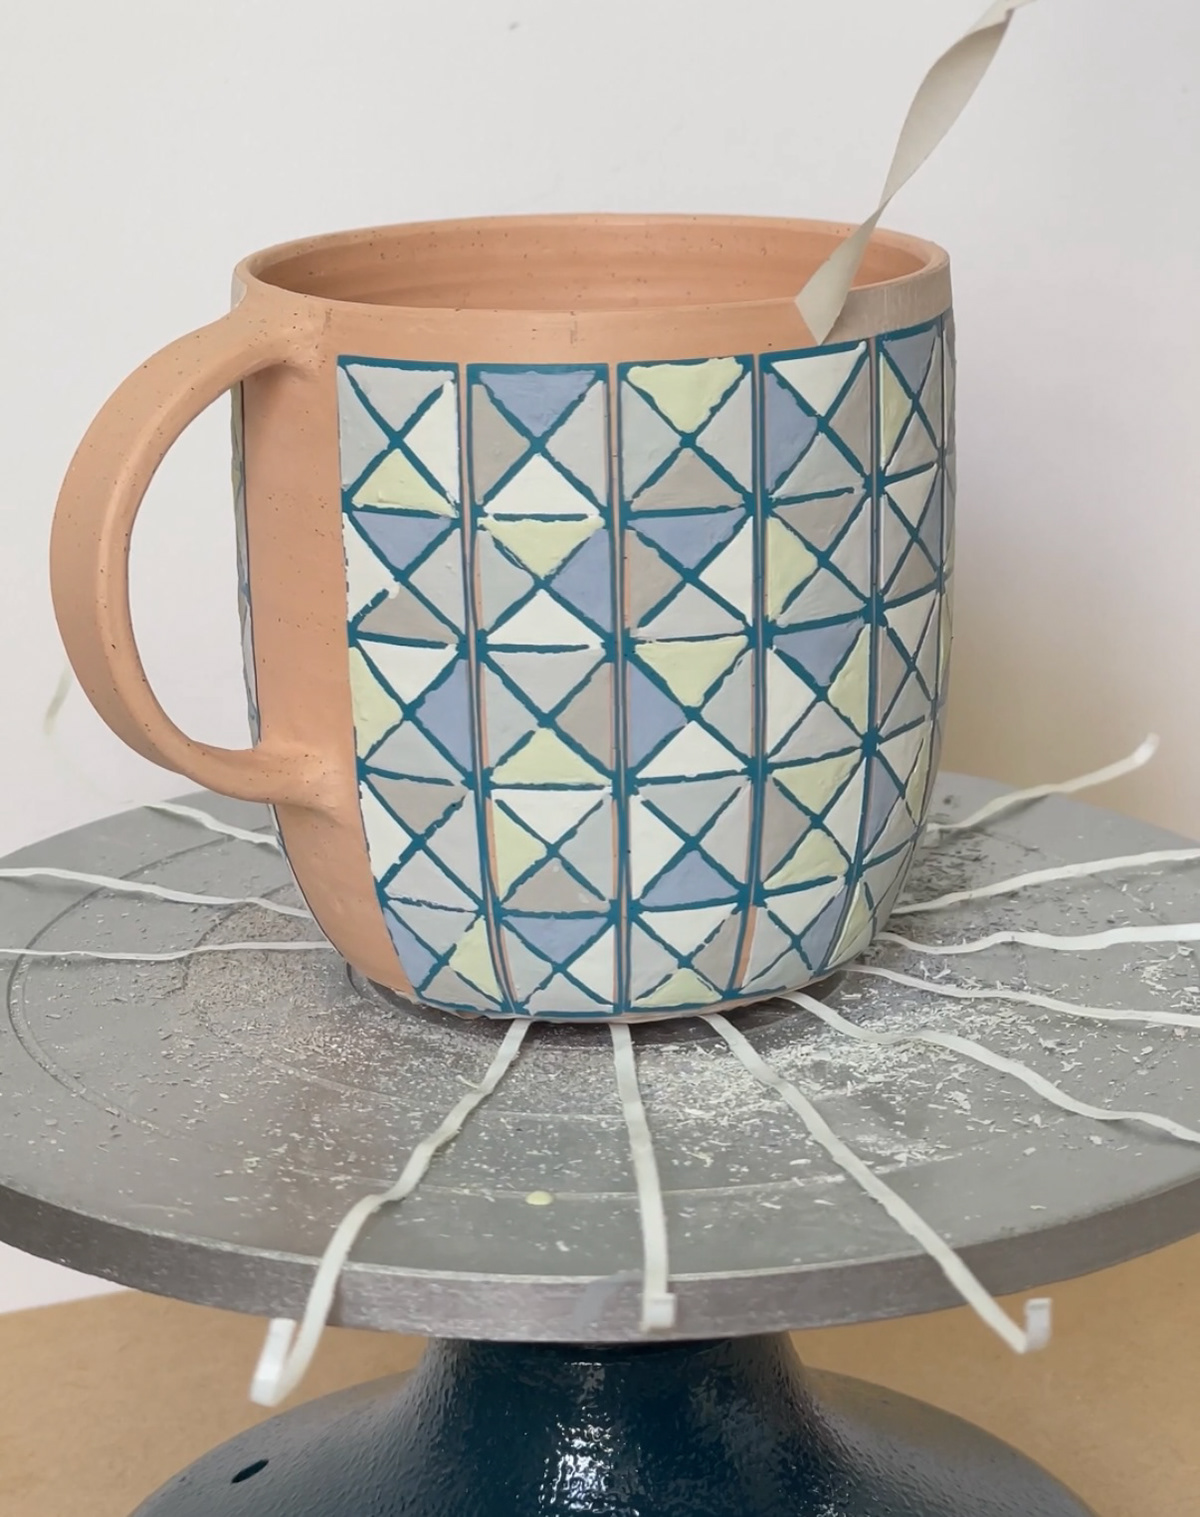
These geometric patterns were designed digitally and then warped to fit the wheel thrown porcelain cups.
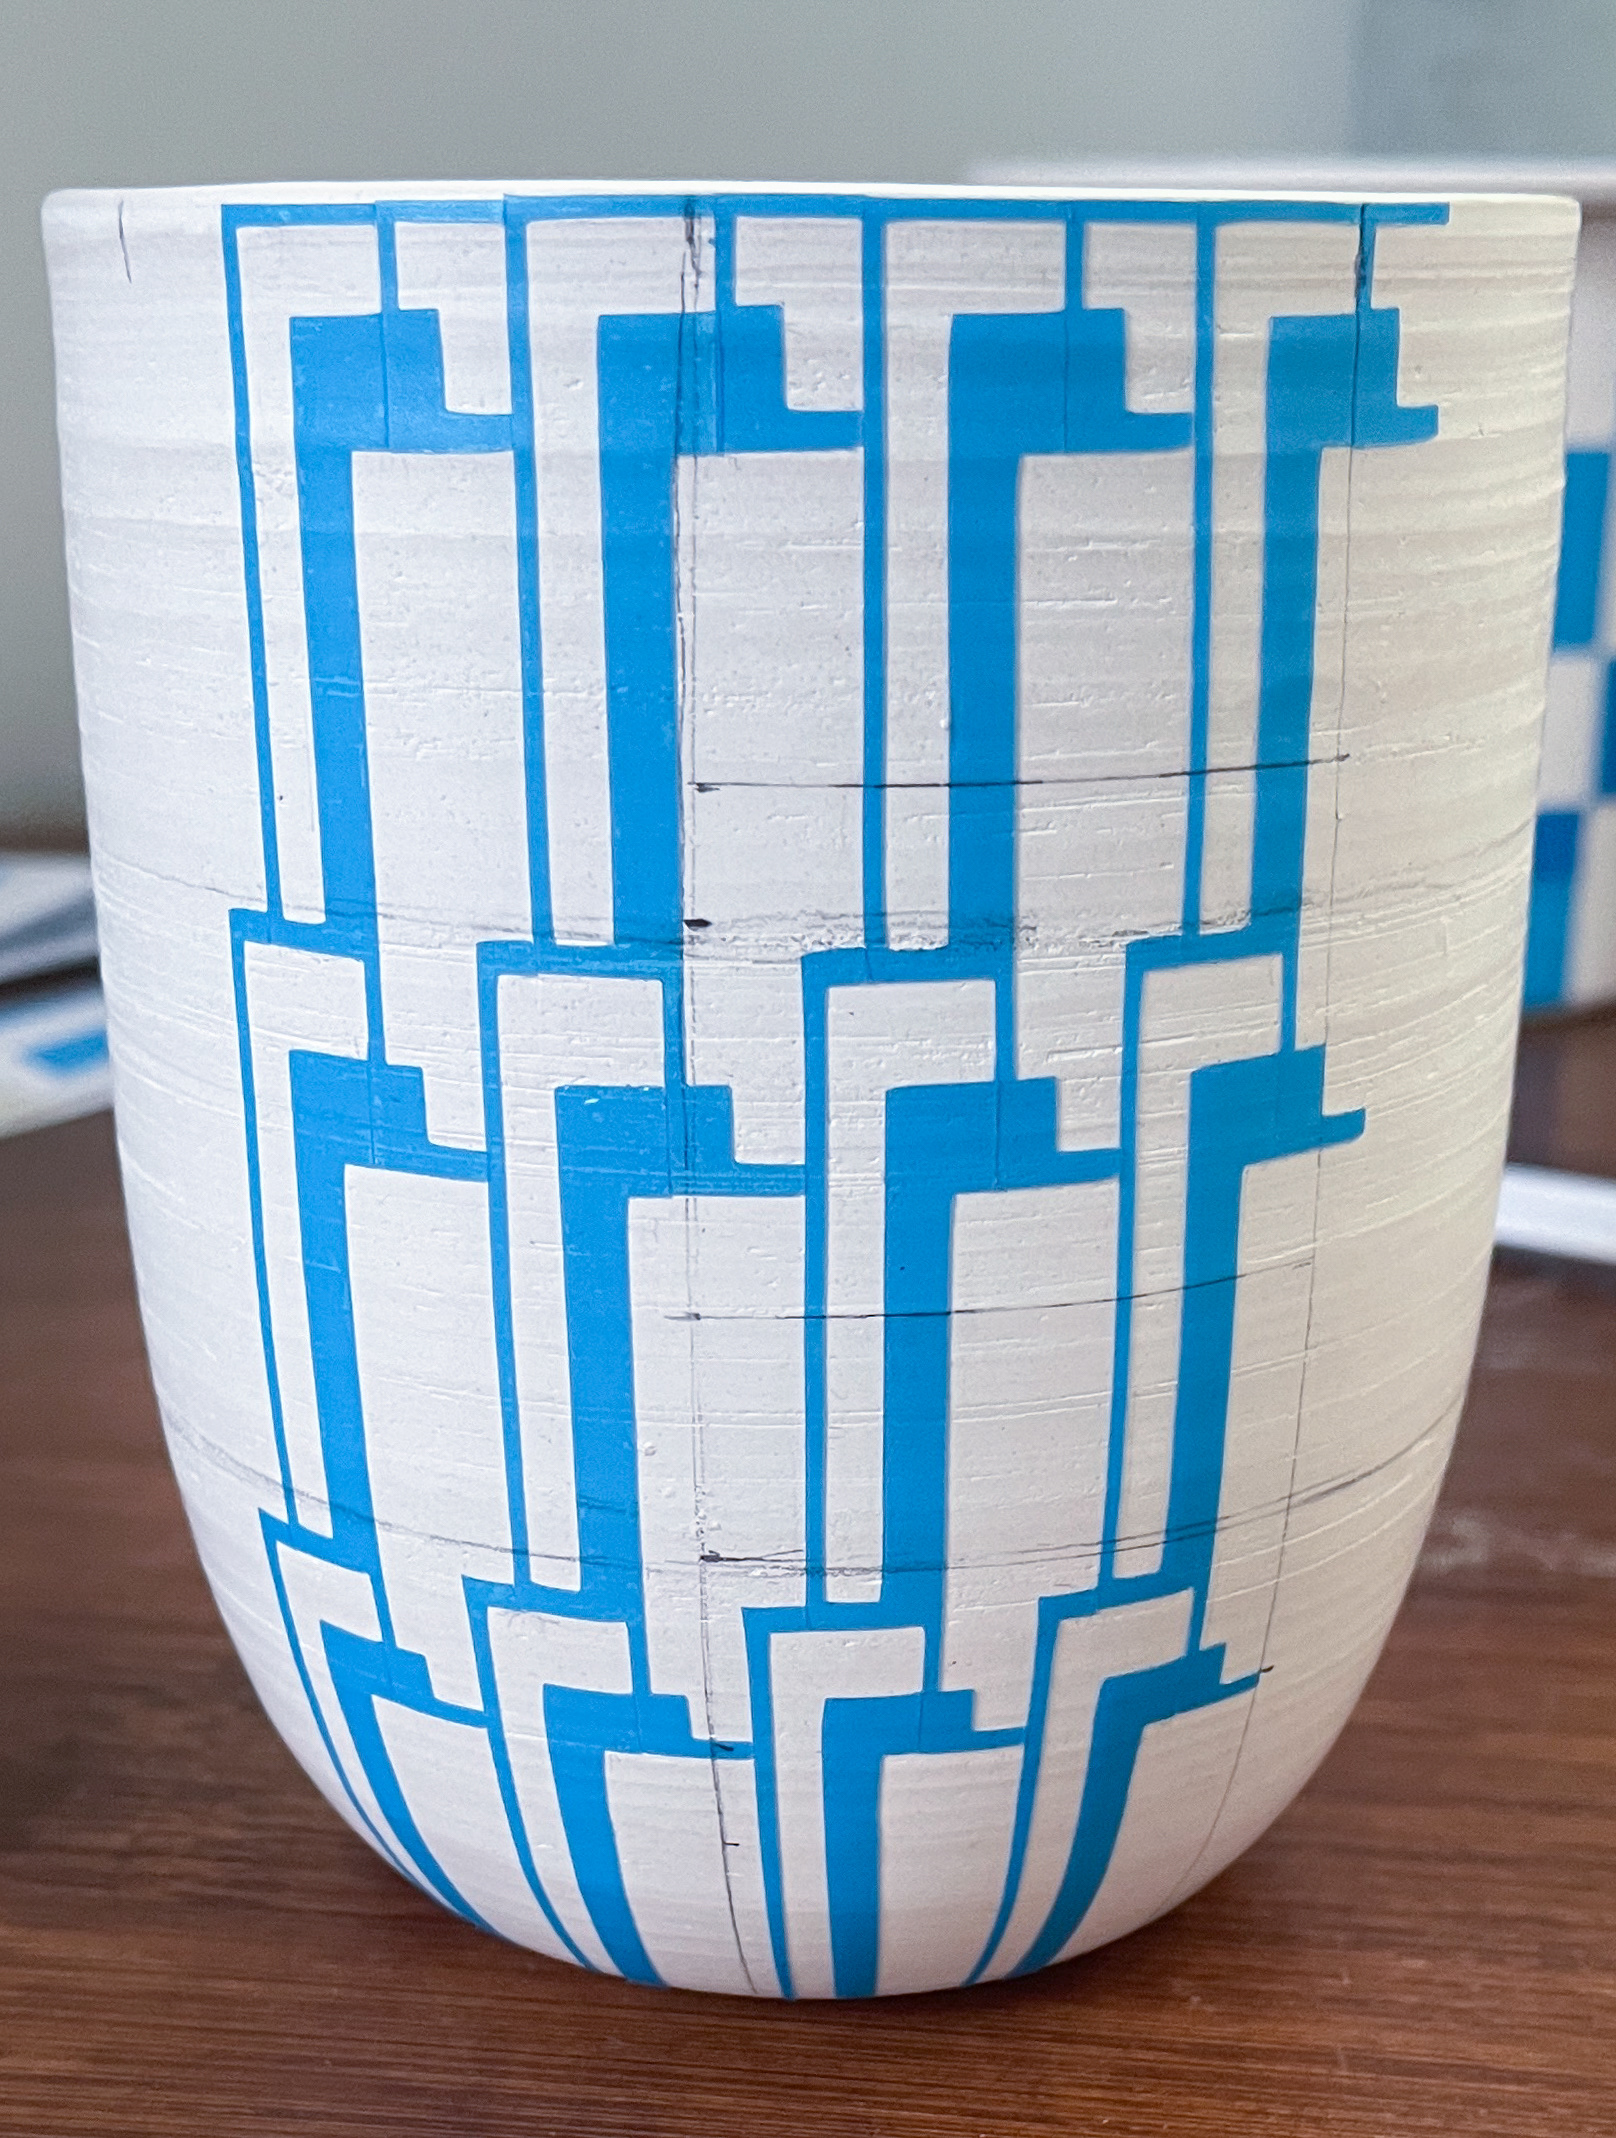
Vinyl being put onto a porcelain cup before glazing
Vinyl being used as a stencil to glaze a stoneware mug and wall tile
Removing vinyl and tape resist from a mug after glazing
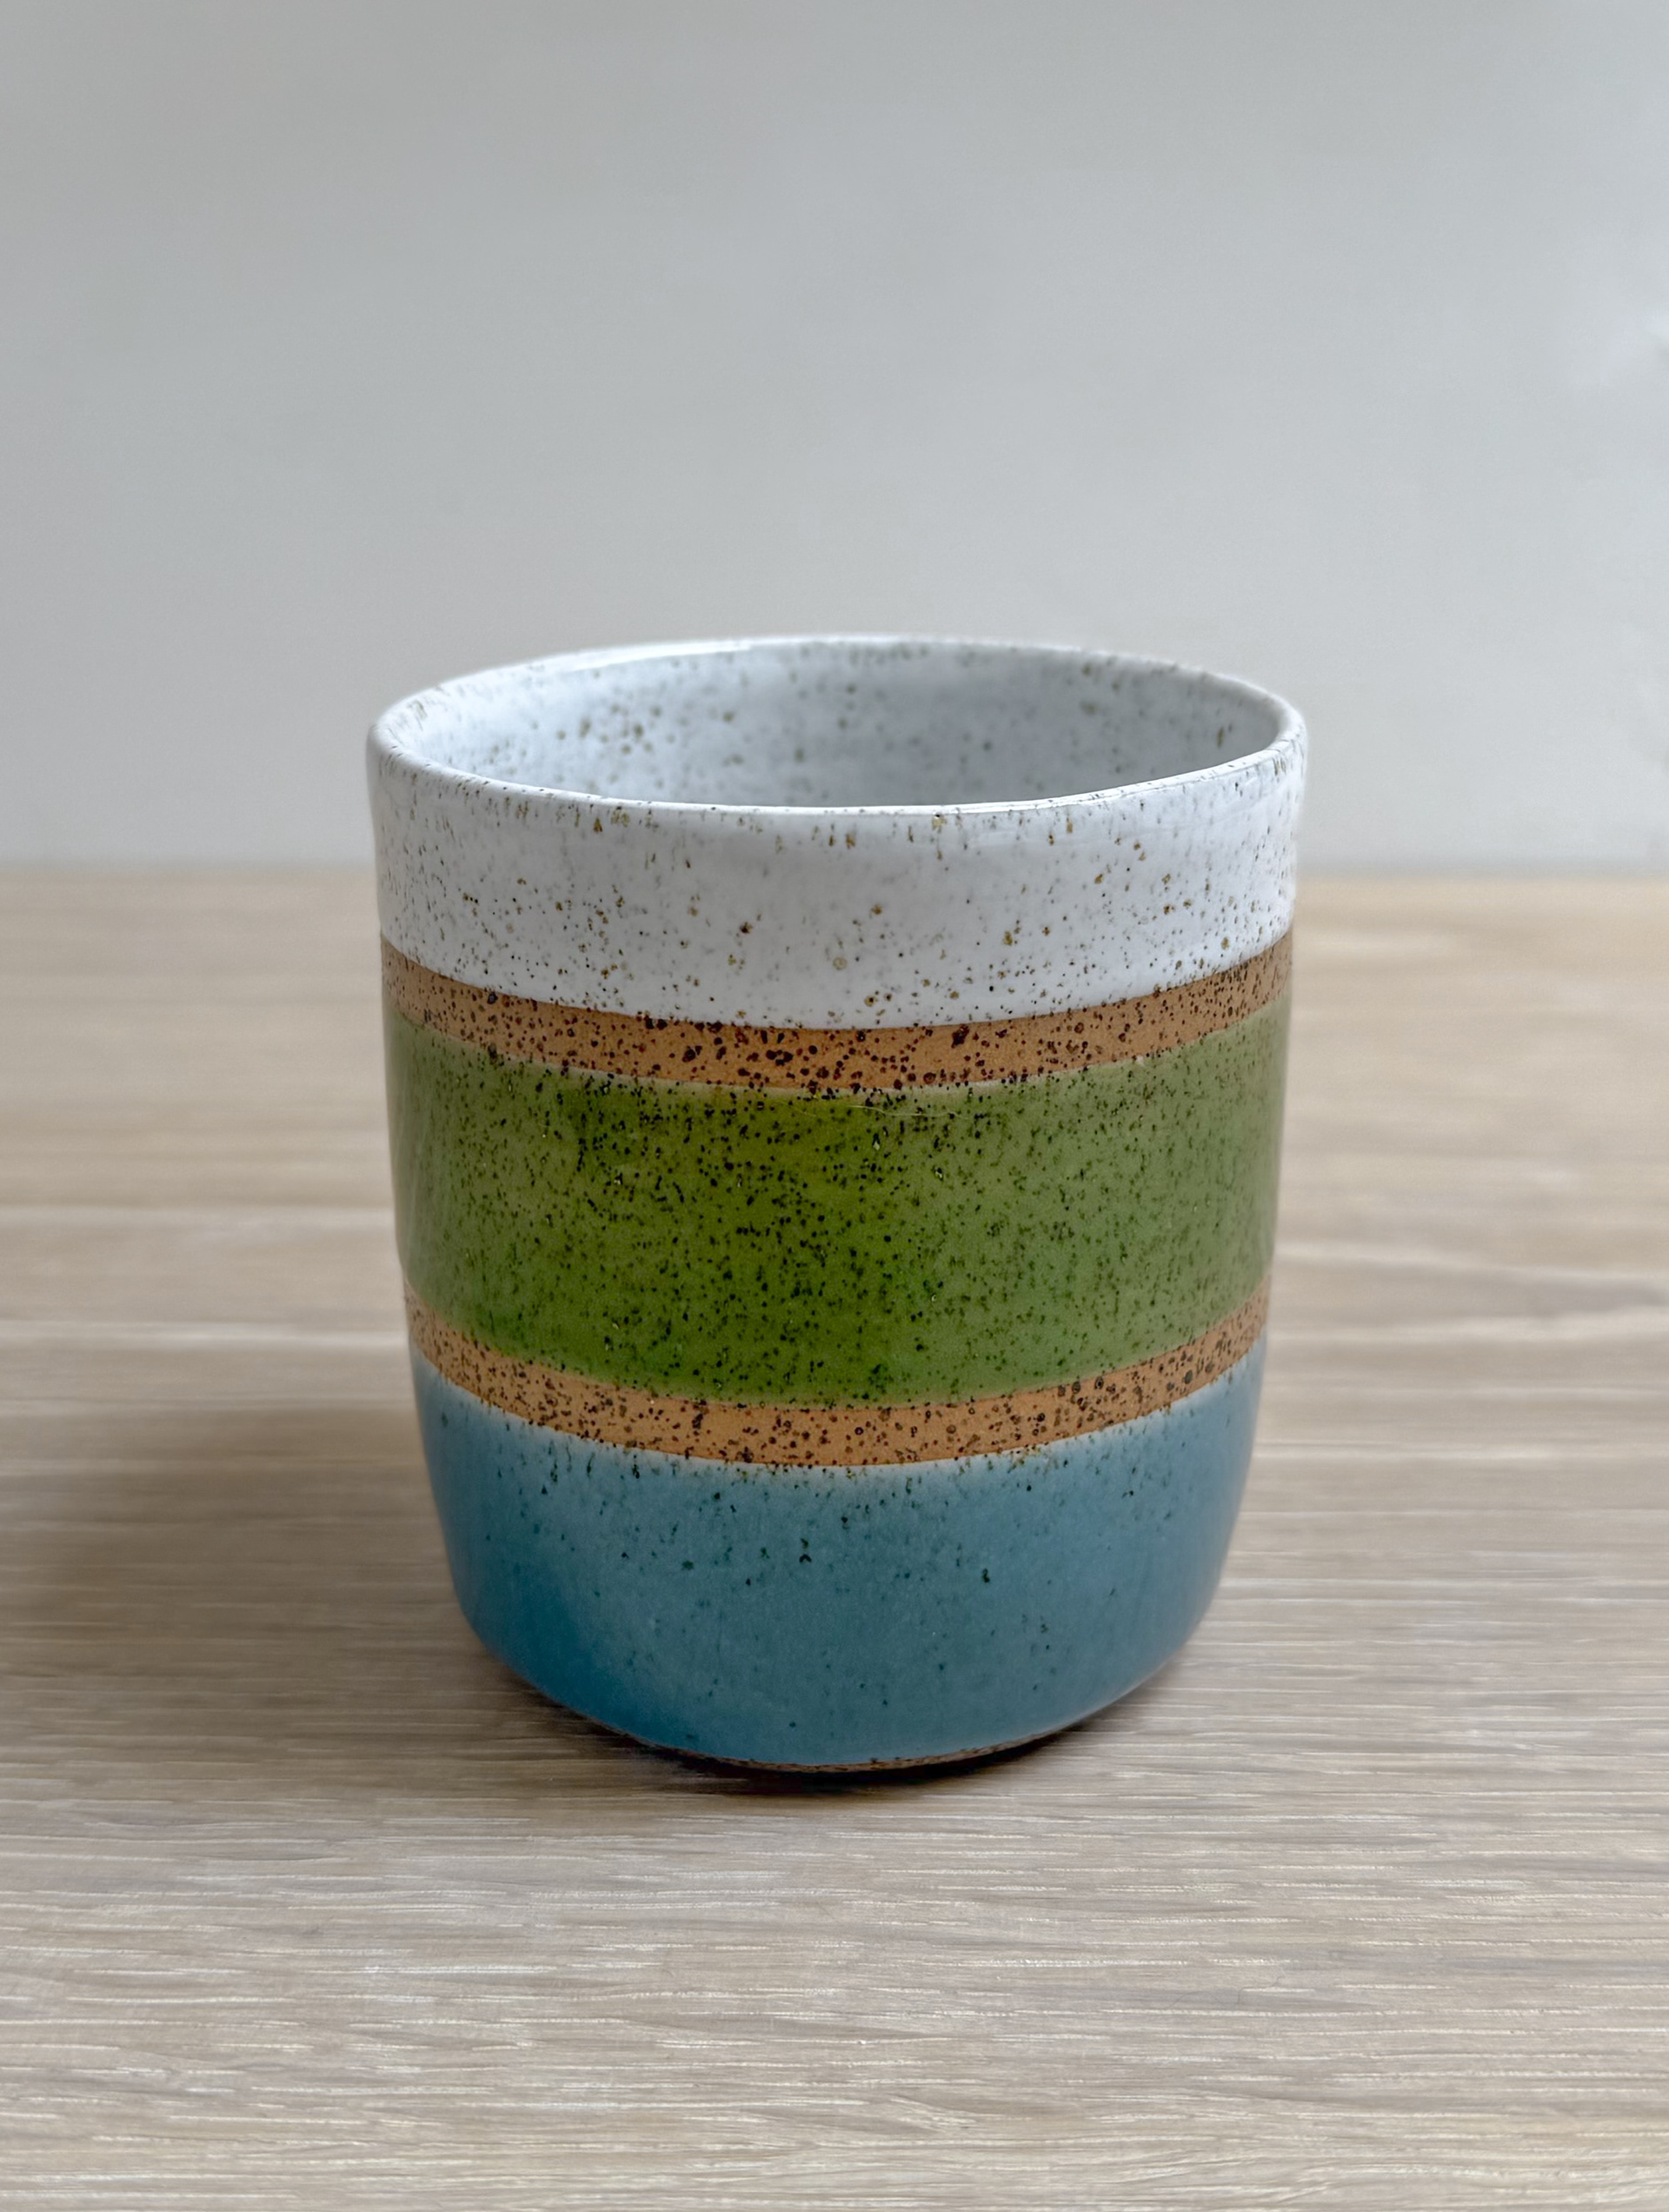
The designs were then cut out of sticker vinyl using a vinyl cutter and applied to the pottery after the first firing. This process means that the digital designs can be used as a stencil for glazing. The stencils are removed from the pots before the glaze firing. After firing this creates a 3D effect on the finished work with the glazed surface being raised and reflective compared with the unglazed surface that was under the vinyl.
Measuring and making a pattern to use on each individual cup is time consuming and works best on simple forms. Looking back at my previous work I feel like this limitation is holding me back as I just stick to the same shapes. If my work is going to progress and allow me to grow as an artist then I need to start making more complex shapes and larger works. This led me to experiment with mould making using 3D printing.
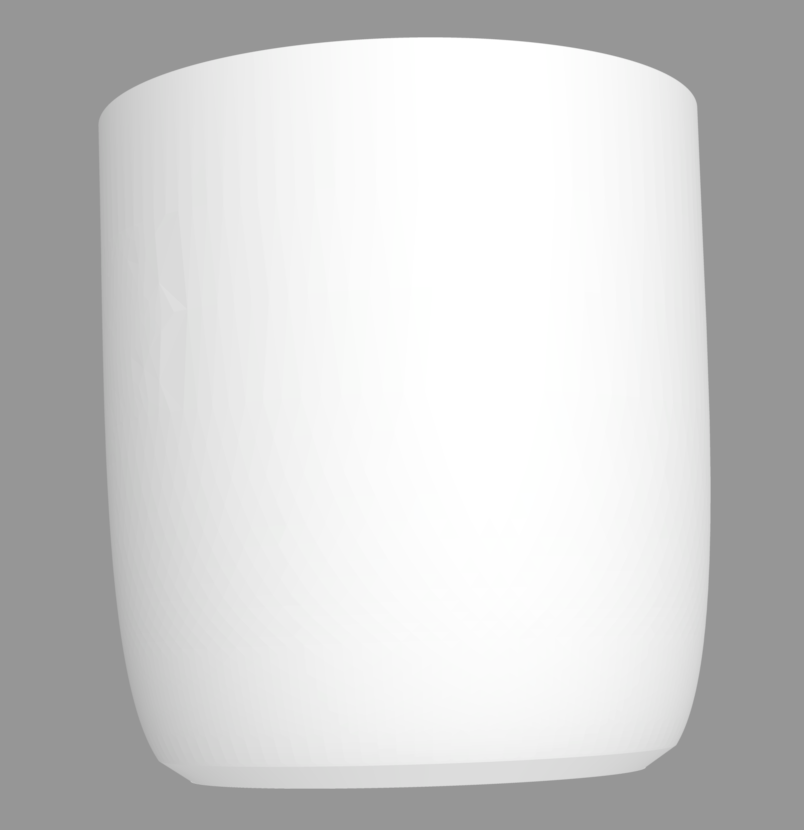
3D model of an 8cm cup

3D model of the mould
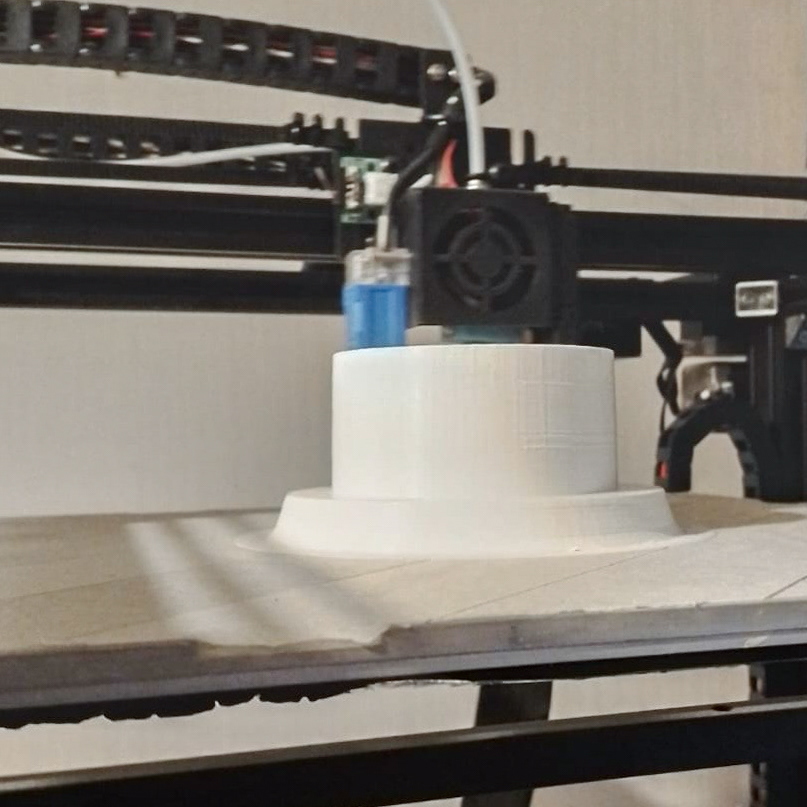
3D printing the design
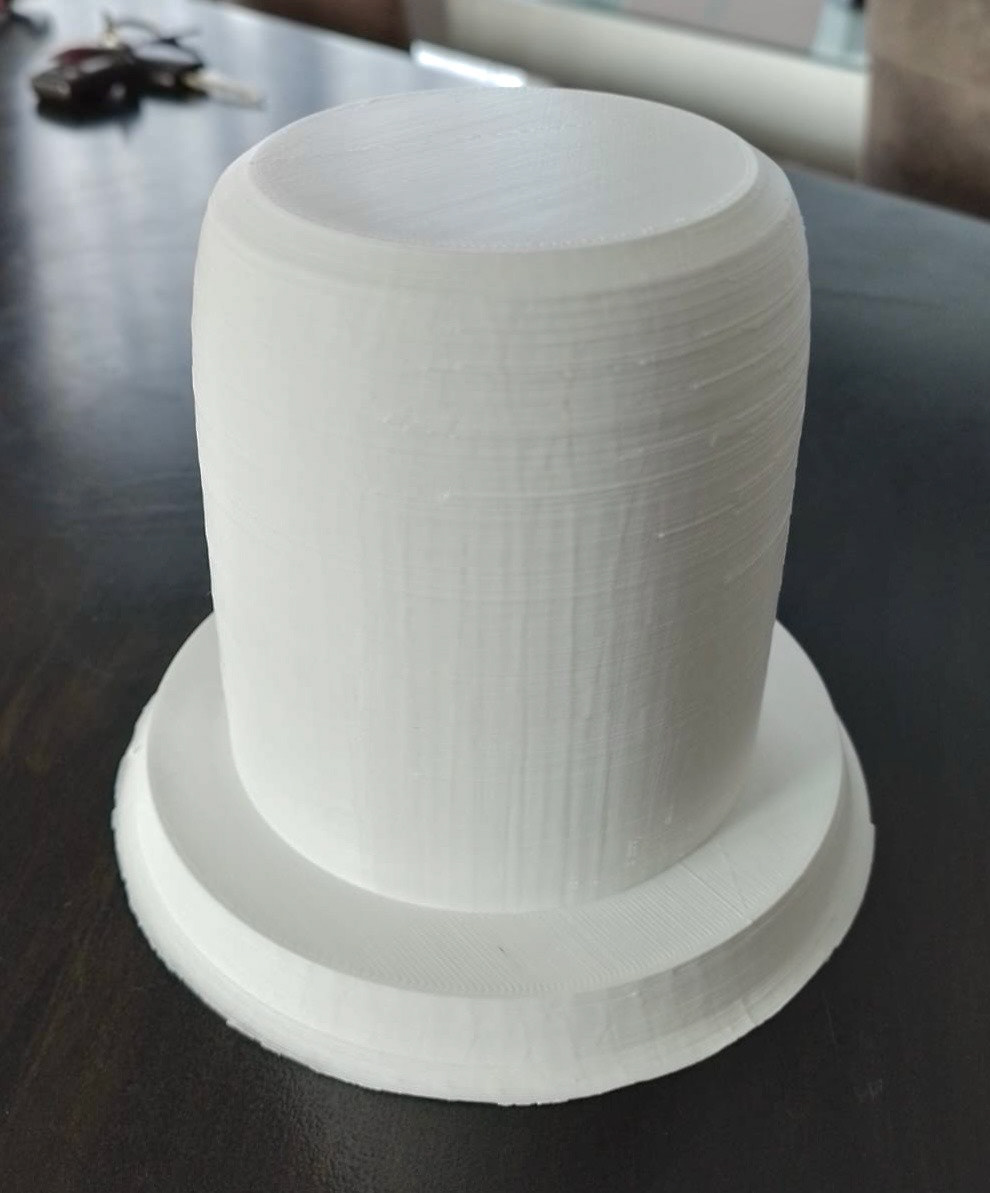
3D printed mould
3D printed mould after filling and sanding
Plaster mould making using 3 different 3D printed moulds

Four plaster moulds made from one 3D printed mould
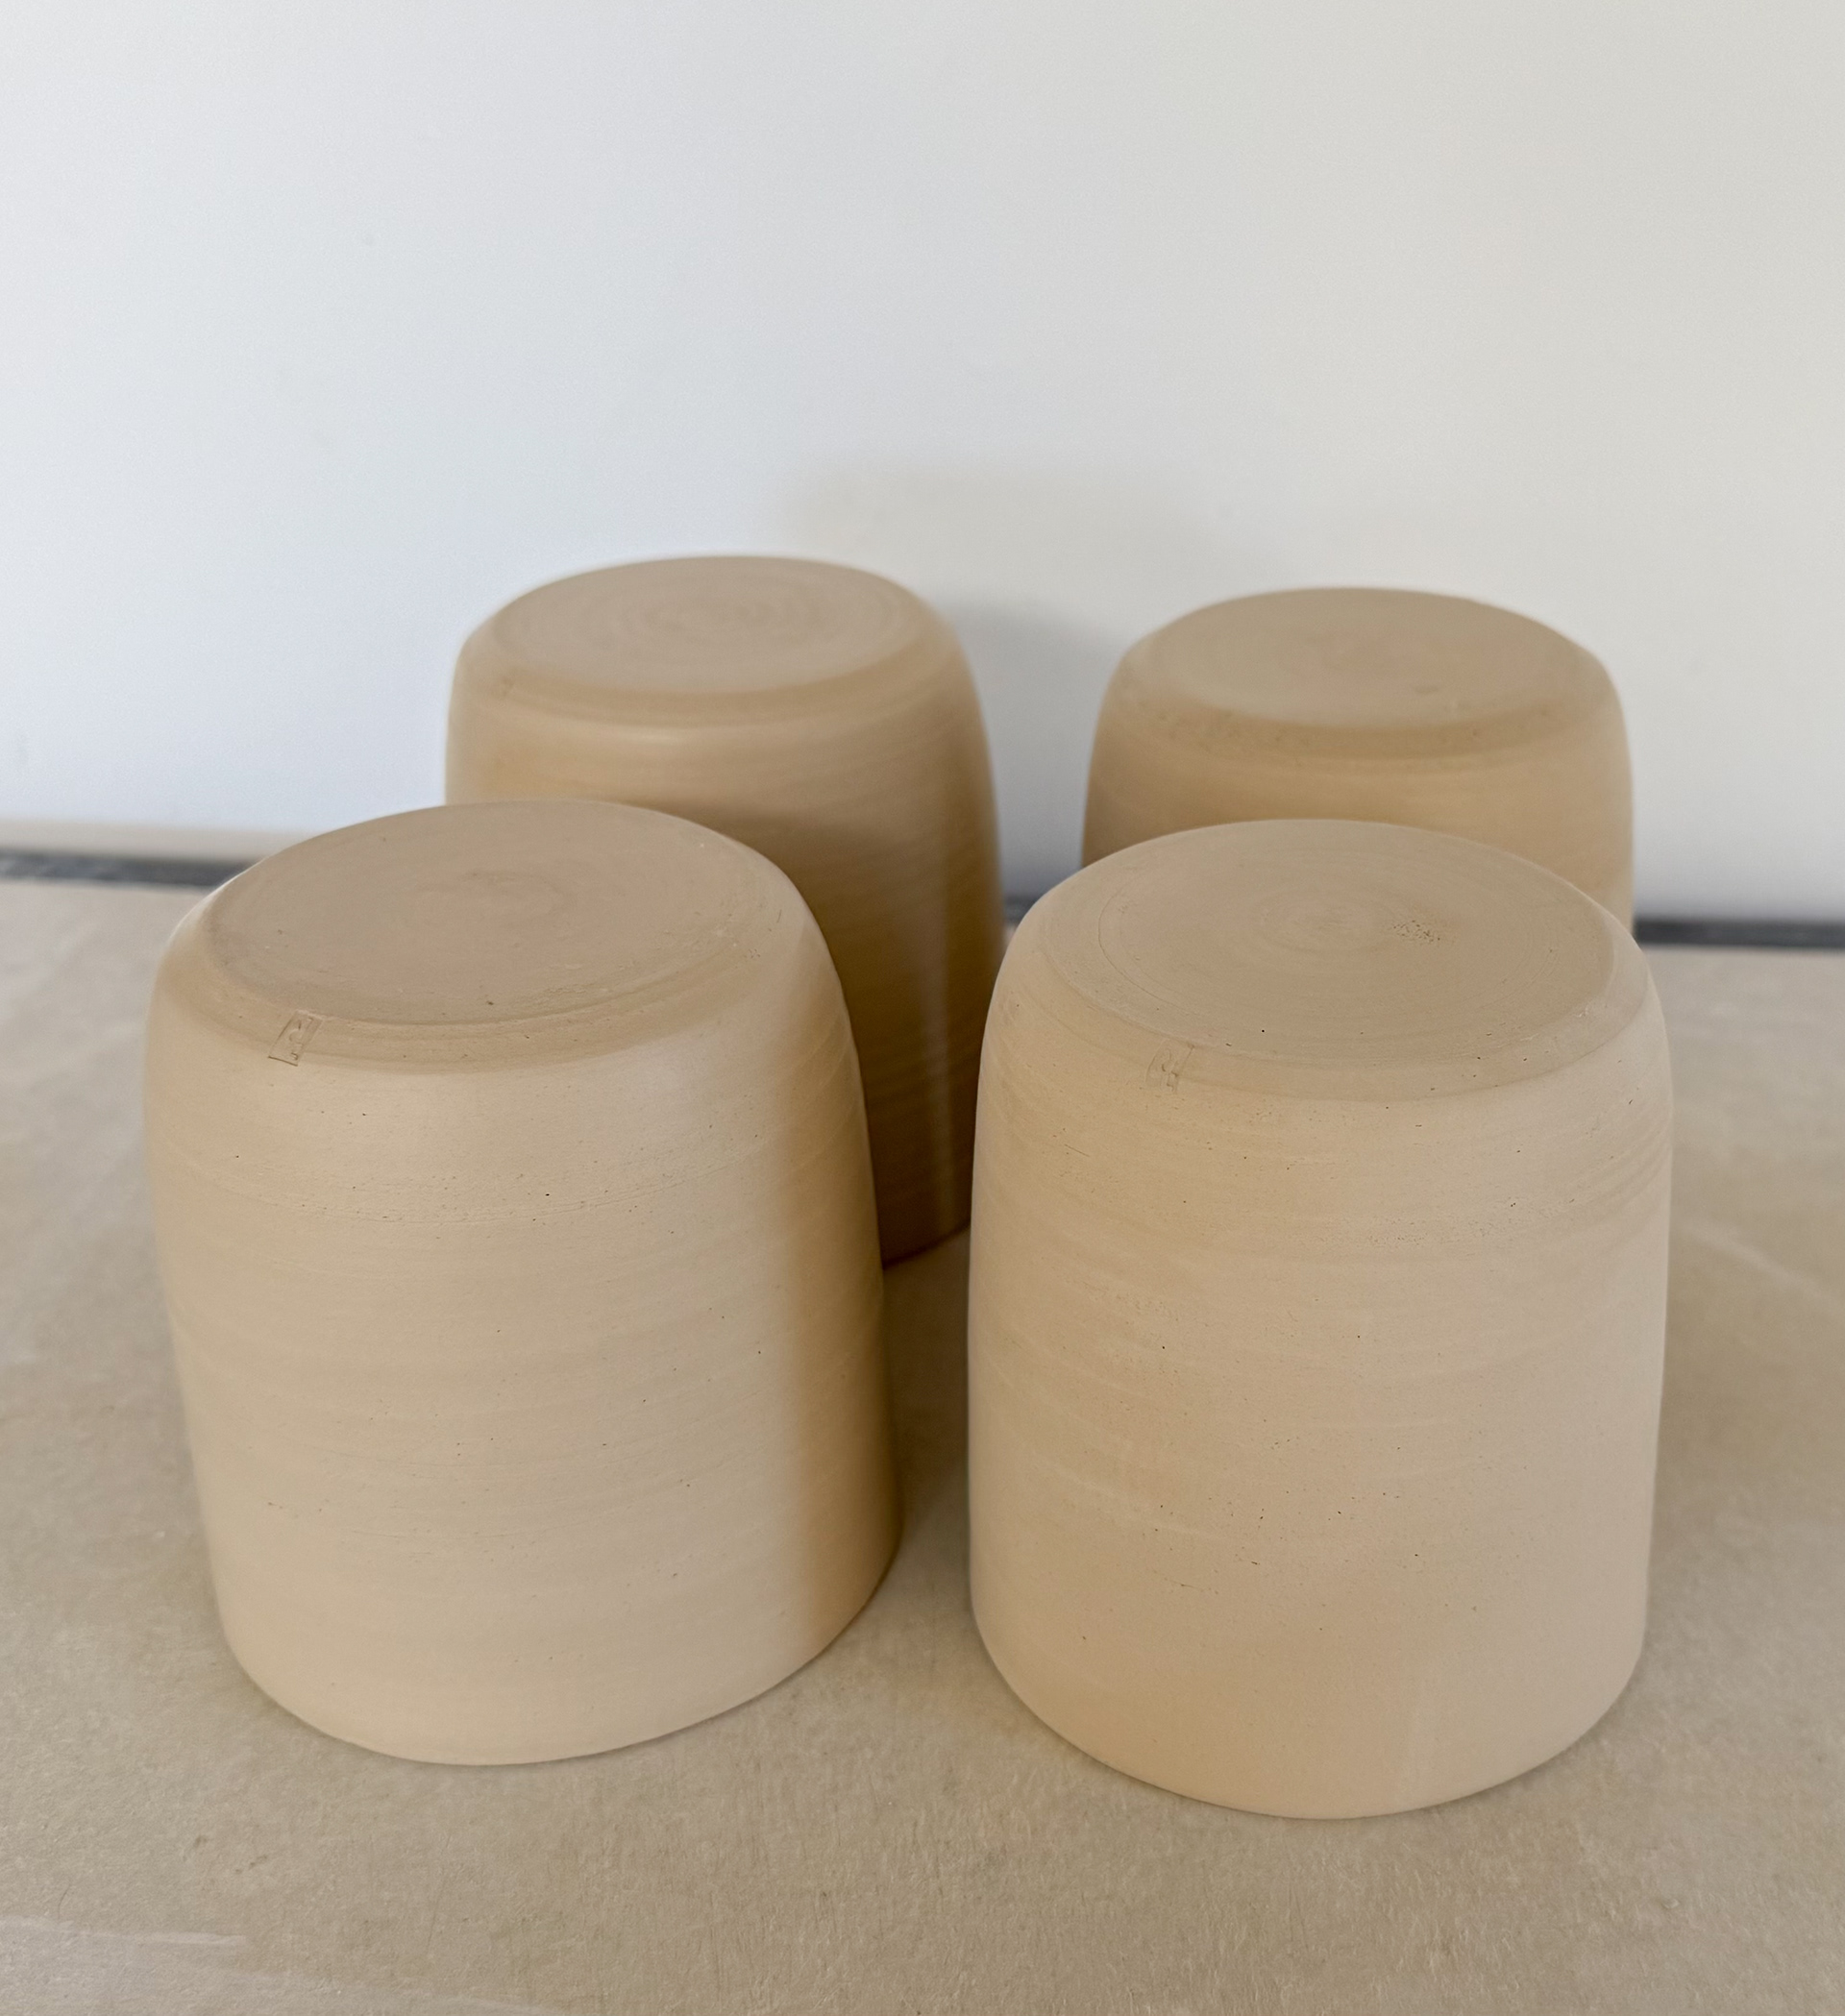
Four slip cast 8cm stoneware cups waiting to be fired
This pattern can be used to warp designs to fit every stoneware cup slip cast in this mould
Finished 8cm slip cast cup
Slip casting ceramics using plaster moulds with liquid clay is traditionally used by production potters to make repeatable forms with faster production. I realised that if I made my own plaster moulds I could control the surface shape and size which will allow more complex patterns without the need to physically measure each piece.
So I have been learning to use 3D modelling software to design both the object itself as well as the full mould for pouring the plaster. After they are finished printing I spray them with auto primer/filler and sand them multiple times to remove the print lines. After that they can be used to create the plaster moulds needed for slip casting. Each mould can easily be made multiple times.
3D printing the moulds also allows you to easily scale the size of the design and account for shrinkage in different clays. With this method I could create the same sized finished cup in both stoneware (shrinkage rate 12.5%) and porcelain (shrinkage rate 19%).

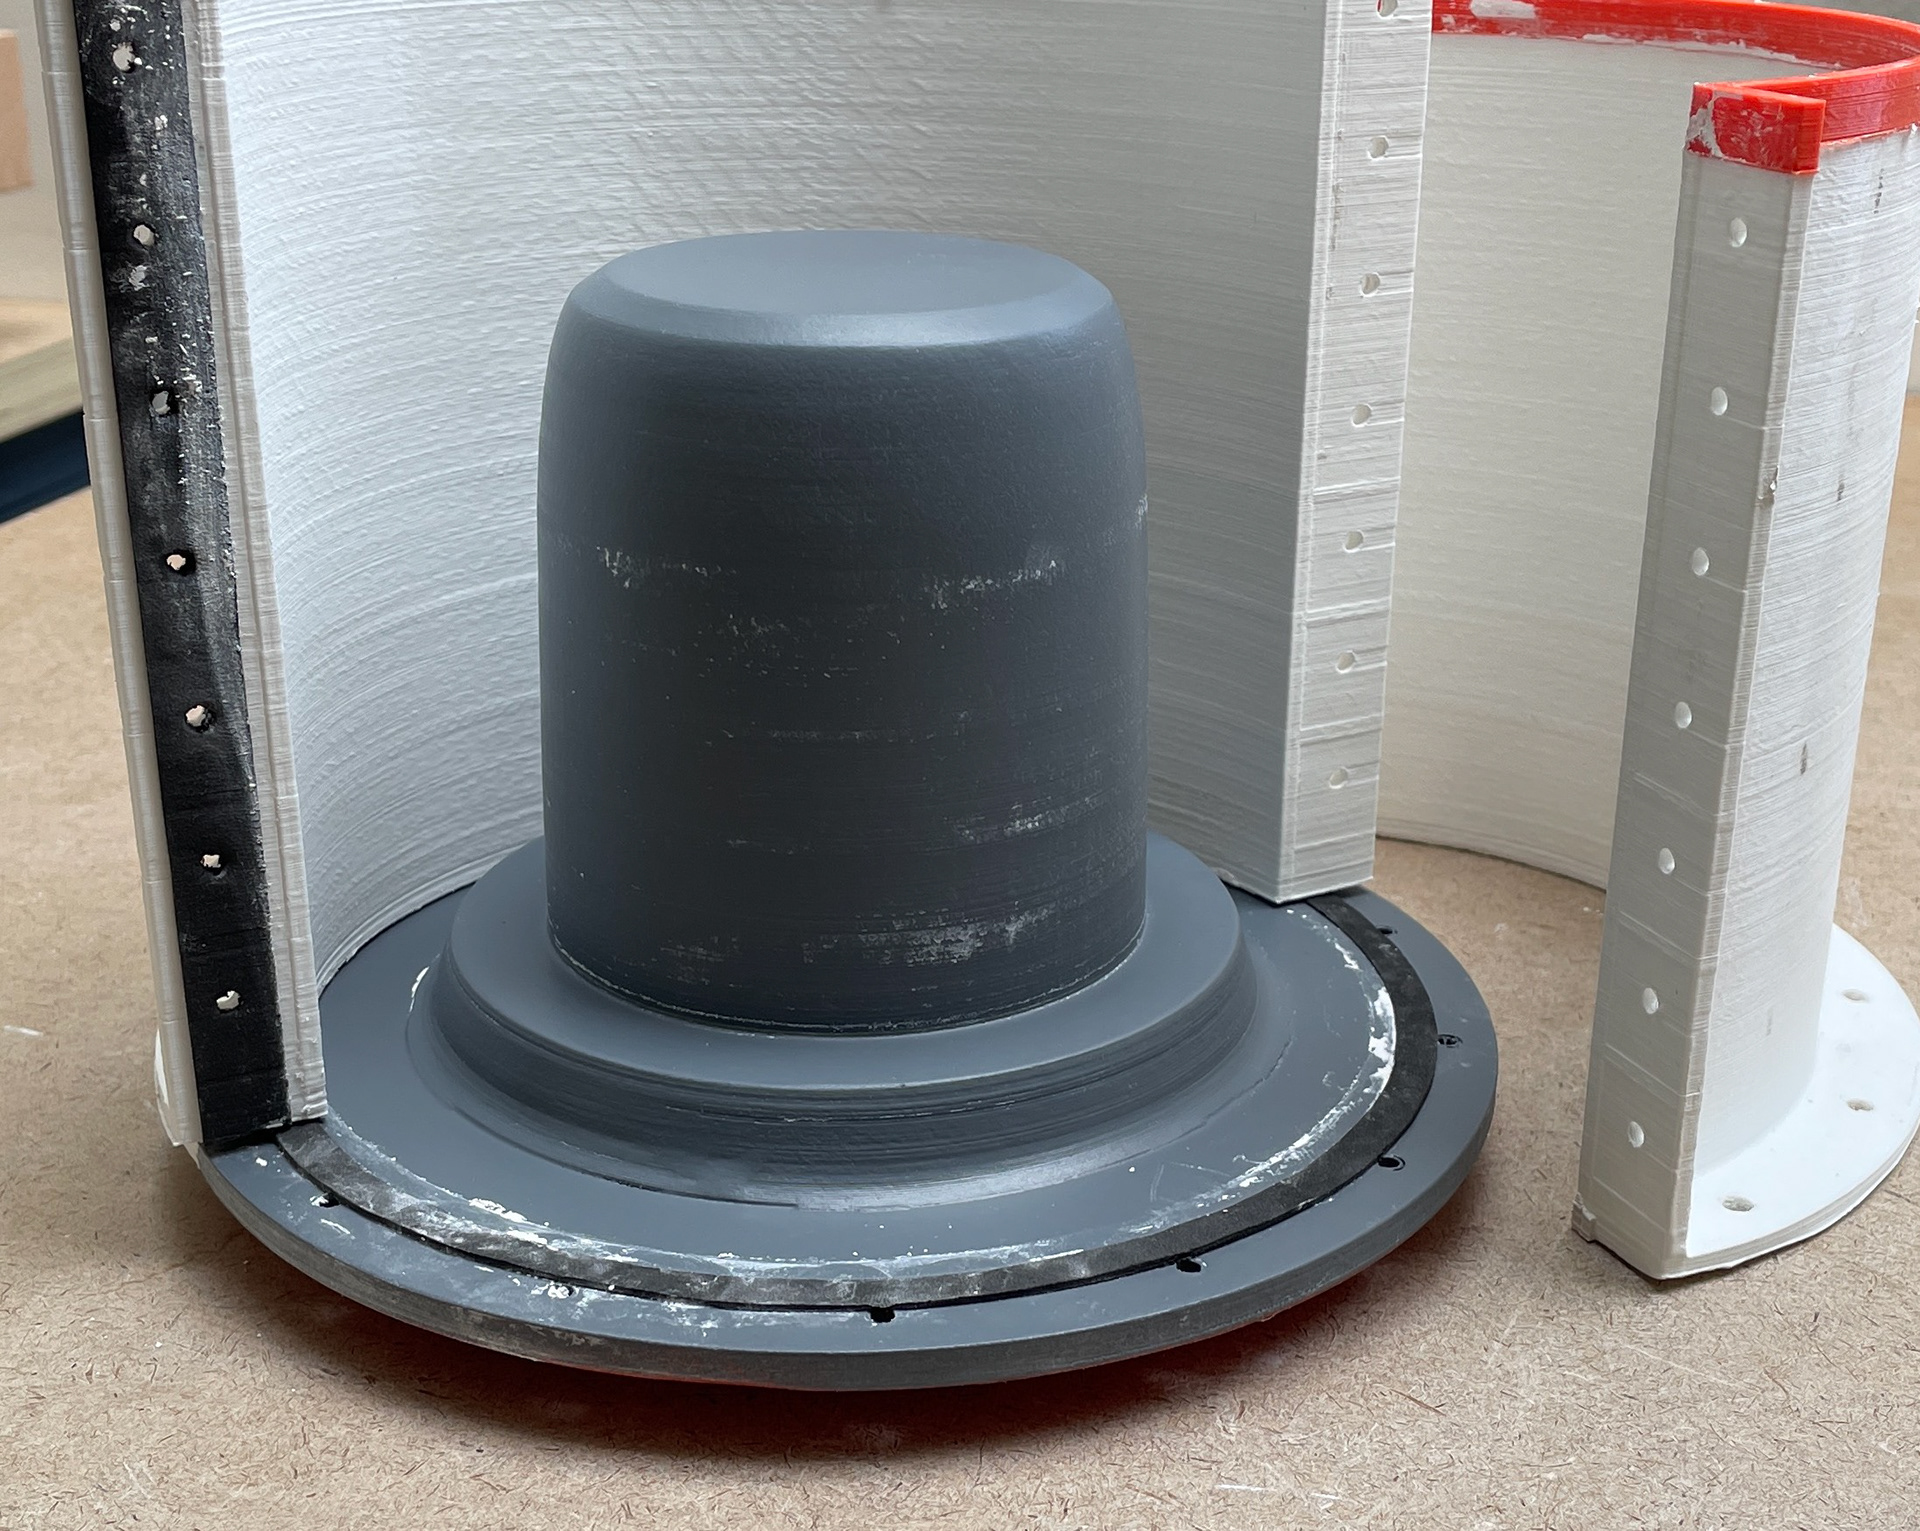
Two part plaster mould for a planter
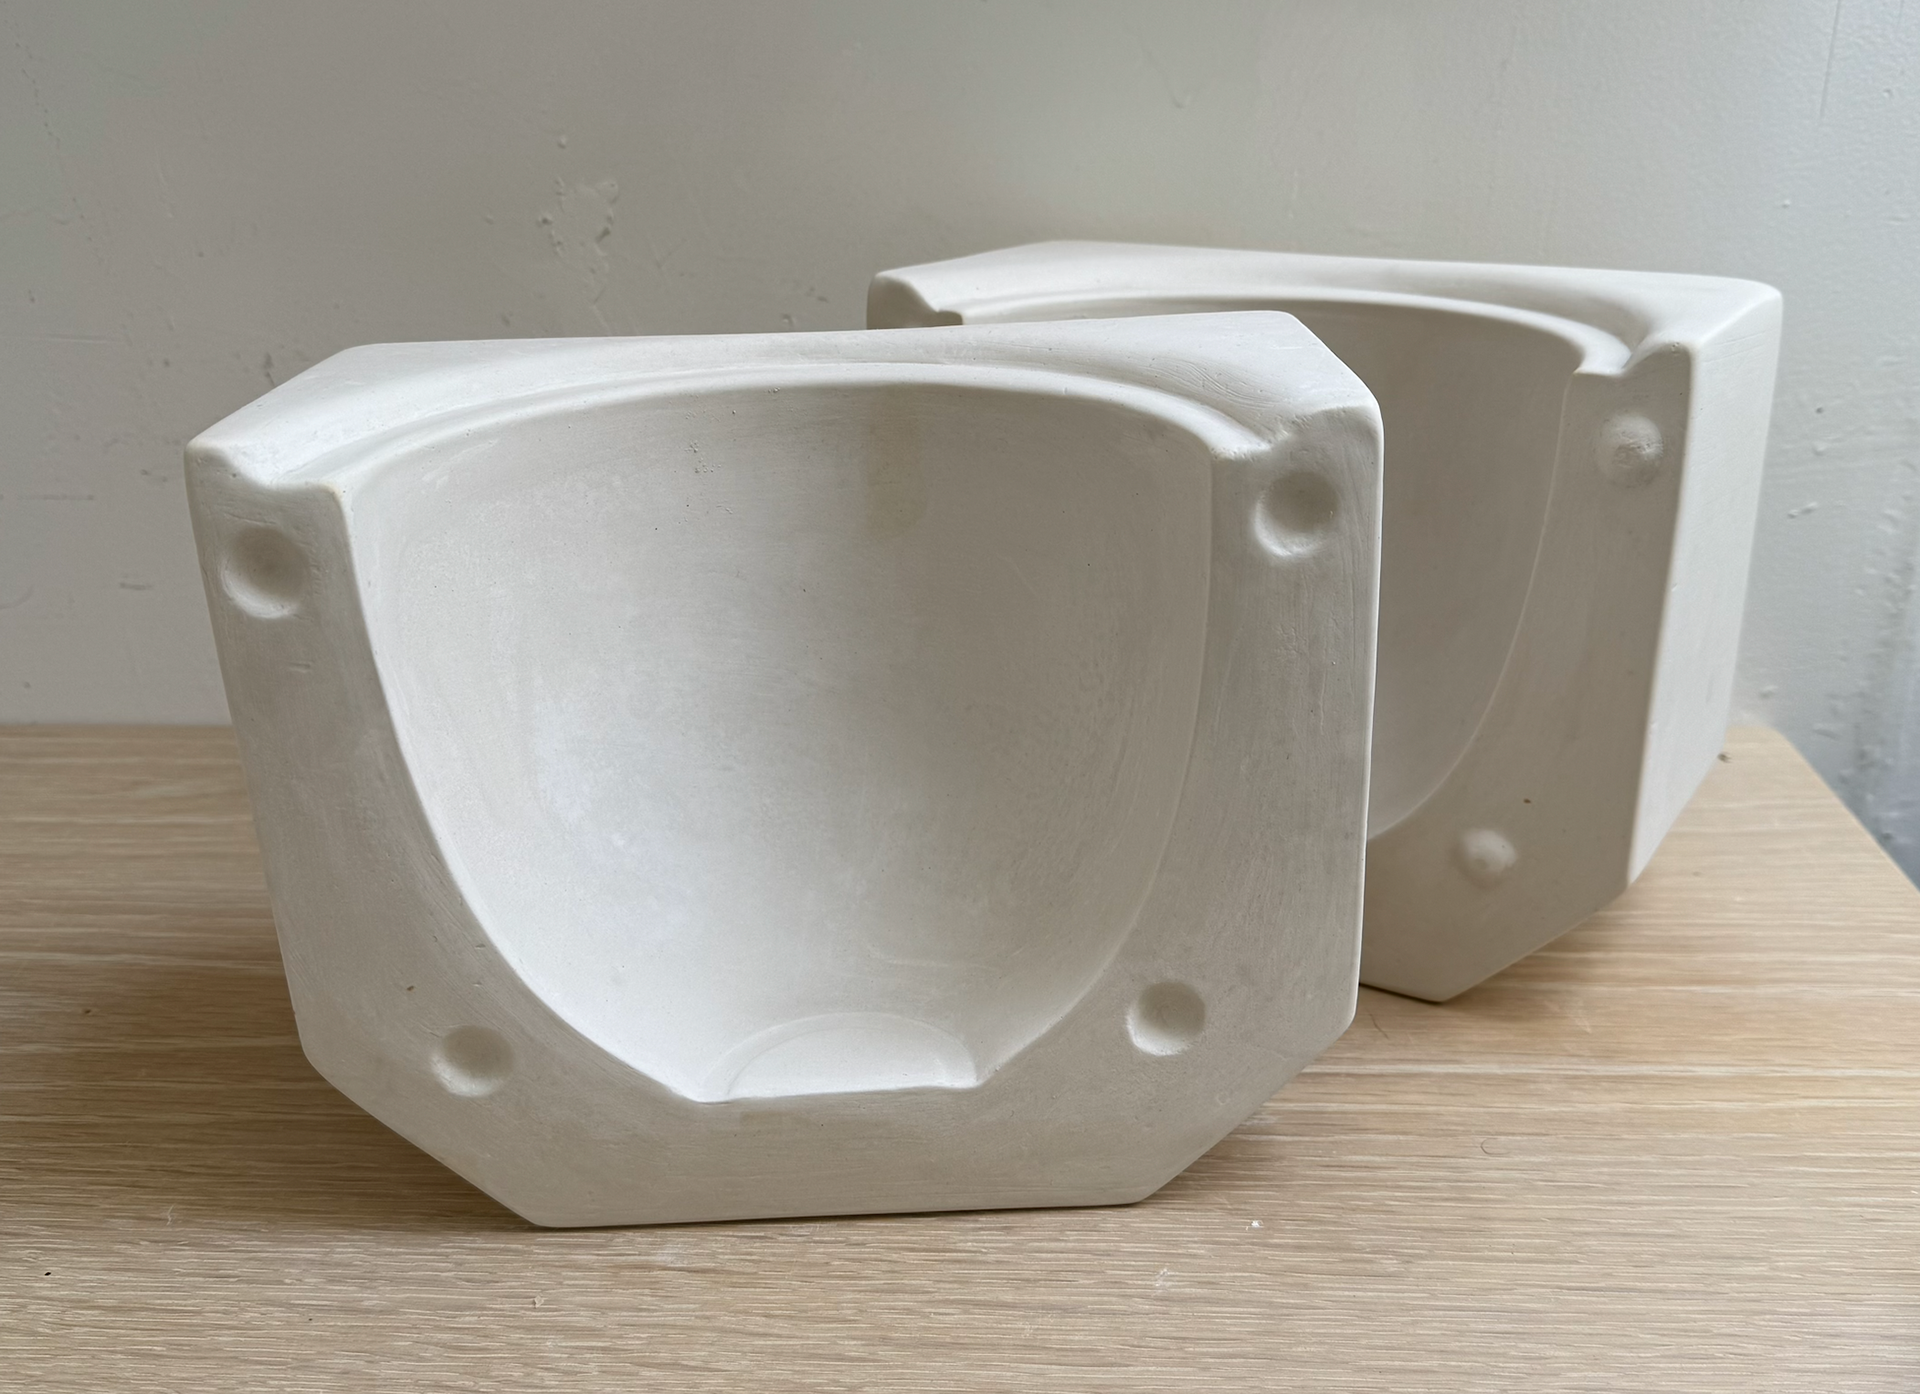
This original planter was glued to a wooden frame, each plaster part had to be made twice to get a perfect fit. Both parts required hours of sanding to finish them since the frame wasn't built well.
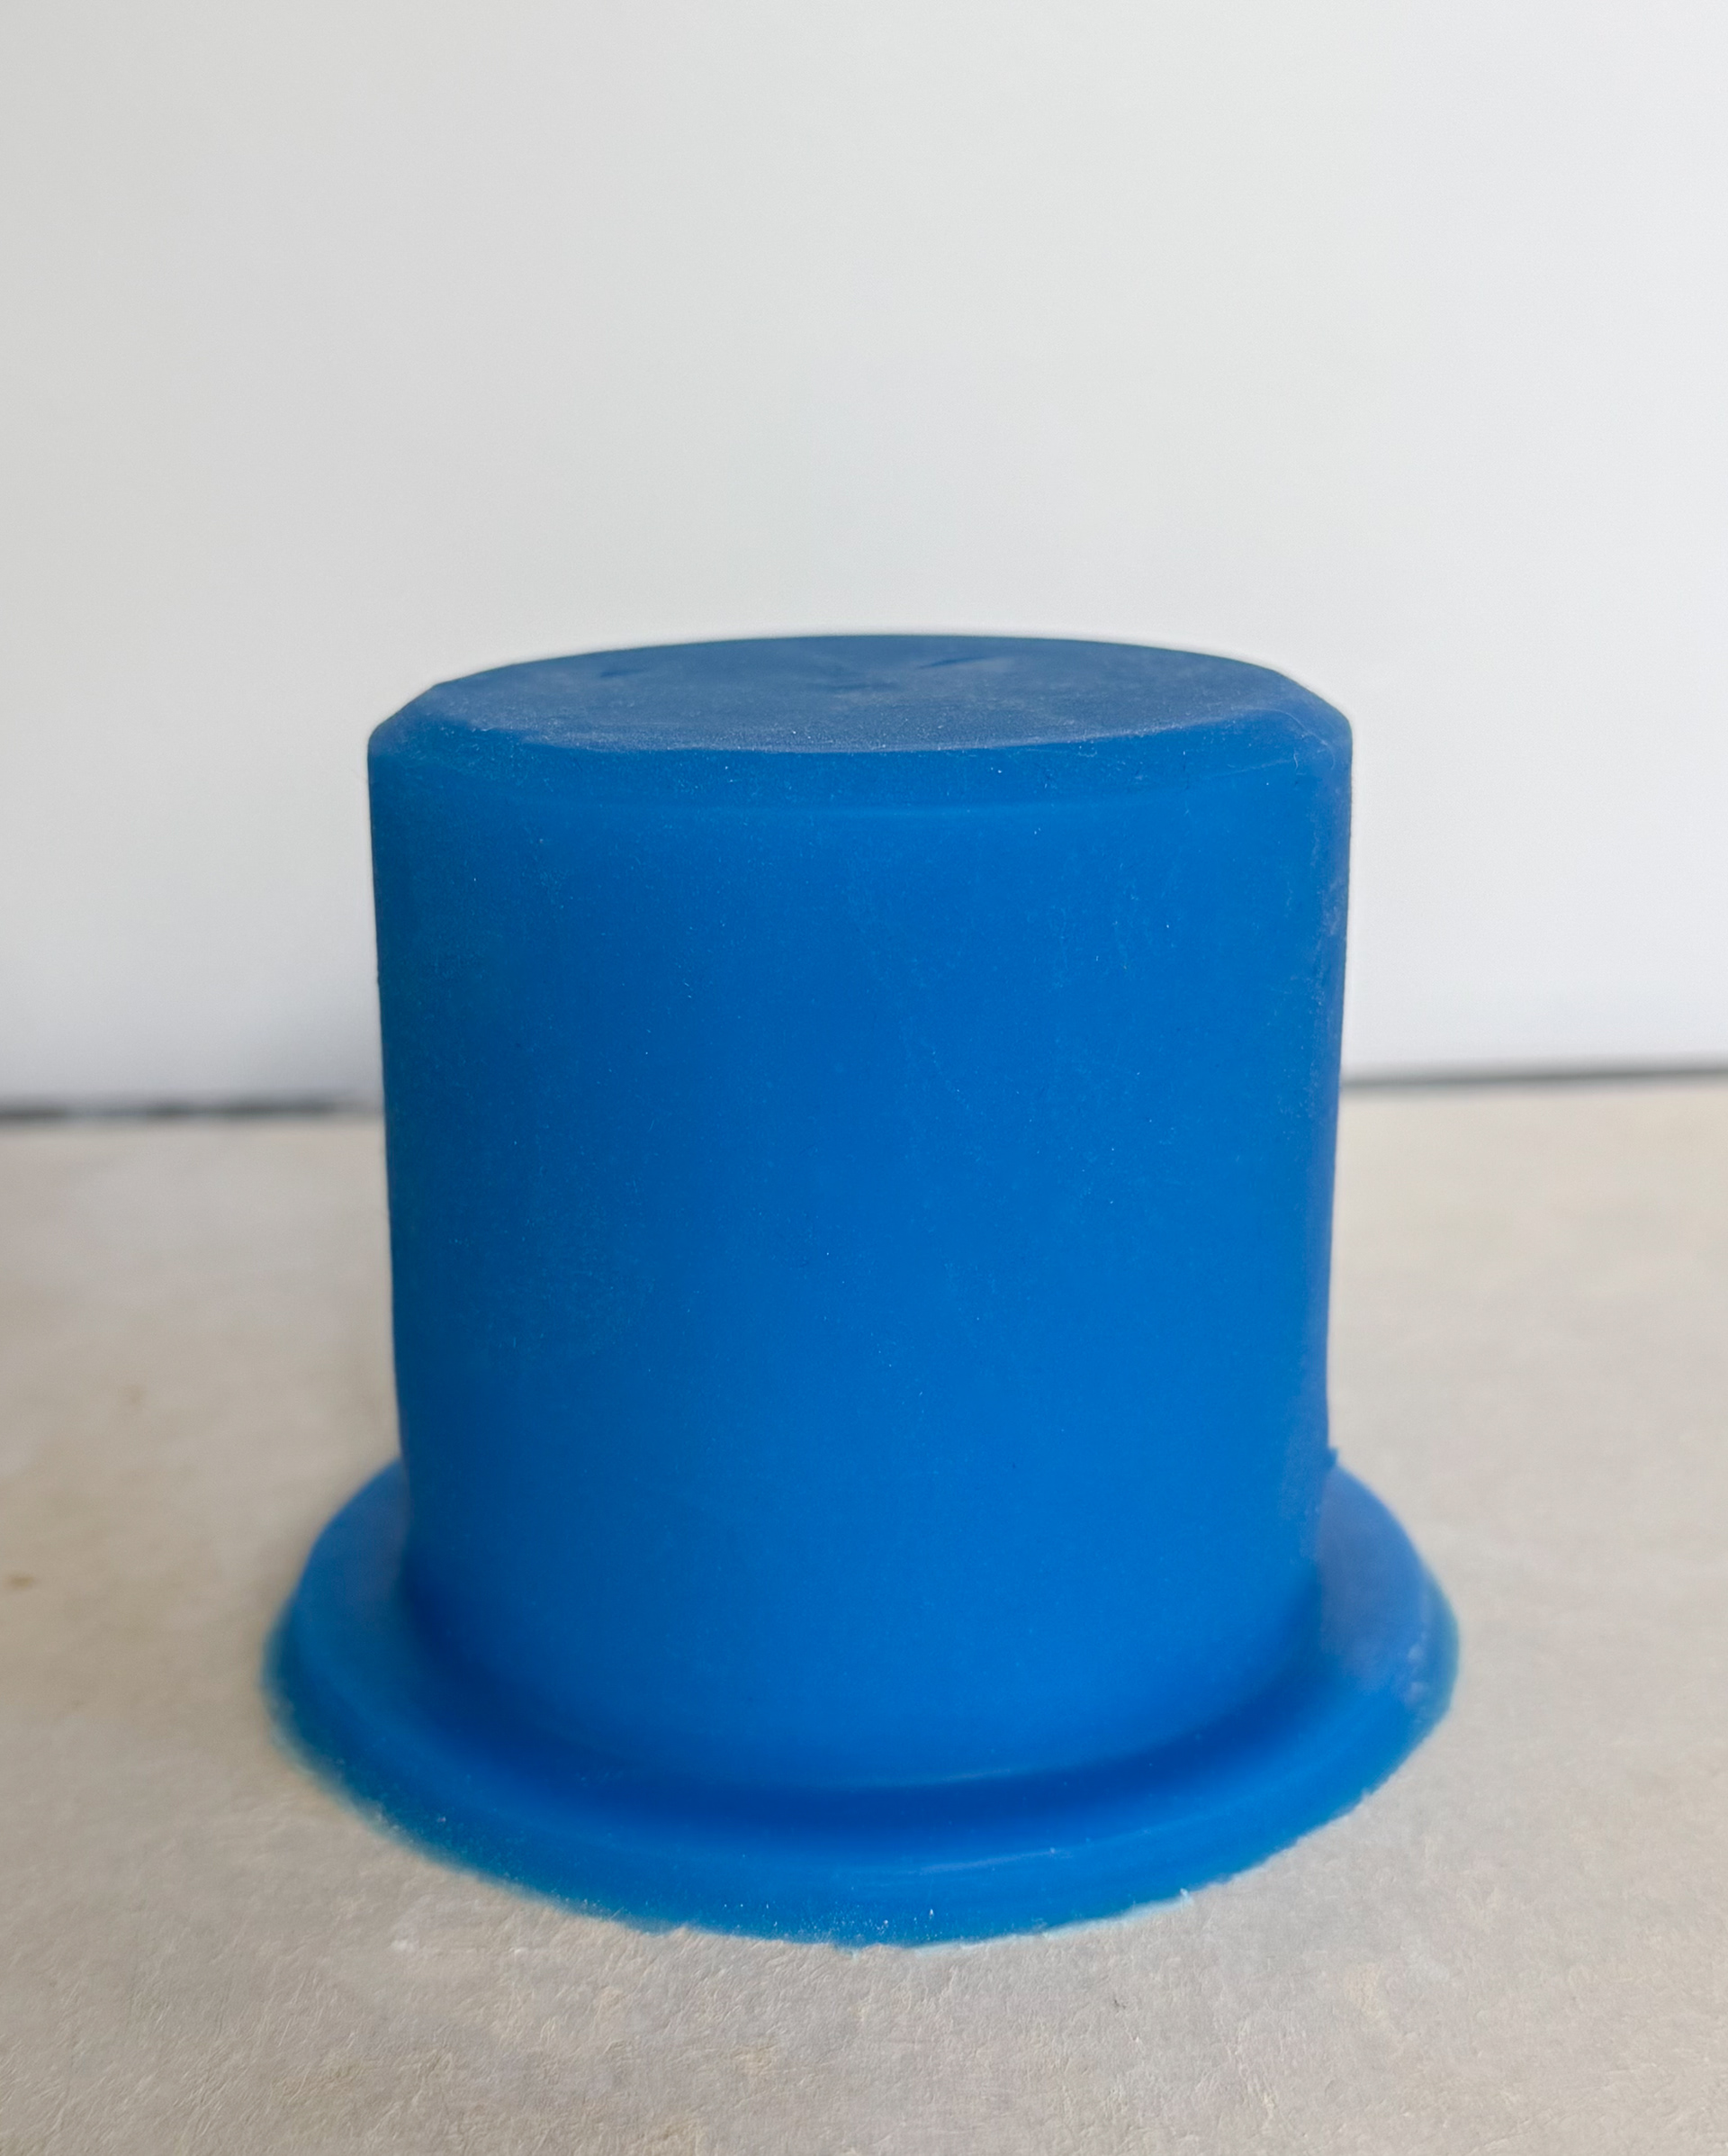
Test silicone mould of a cup made from a plaster mould. The surface has some imperfections which meant the plaster mould had to be destroyed to remove it. 3D printing would prevent that.
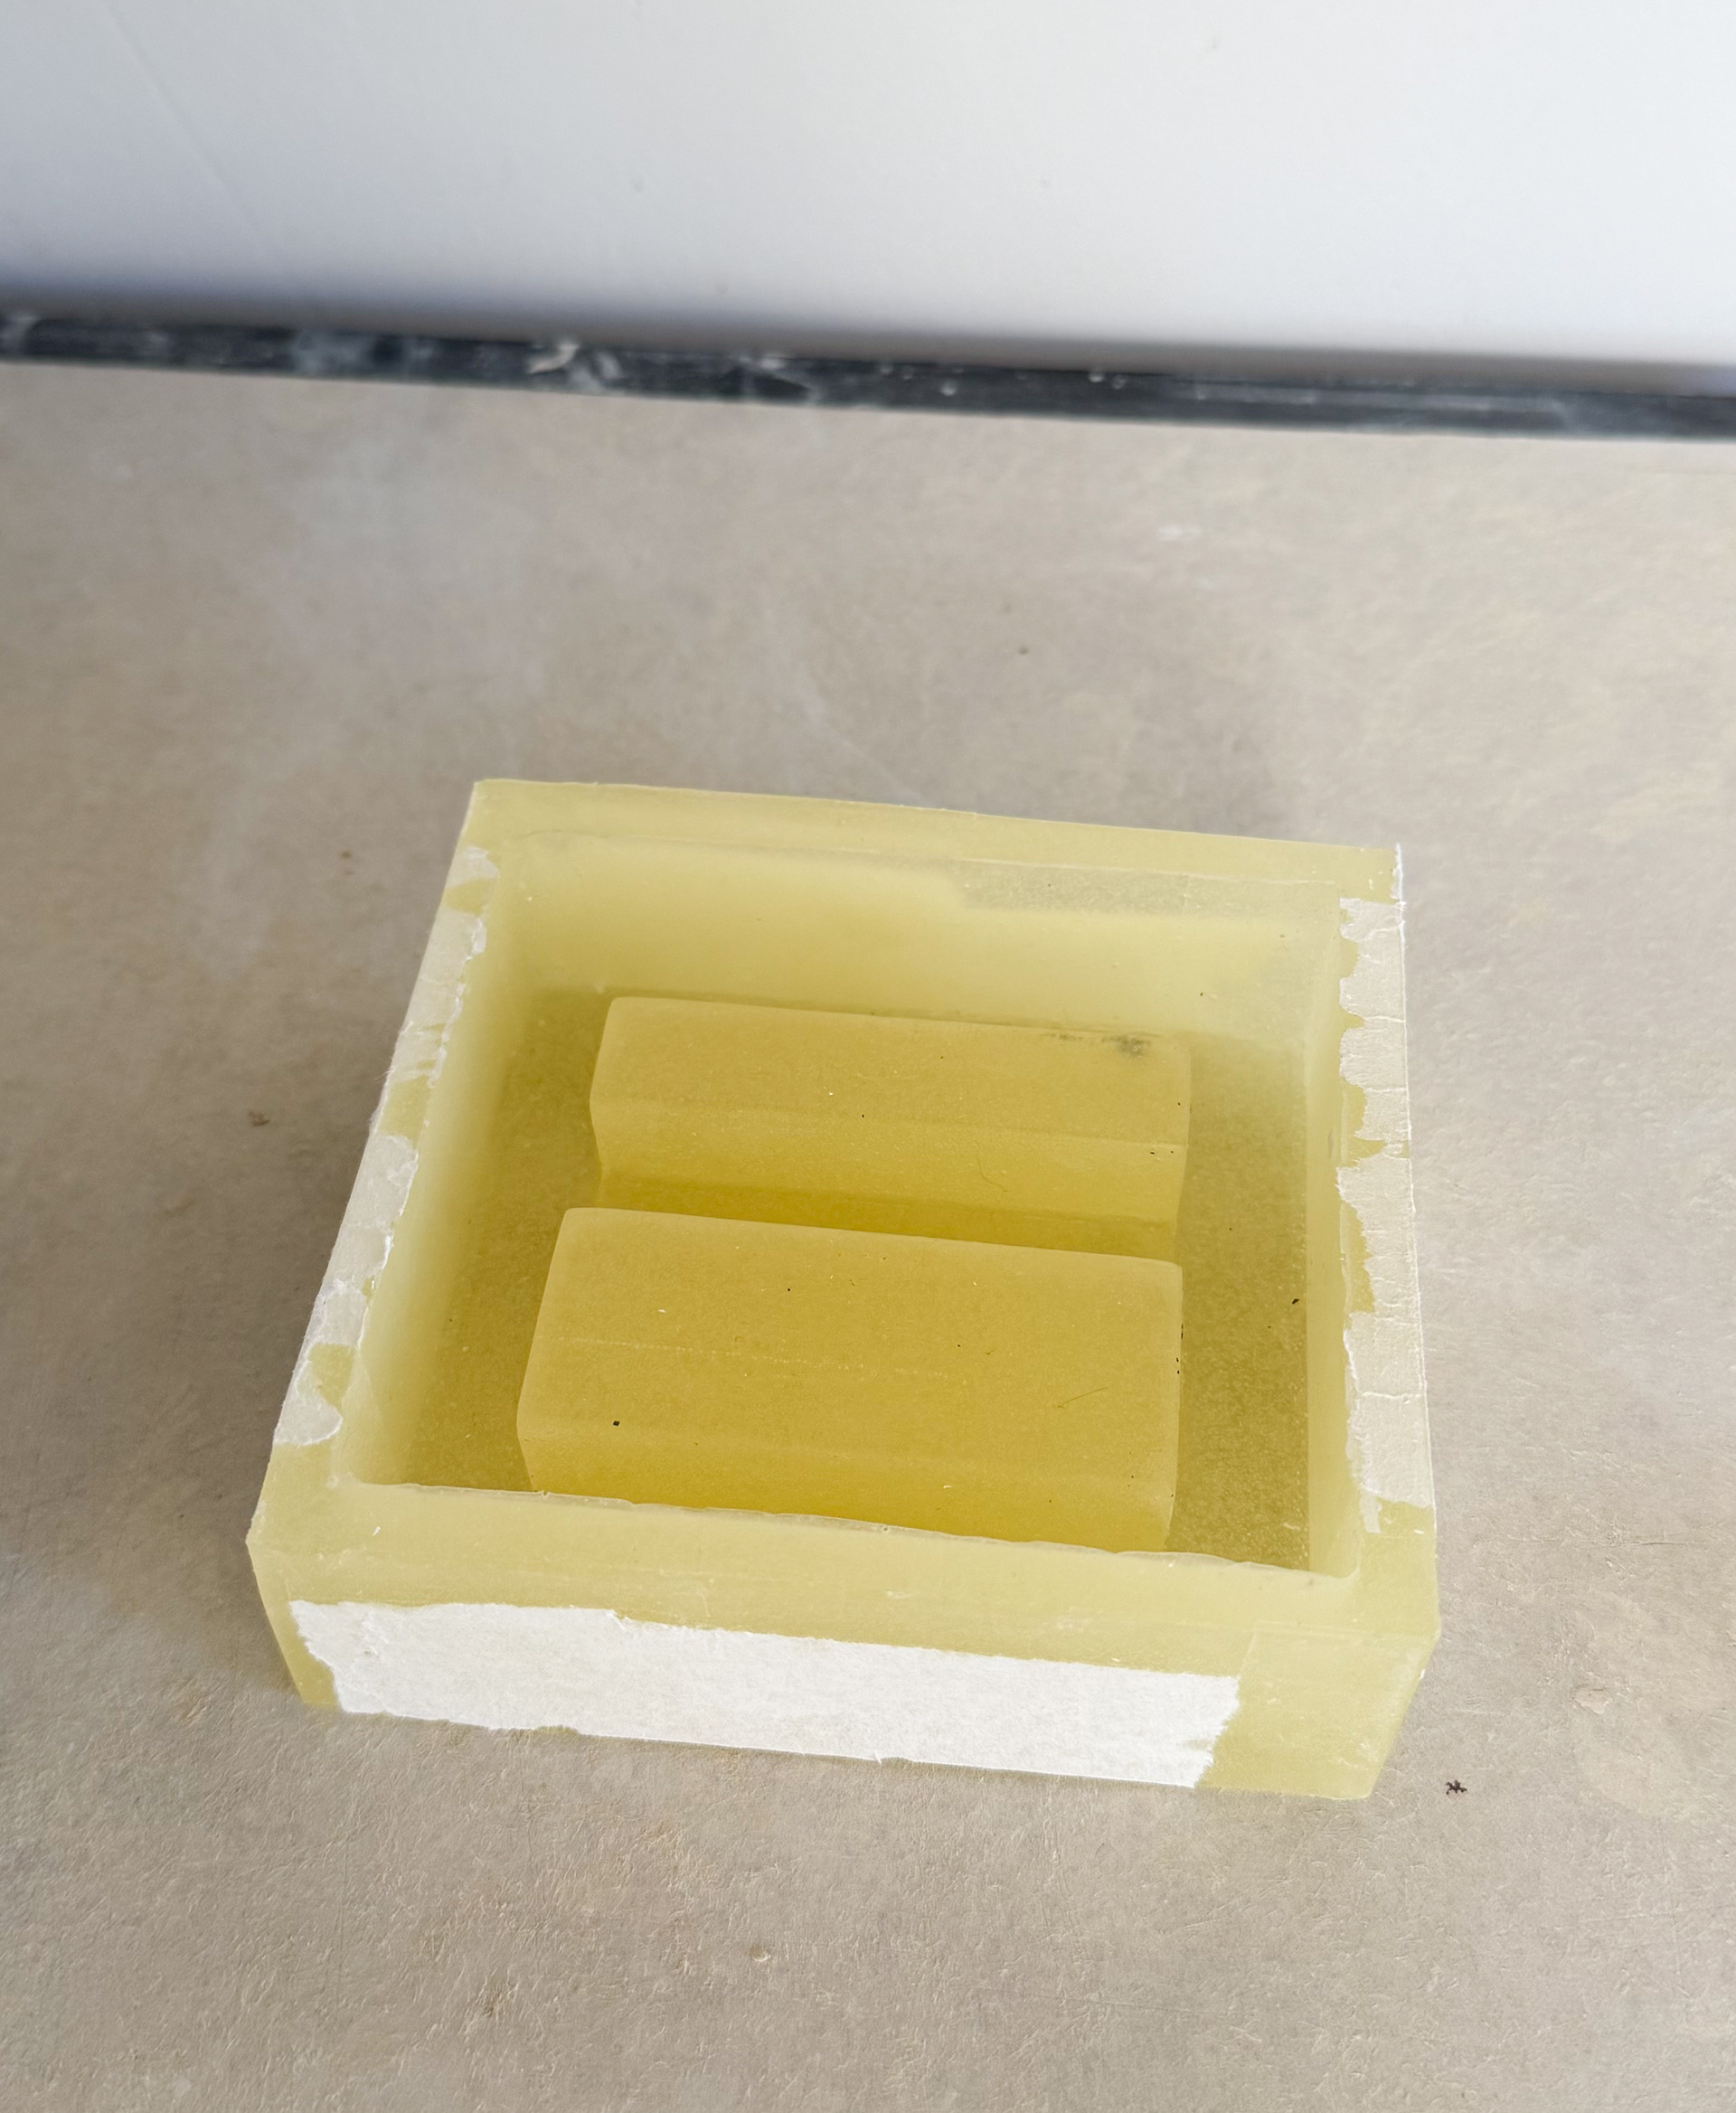
Test polyurethane mould for a phone stand made from a silicone mould made from a hand built wooden mould.
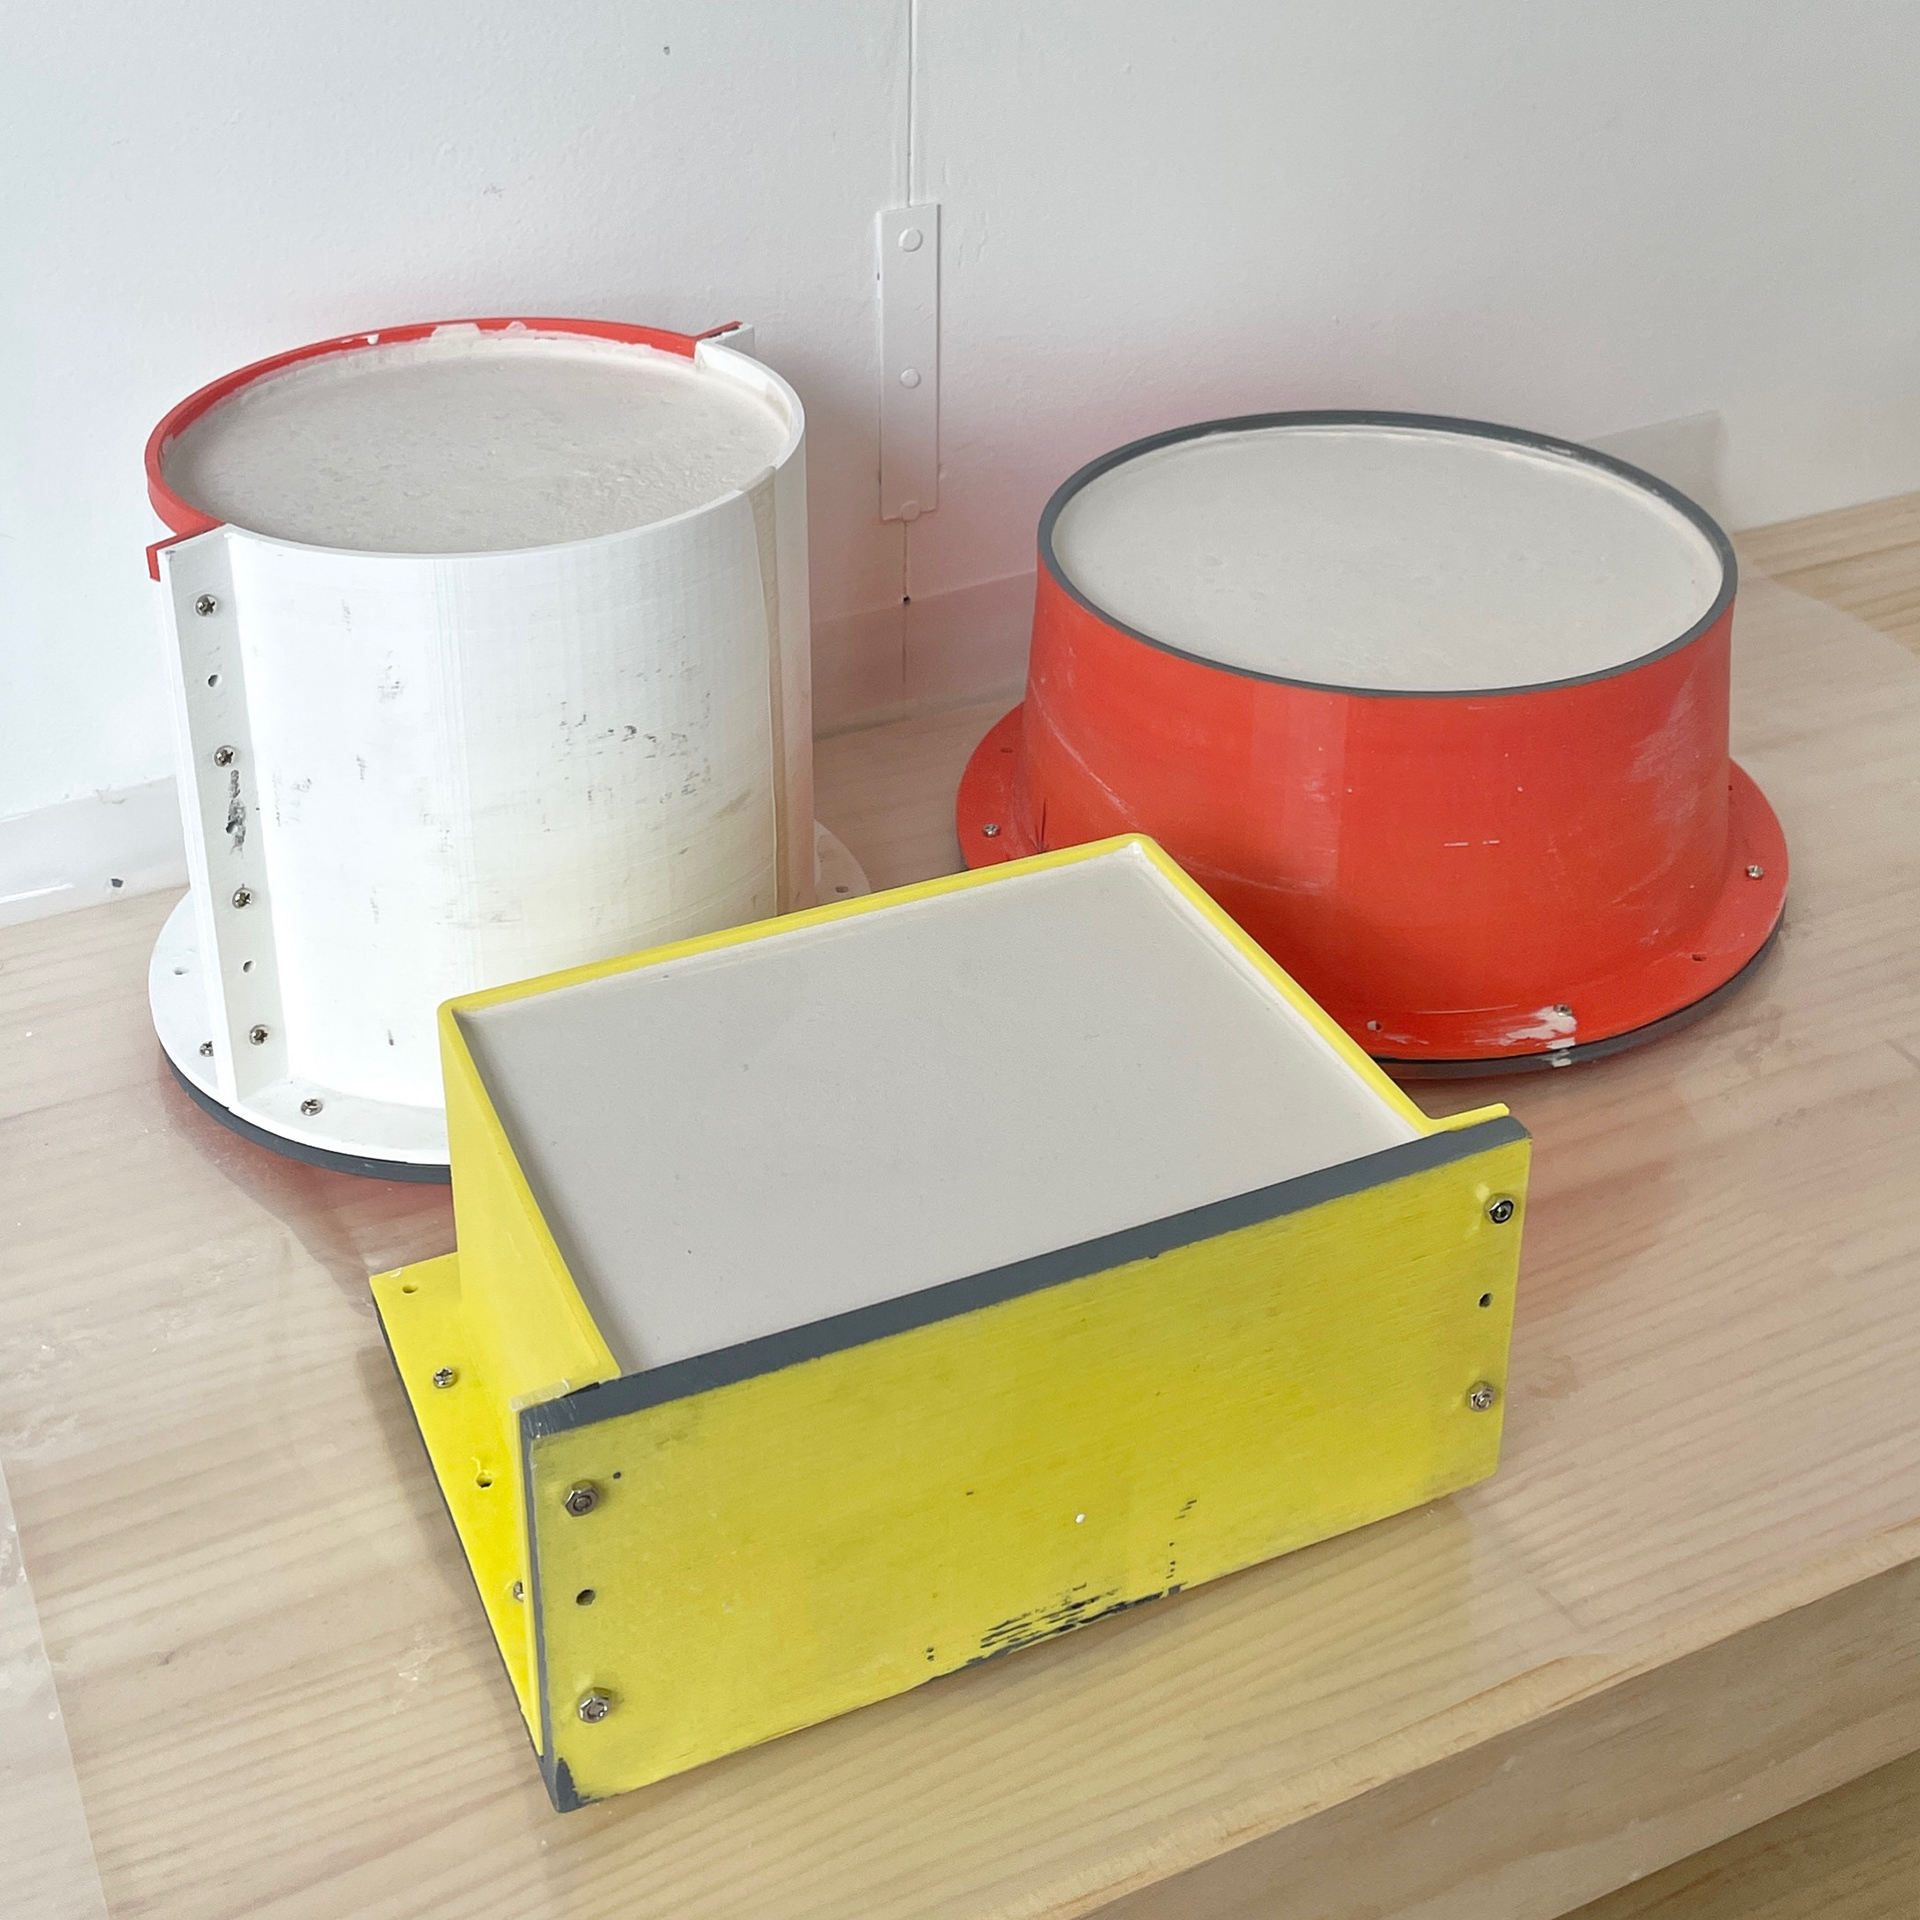
After a lot of trial and error I have successfully finished creating a few basic moulds. So now the next step is to start creating larger moulds including more complex shapes requiring multiple plaster parts. This 2 part planter mould is simple, but significantly larger than any other ones I've made showing the ability to scale up the work I've done previously.
With larger or more complex shapes the difficulty removing the plaster from the 3D print without damaging it increases. The best solution to this is to 3D print the shape of the desired plaster mould instead of the object and then use flexible silicone or polyurethane rubber to create the mother mould.
After I have made some more traditional larger moulds like planters and bowls, I would also like to make some complex shapes not usually seen in ceramics.

Pattern for a Icosagonal Dipyramid
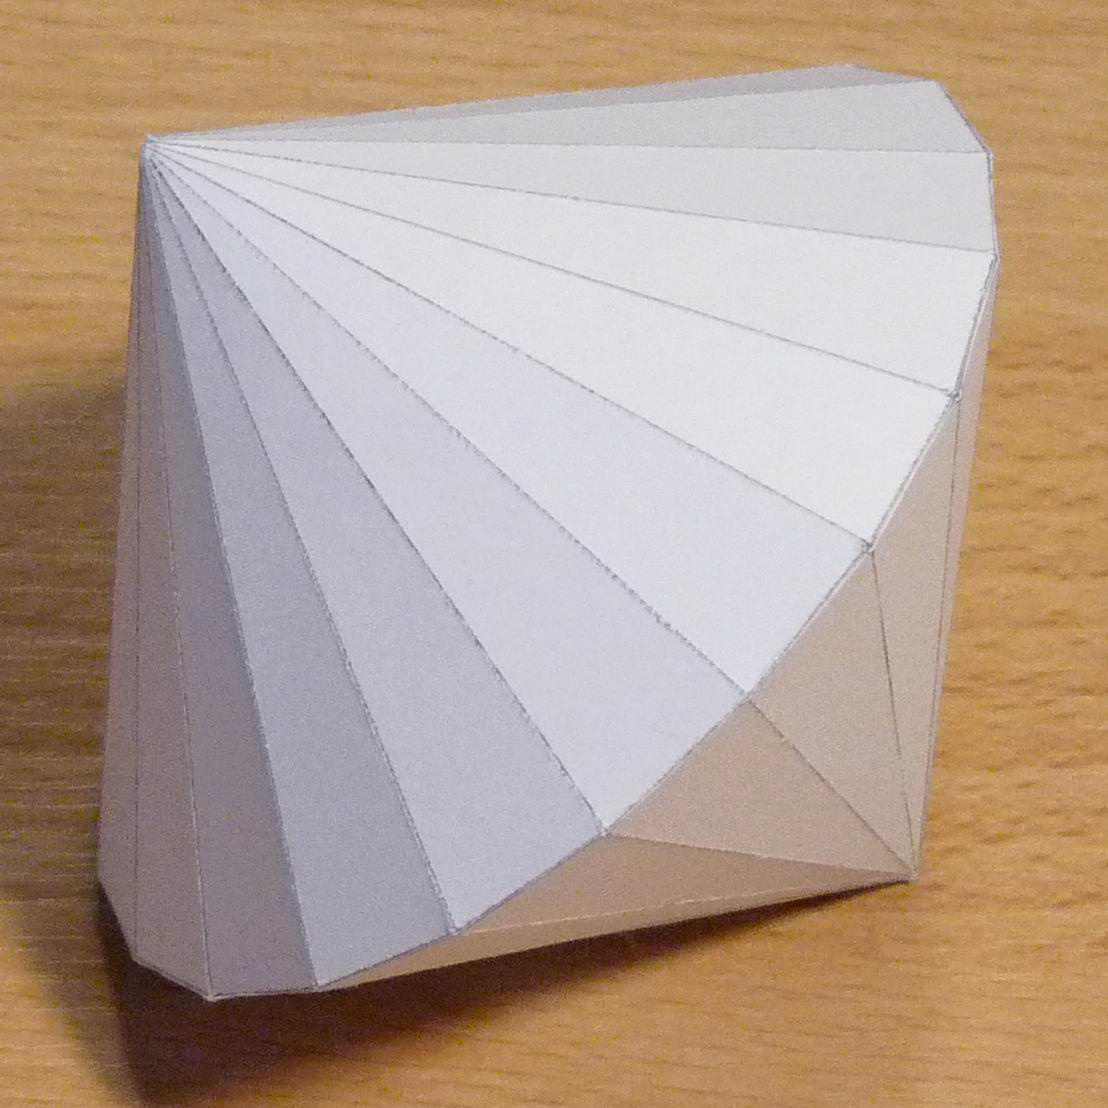
Paper model of a Icosagonal Dipyramid
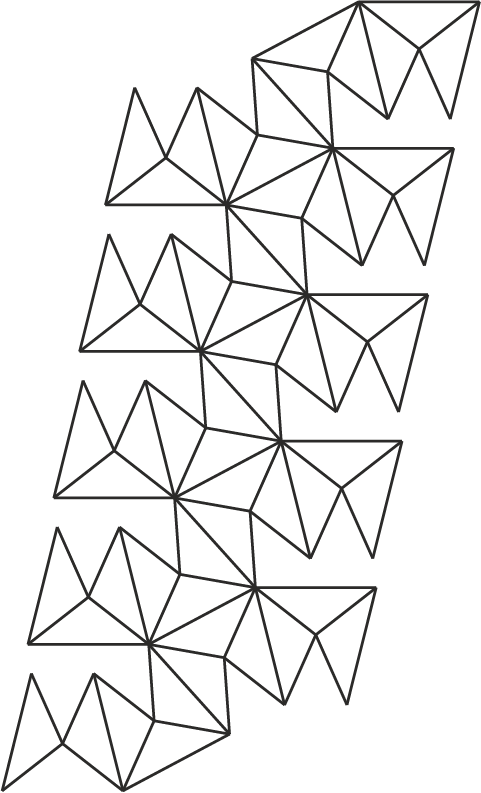
Pattern for a Triambic Icosahedron
Paper model of a Triambic Icosahedron

Pattern for a Cubicuboctahedron
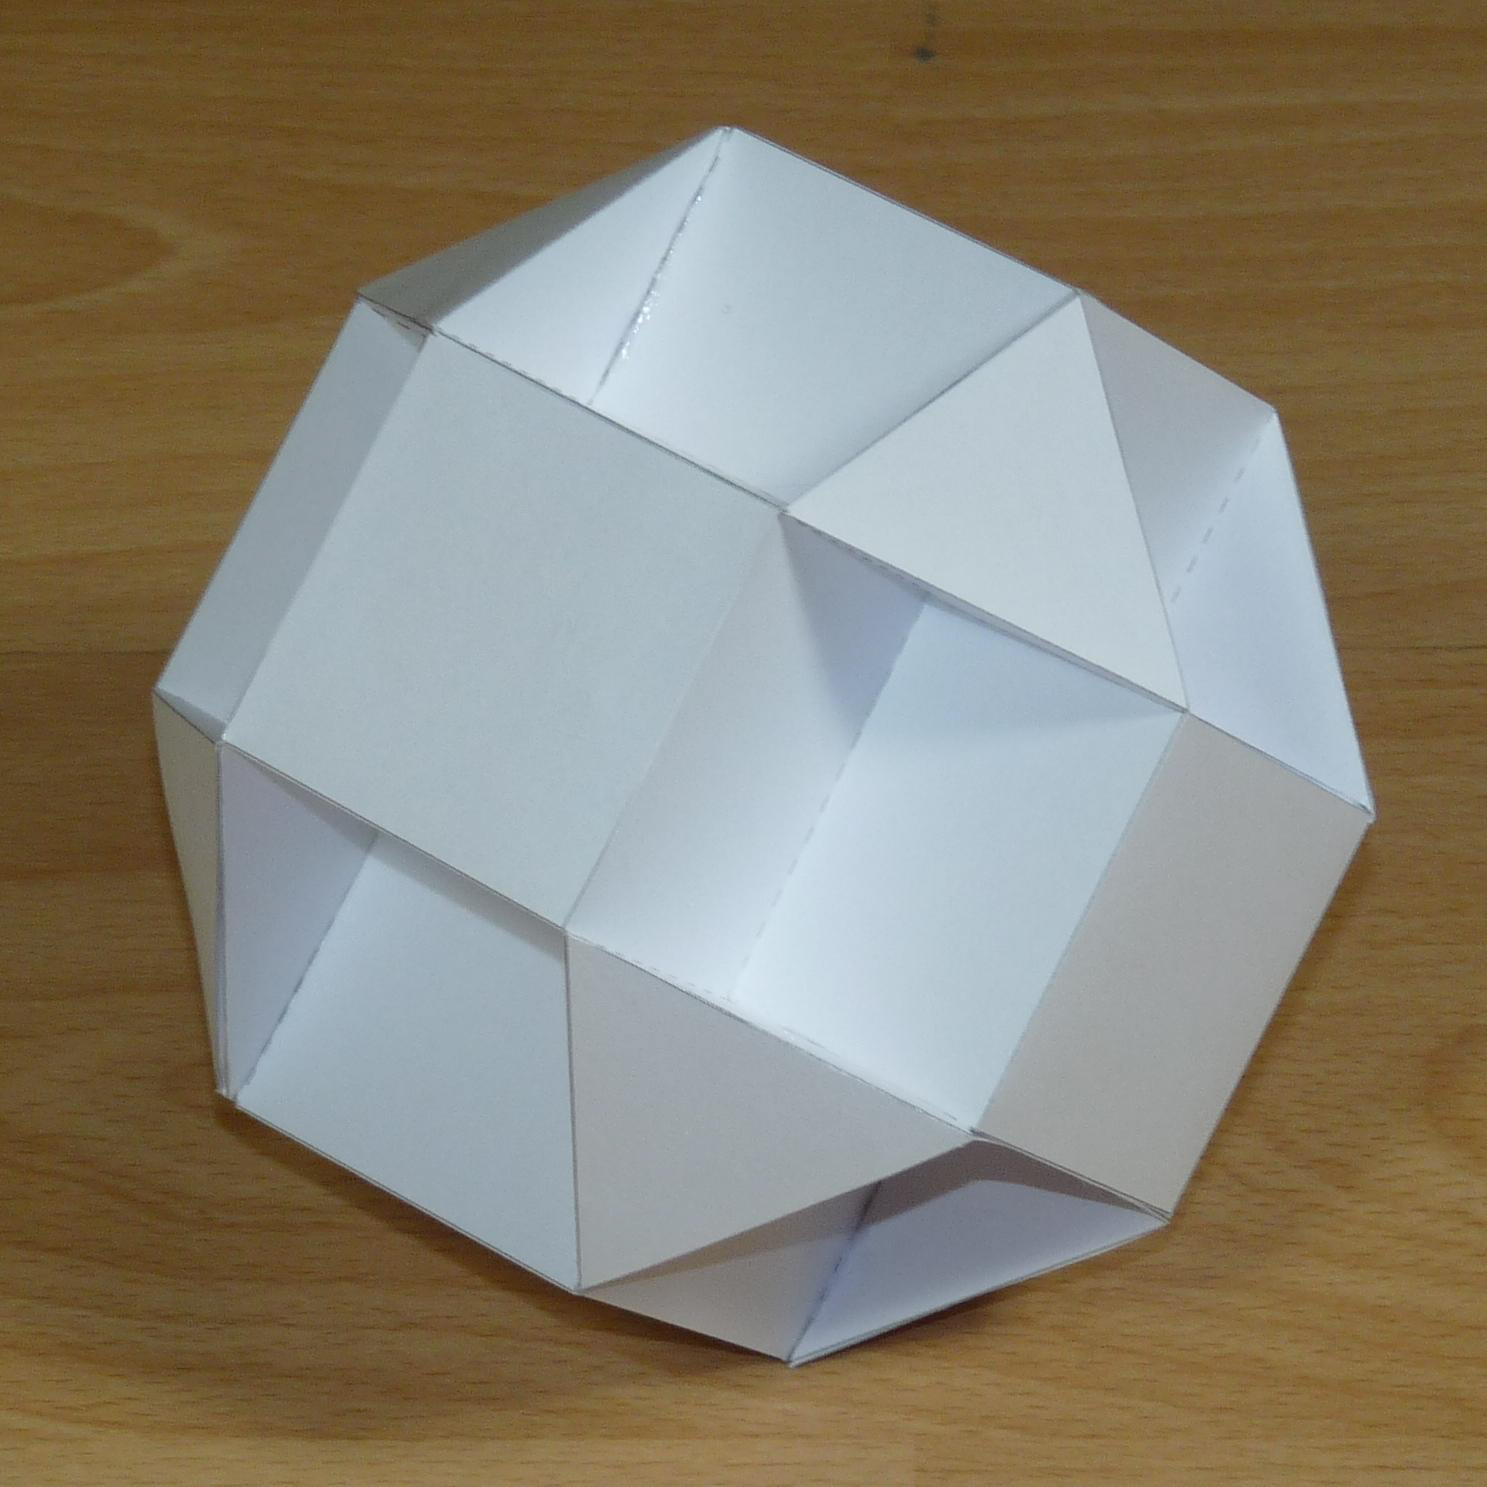
Paper model of a Cubicuboctahedron
When I was working on the geometric patterns for vinyl cutting I discovered that they were a type of mathematical pattern called tessellations, which are used for tiling. This lead me to these shapes above which are called Polyhedra. They are 3D geometrical figures discovered by mathematicians. I am very interesting in making these out of ceramics.

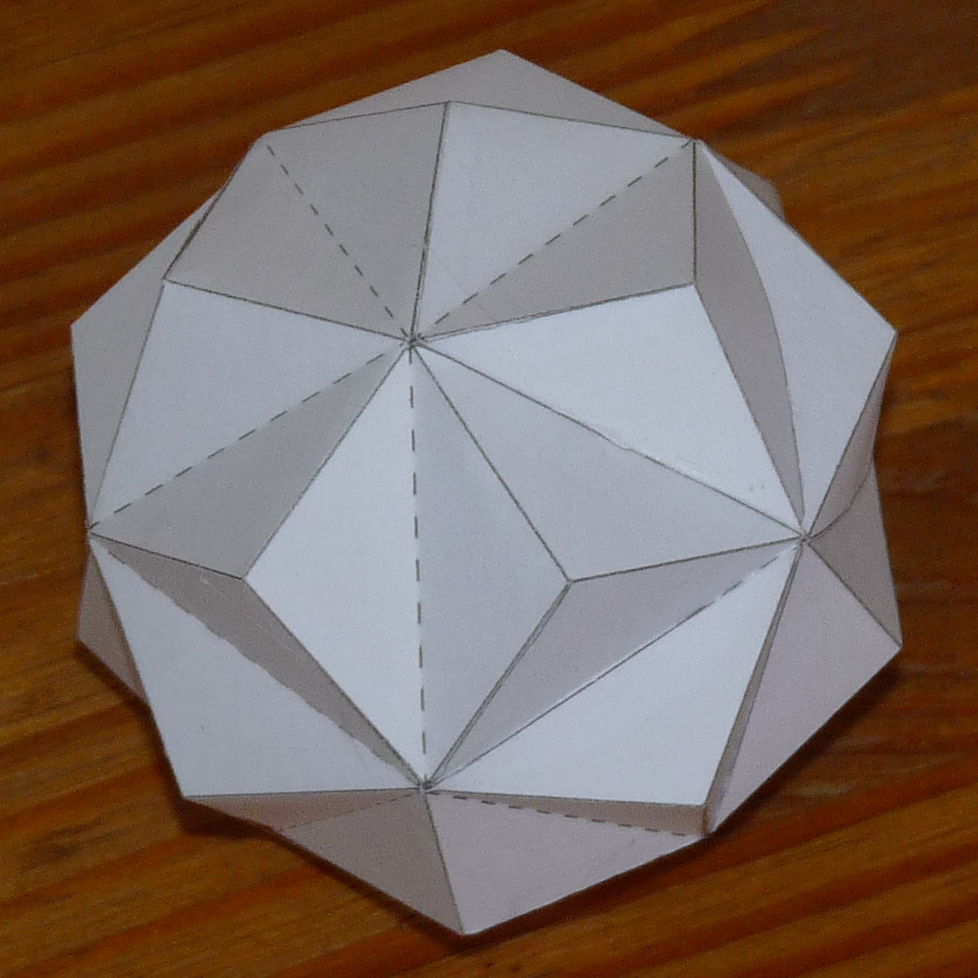
Pattern for a Hebdomicontadissaedron
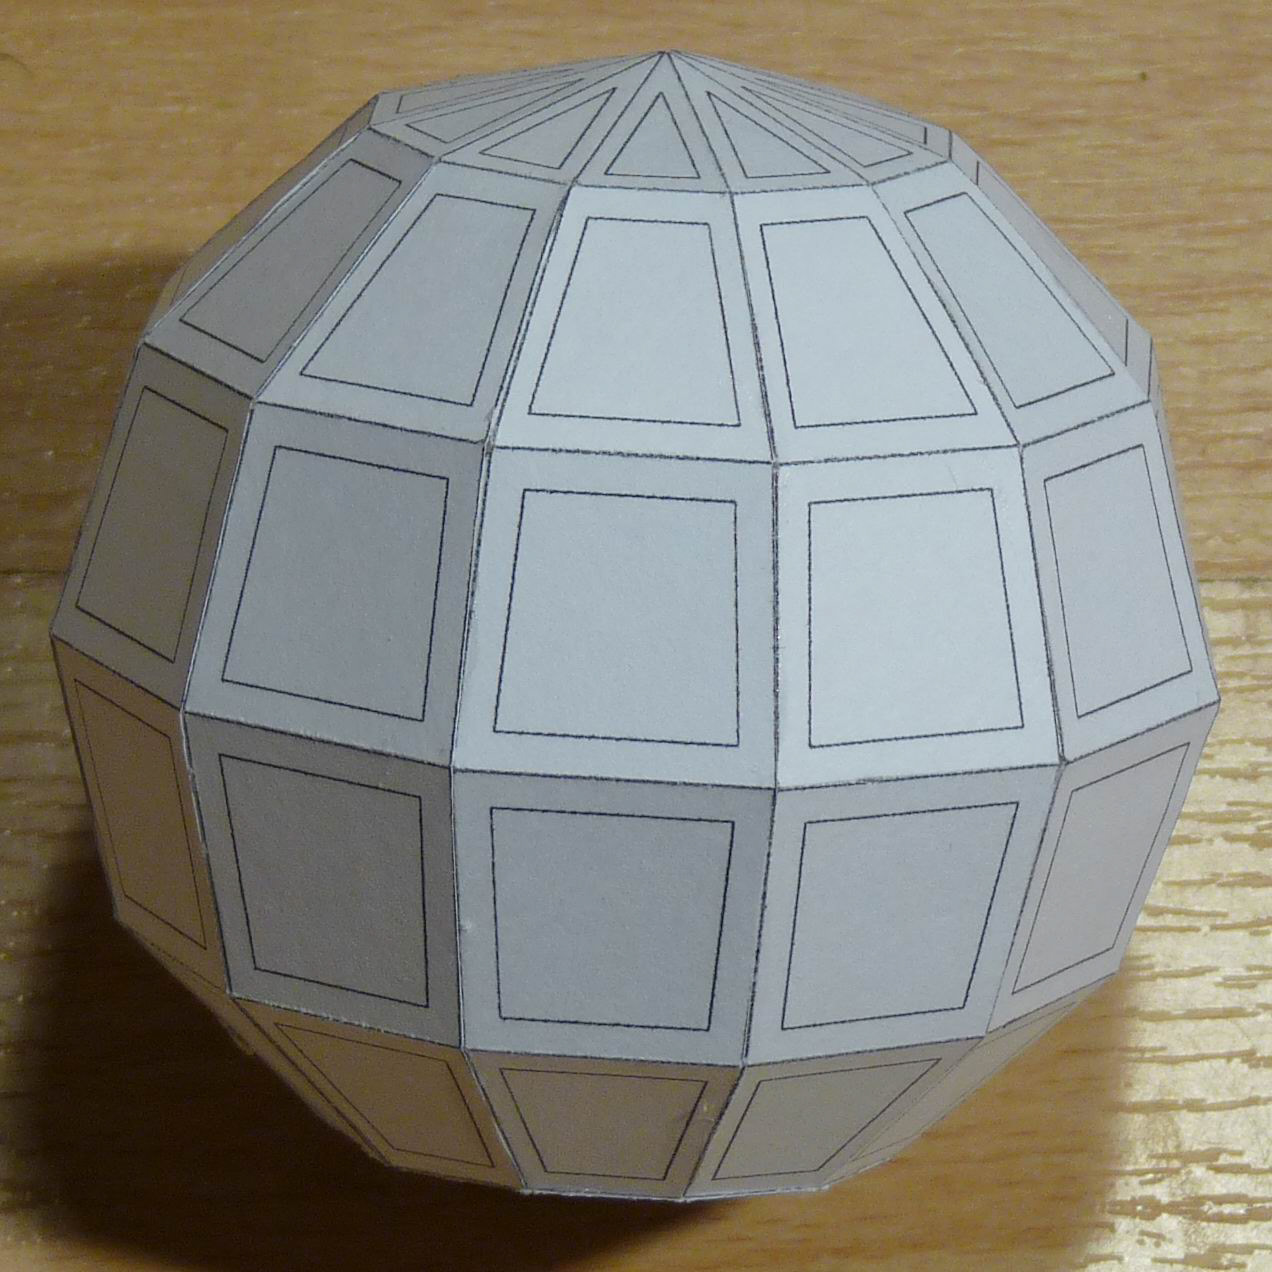
Paper model of a Hebdomicontadissaedron
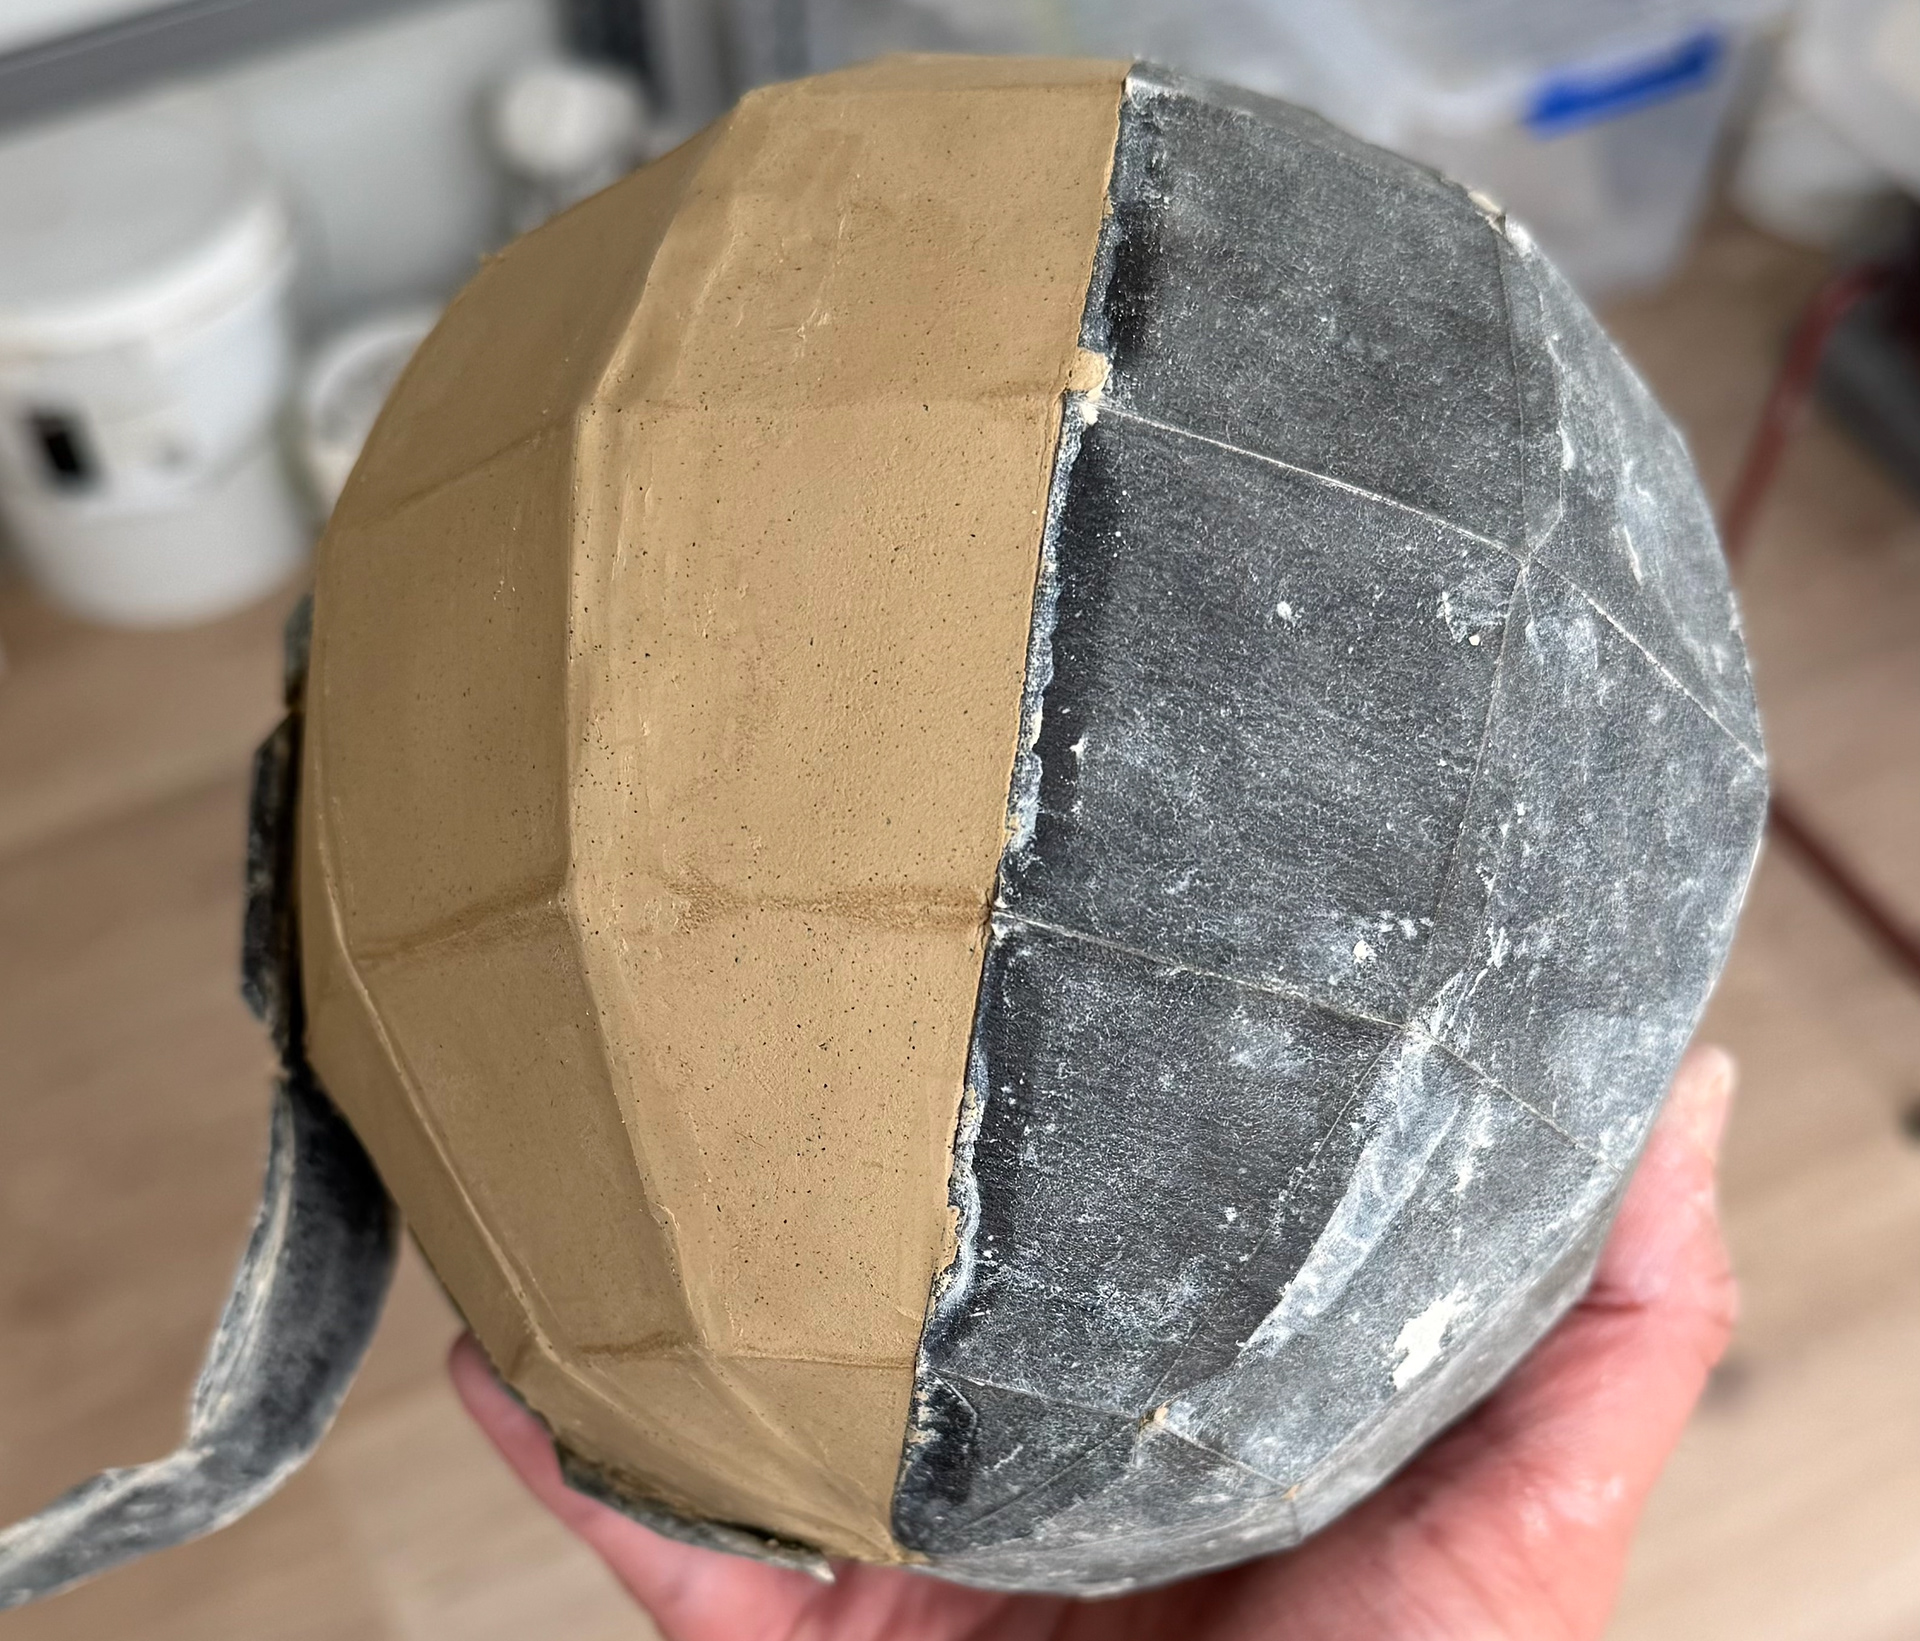
Stoneware Hebdomicontadissaedron made from clay slabs, with roofing paper templates still attached
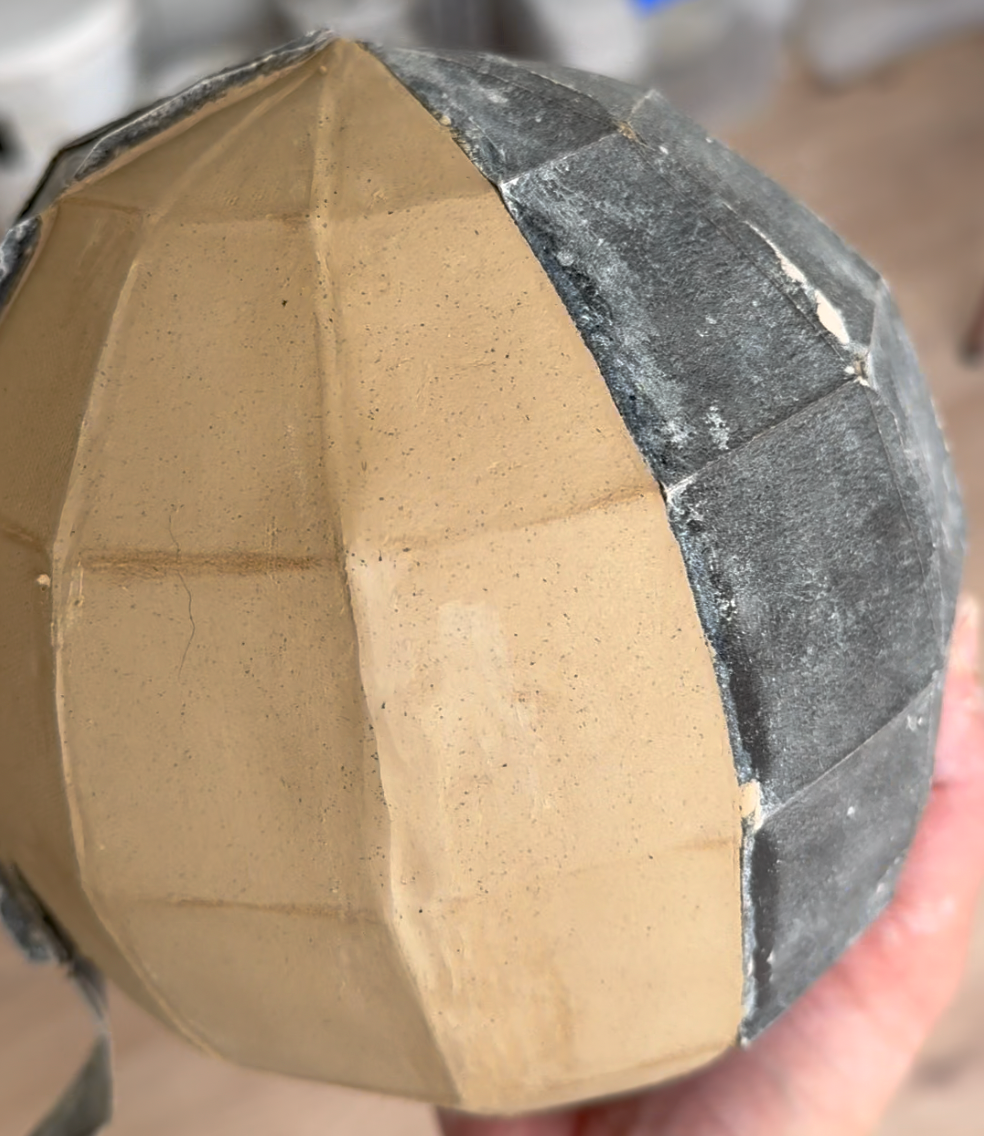
Stoneware Hebdomicontadissaedron made from clay slabs, with roofing paper templates still attached
I used this digital pattern for a Hebdomicontadissaedron to cut roofing paper on a vinyl cutter (scoring the bends and cutting around the edges). I used that as a template to cut and assemble stoneware clay slabs. Once it has been bisque fired I can use the same pattern (scaled down by 5% to account for clay shrinkage from wet to dry) to cut vinyl stencils that perfectly fit each face.
While I am excited that this worked, using clay slabs didn't allow me to be as precise as I would like. I want the finished object to be lightweight which meant that the slabs were thin and attaching each section without them drying first was difficult. Making them out of porcelain would be even more challenging.
Going forward I would love to 3D model these shapes and find a way to create plaster moulds for slip casting. This shape could probably be done as a simple two part mould. Whereas something like the Cubicuboctahedron above would need individual pieces for each face. I have some ideas for how that could be done, but it would take some time to get right.
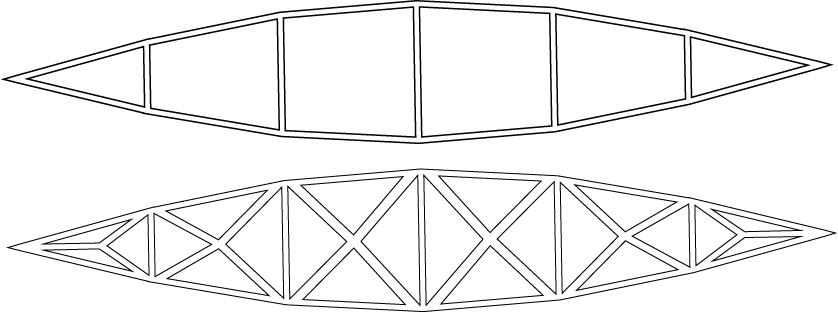
Warping a geometric pattern to fit one side of a Hebdomicontadissaedron, the same vinyl stencil can be used on all 12 sides
Idea for gradient glaze on an Icosagonal Dipyramid
Idea for glazing a cube
These shapes have a lot of possibilities for glazing. The process I've used for warping designs onto cups can also be used to put patterns onto the polyhedra using vinyl stencils. As a test I warped my existing pattern onto the shape above. I'd also like to try glazing with colour gradients, taking advantage of the seperate faces in the designs. The gradients could also be incorporated into the patterns like on my recent stoneware pieces.
Stoneware wall tile with a pattern designed digitally and glazed using mason stains mixed with clear glaze to create a gradient
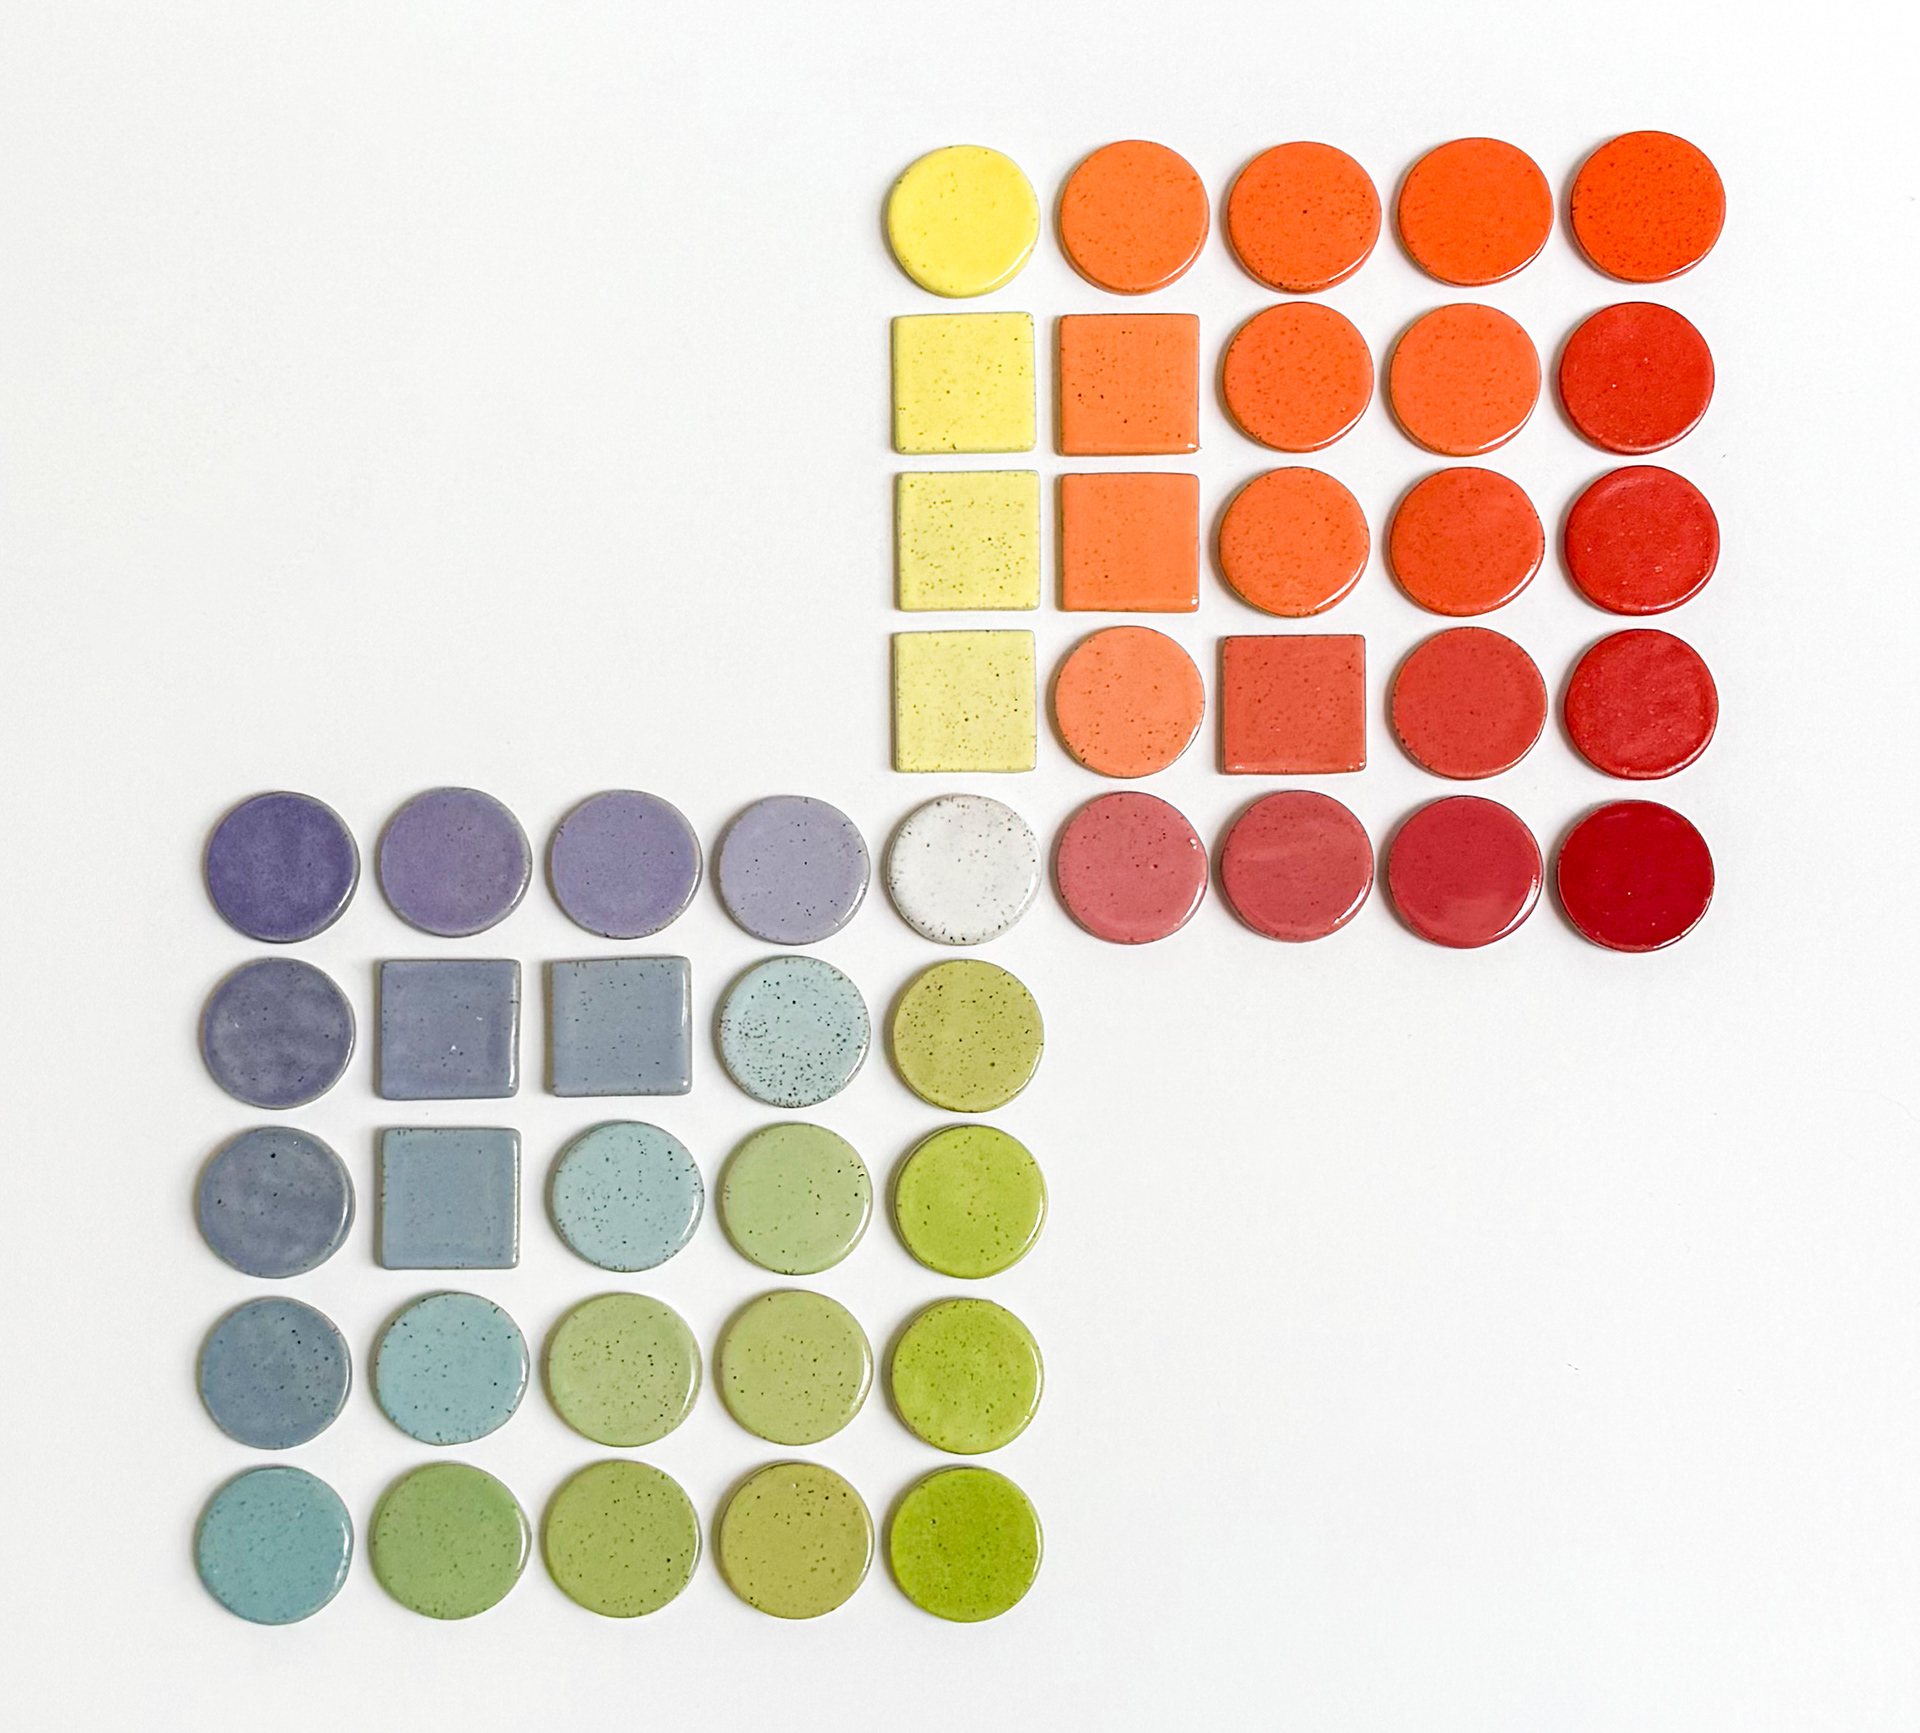
Two colour gradients using a combination of brushing glazes and mason stains. The purple tiles are a work in progress as is the orange to yellow gradient.
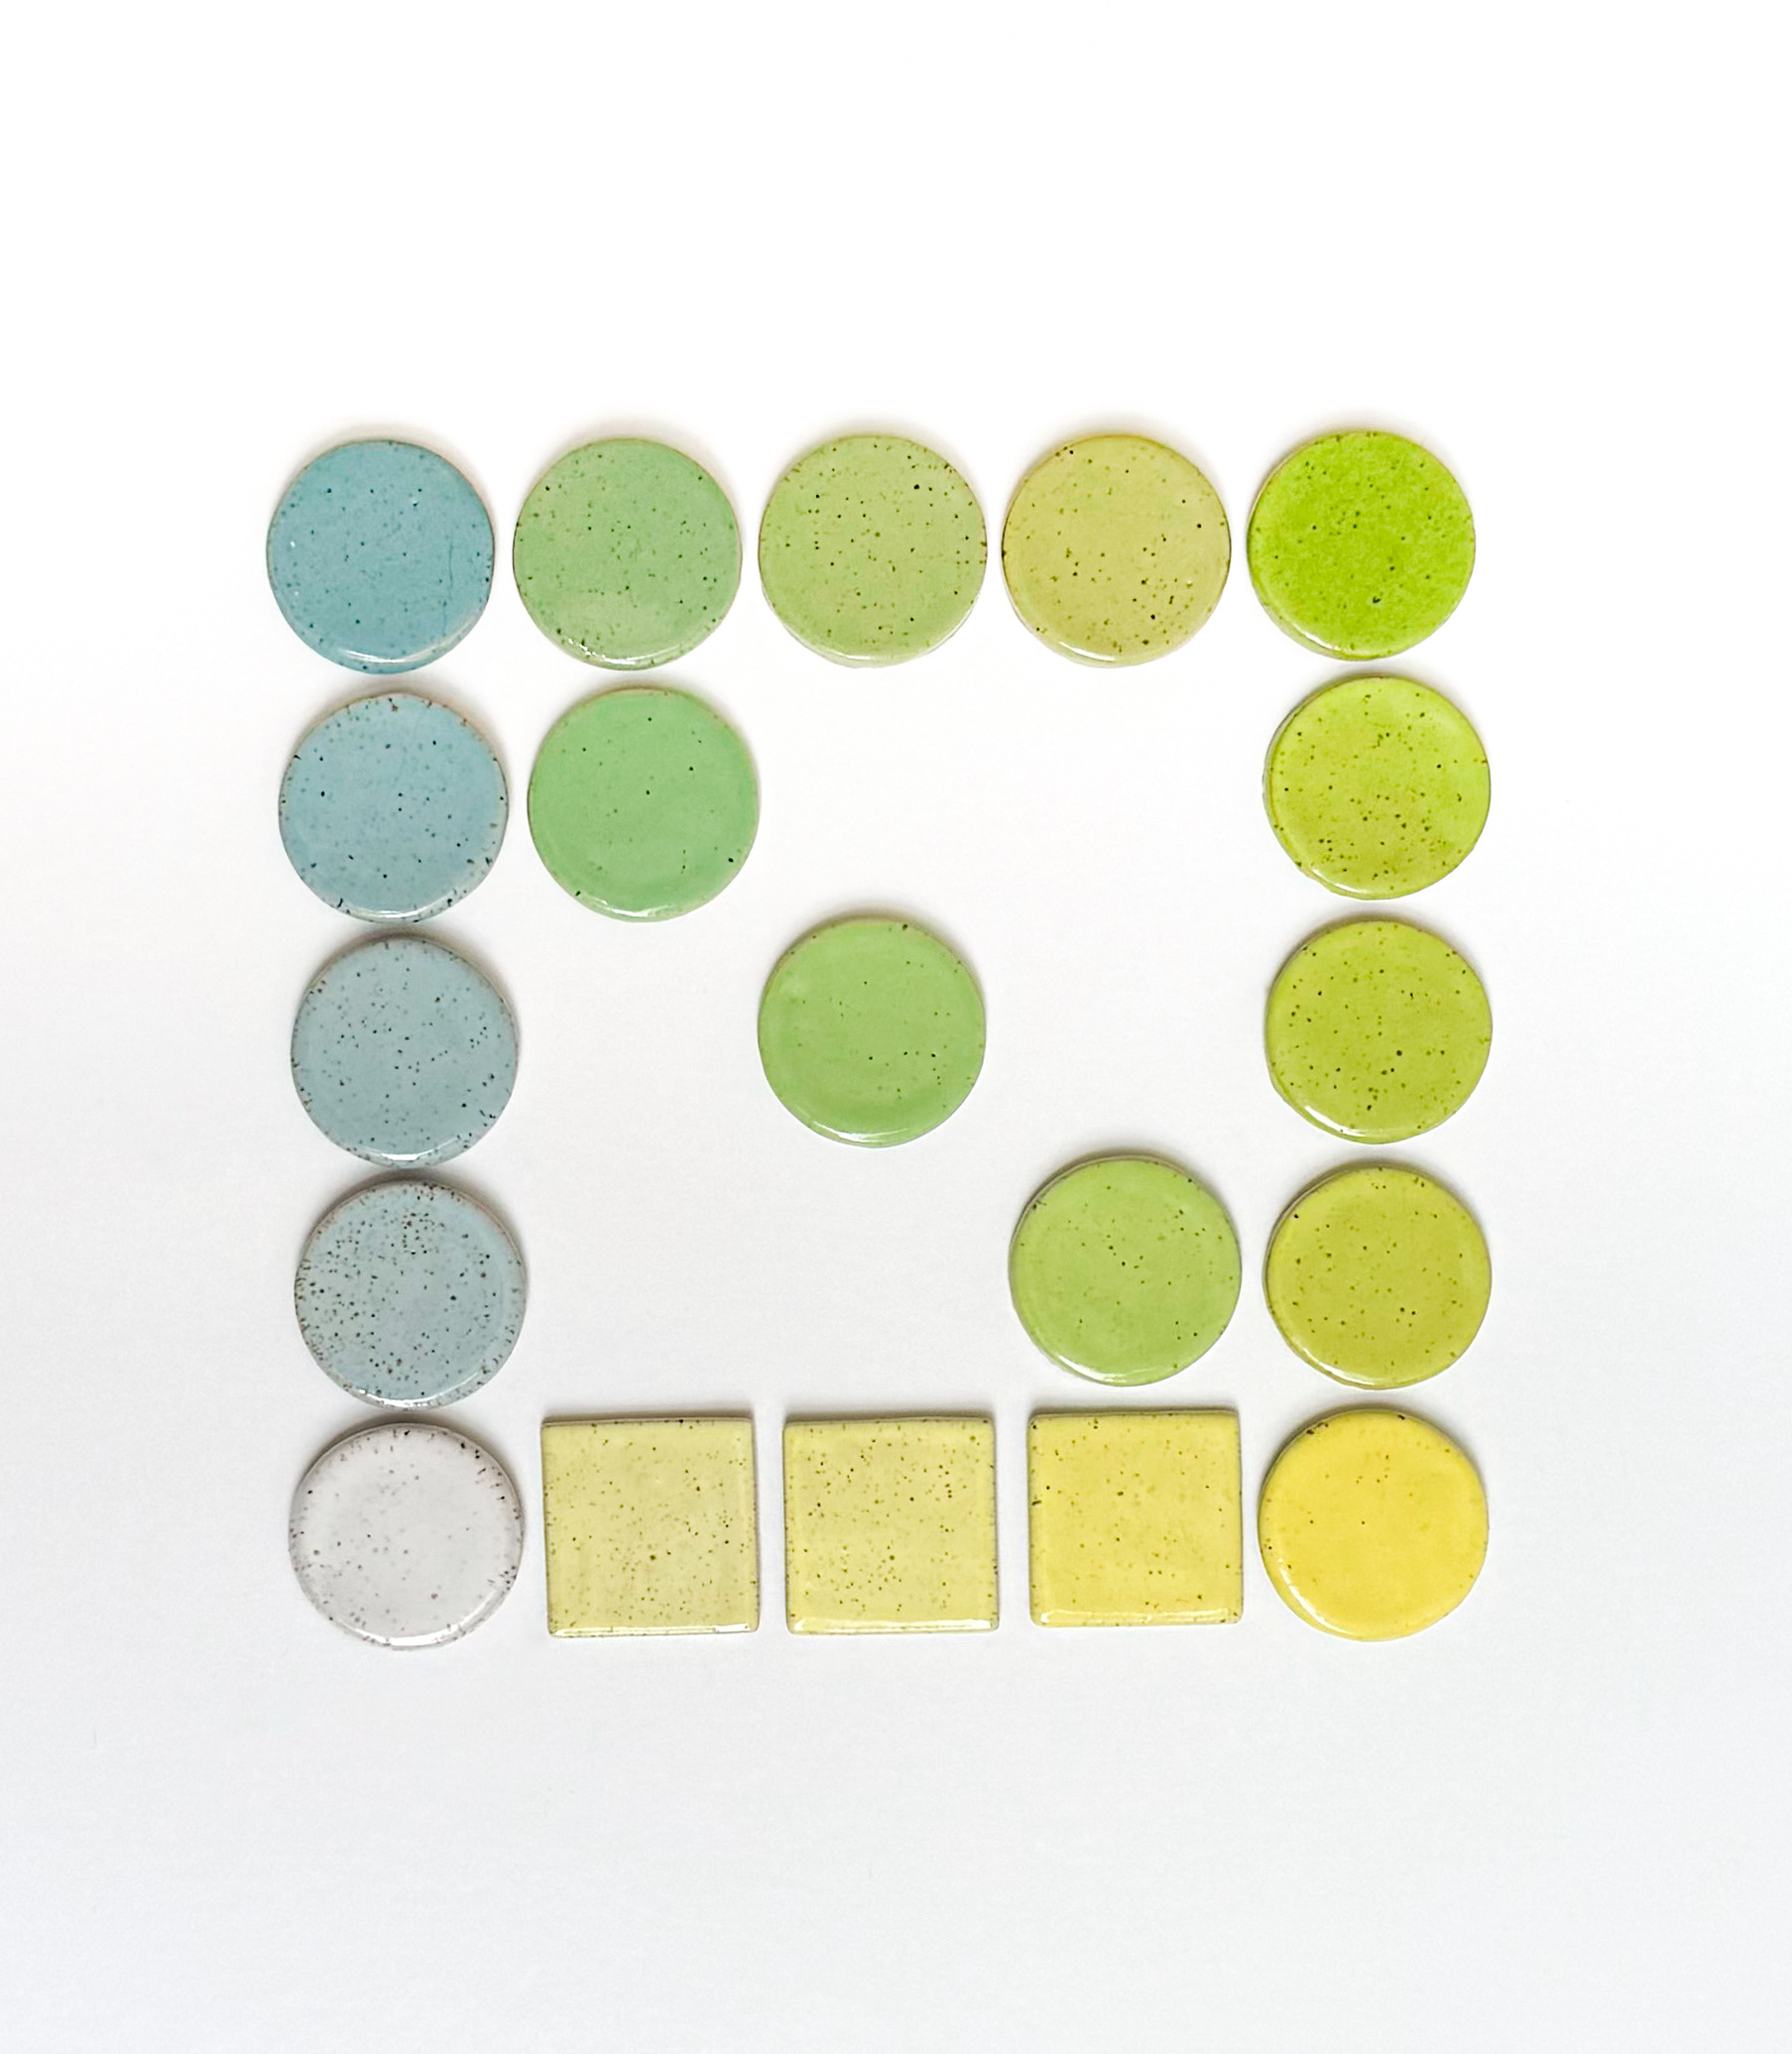
Work in progress - colour gradients using a combination of brushing glazes and mason stains
These ideas build onto my recent work with colour gradients and would give me the opportunity to use all the test tiles I have made while experimenting with mixing glazes and mason stains.
Glazes and stains can't be mixed like paint, usually if you mix a blue and yellow glaze you won't get green. Even when you are able to mix them the ratios aren't straight forward because certain colours are stronger than others. This can be seen with the orange and yellow in the photo, next time I will try using only a small amount of orange.
These finished ceramic polyhedra could be sculptural or they could be turned into functional lighting. Wall lights and table lamps seem like an obvious progression on my previous work making functional art.
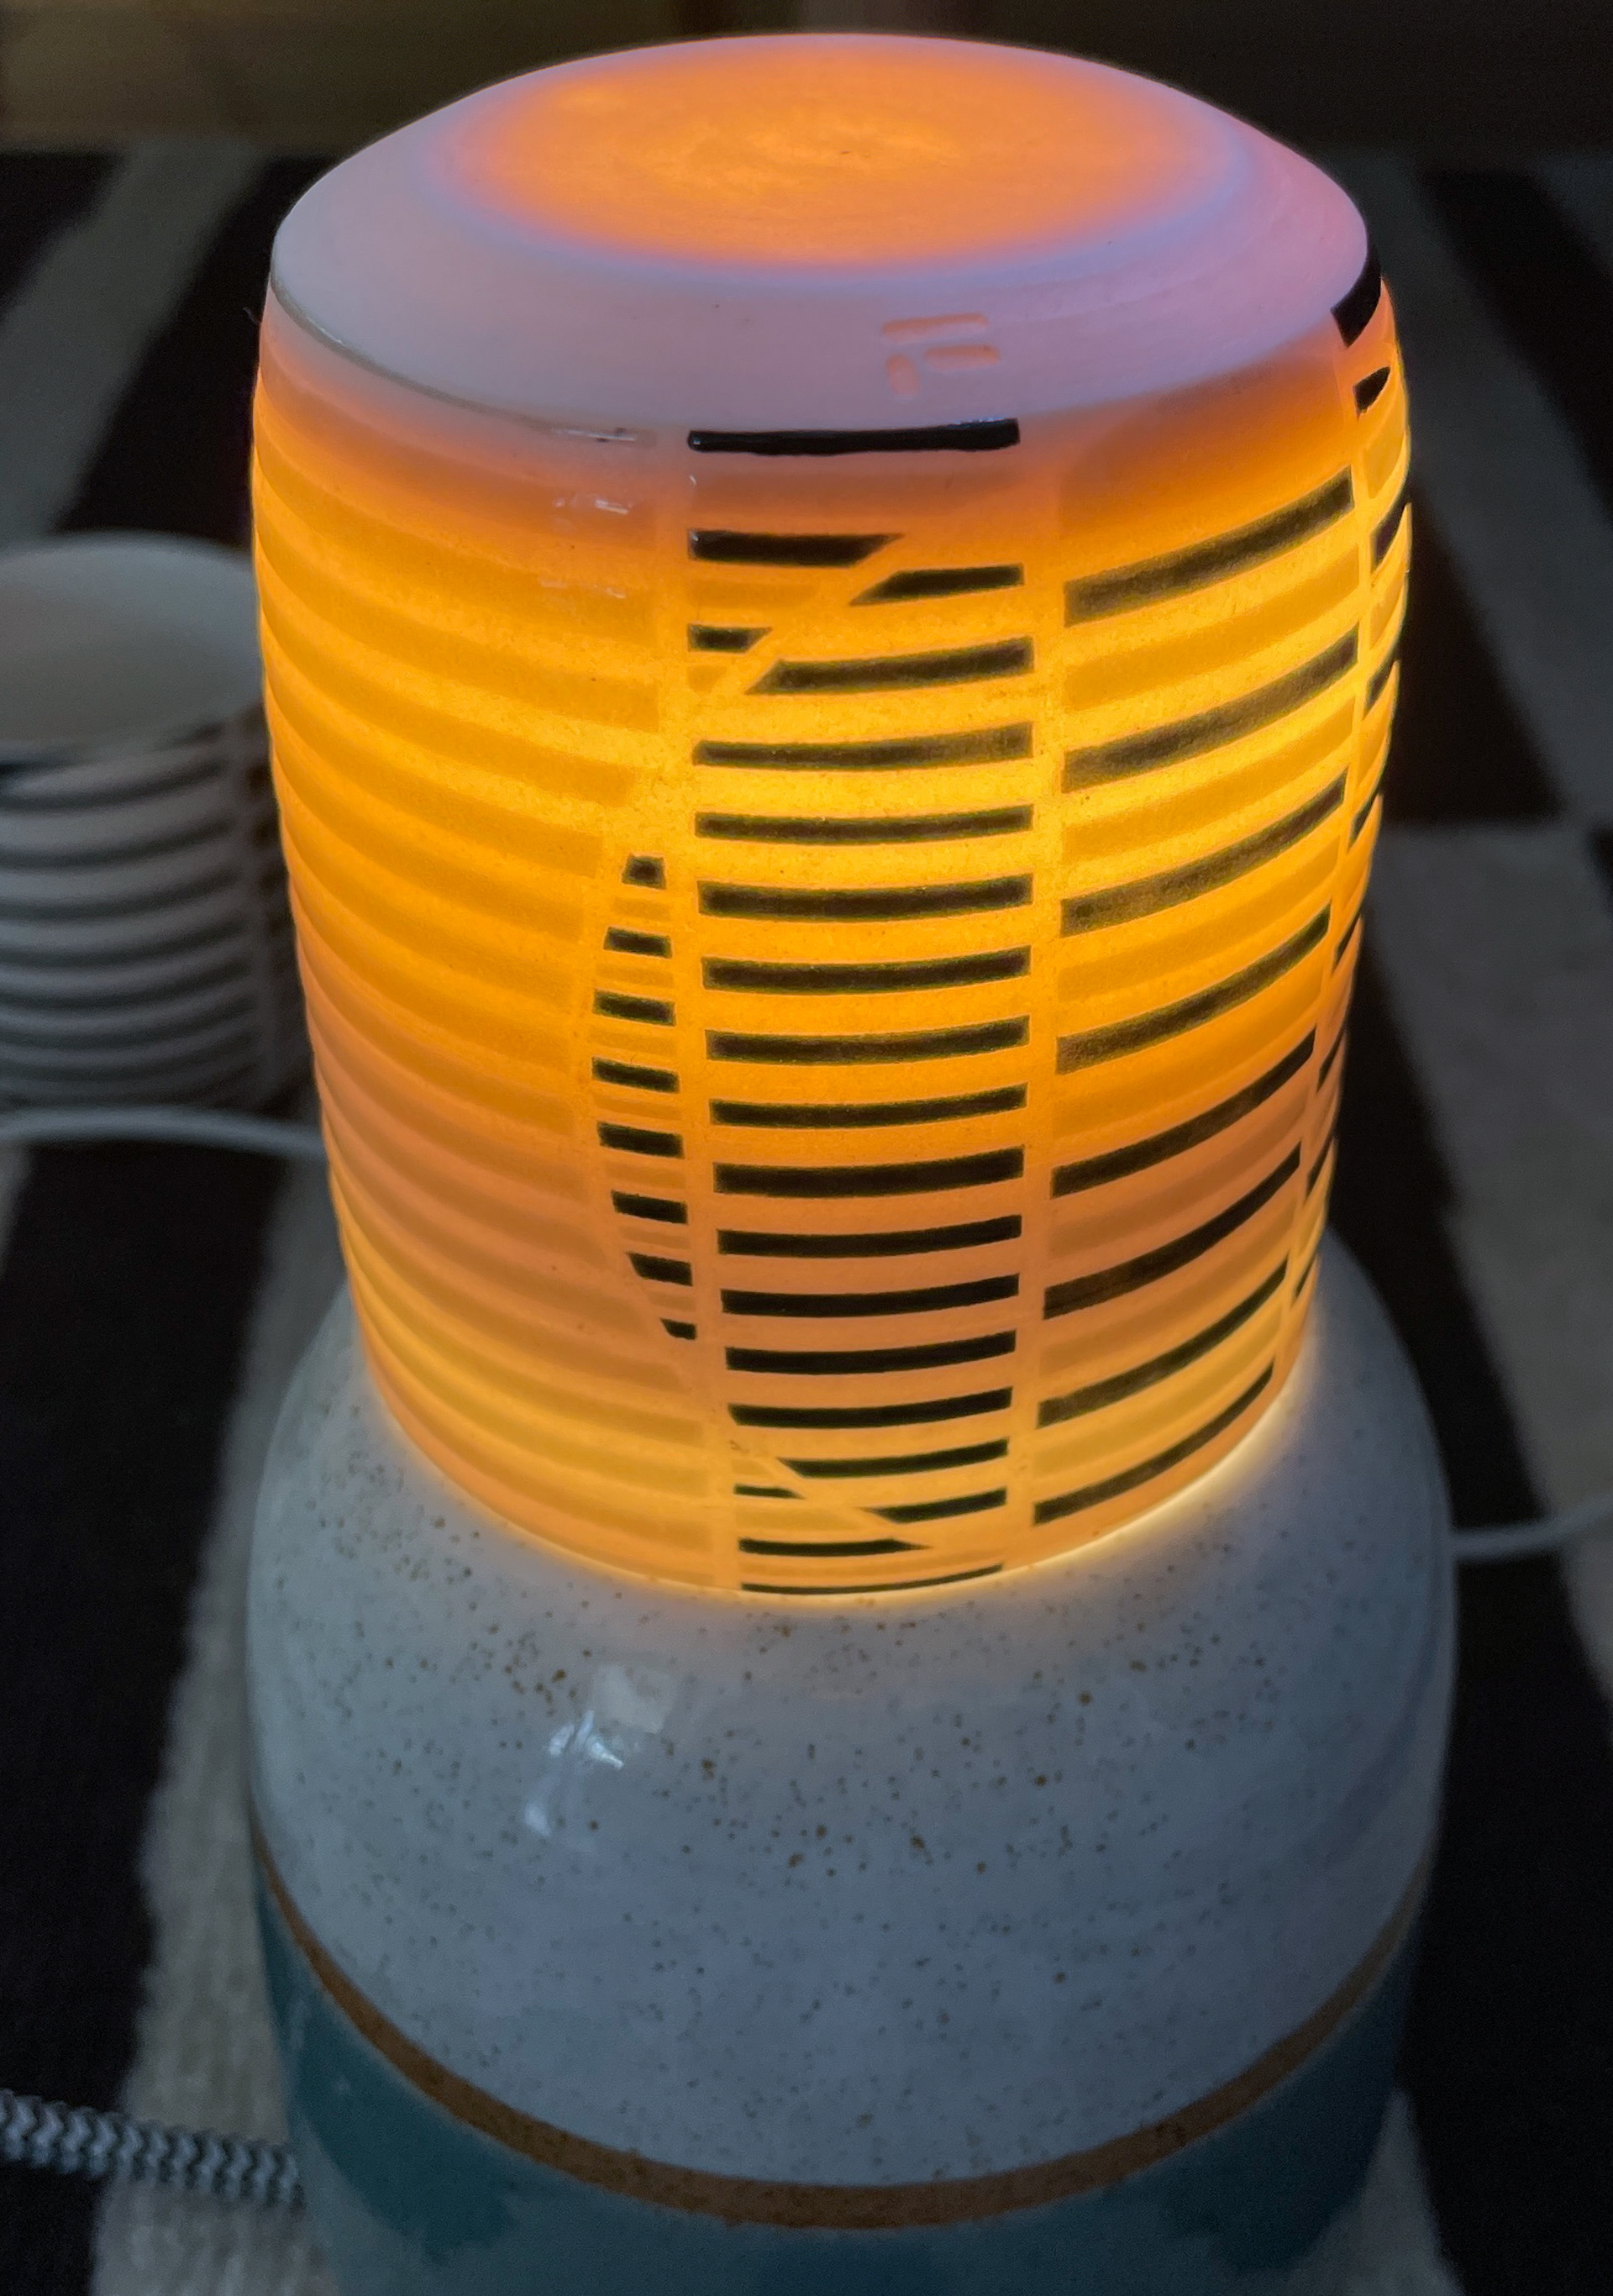
Lighting test - porcelain cup over a lamp to test the translucency
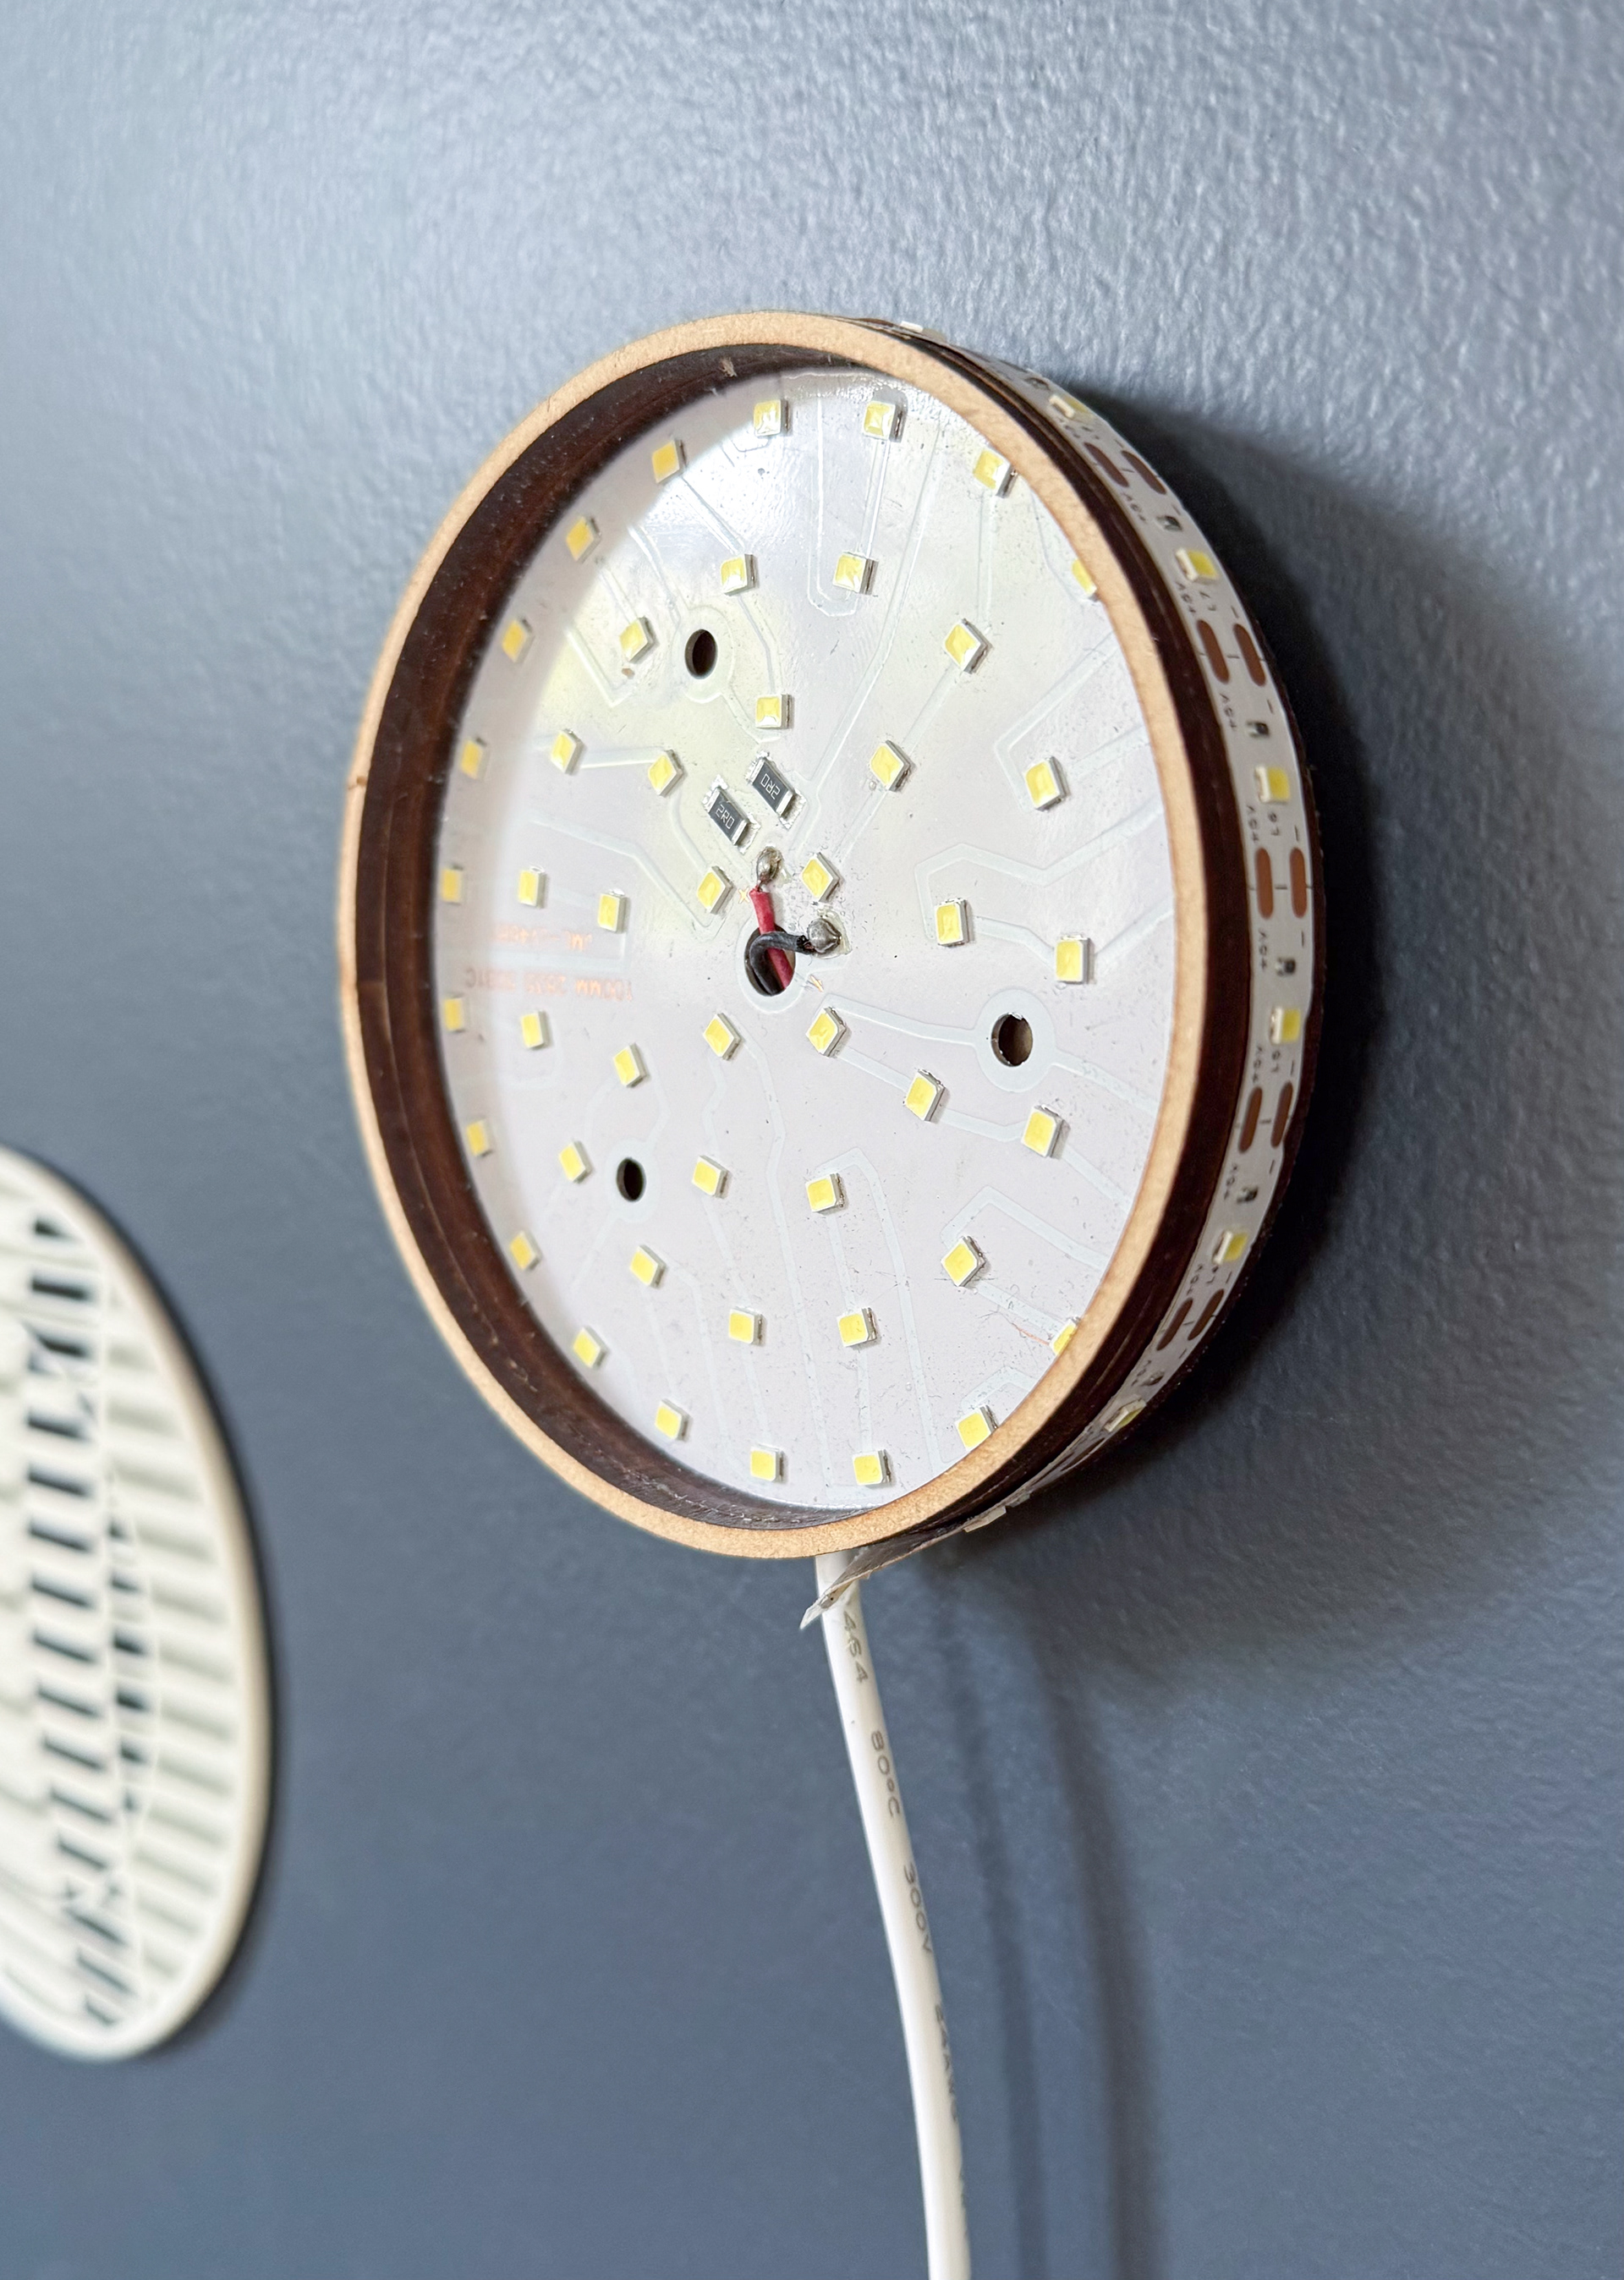
Lighting panel test - LED panel and strip attached to MDF, hung with a french cleat
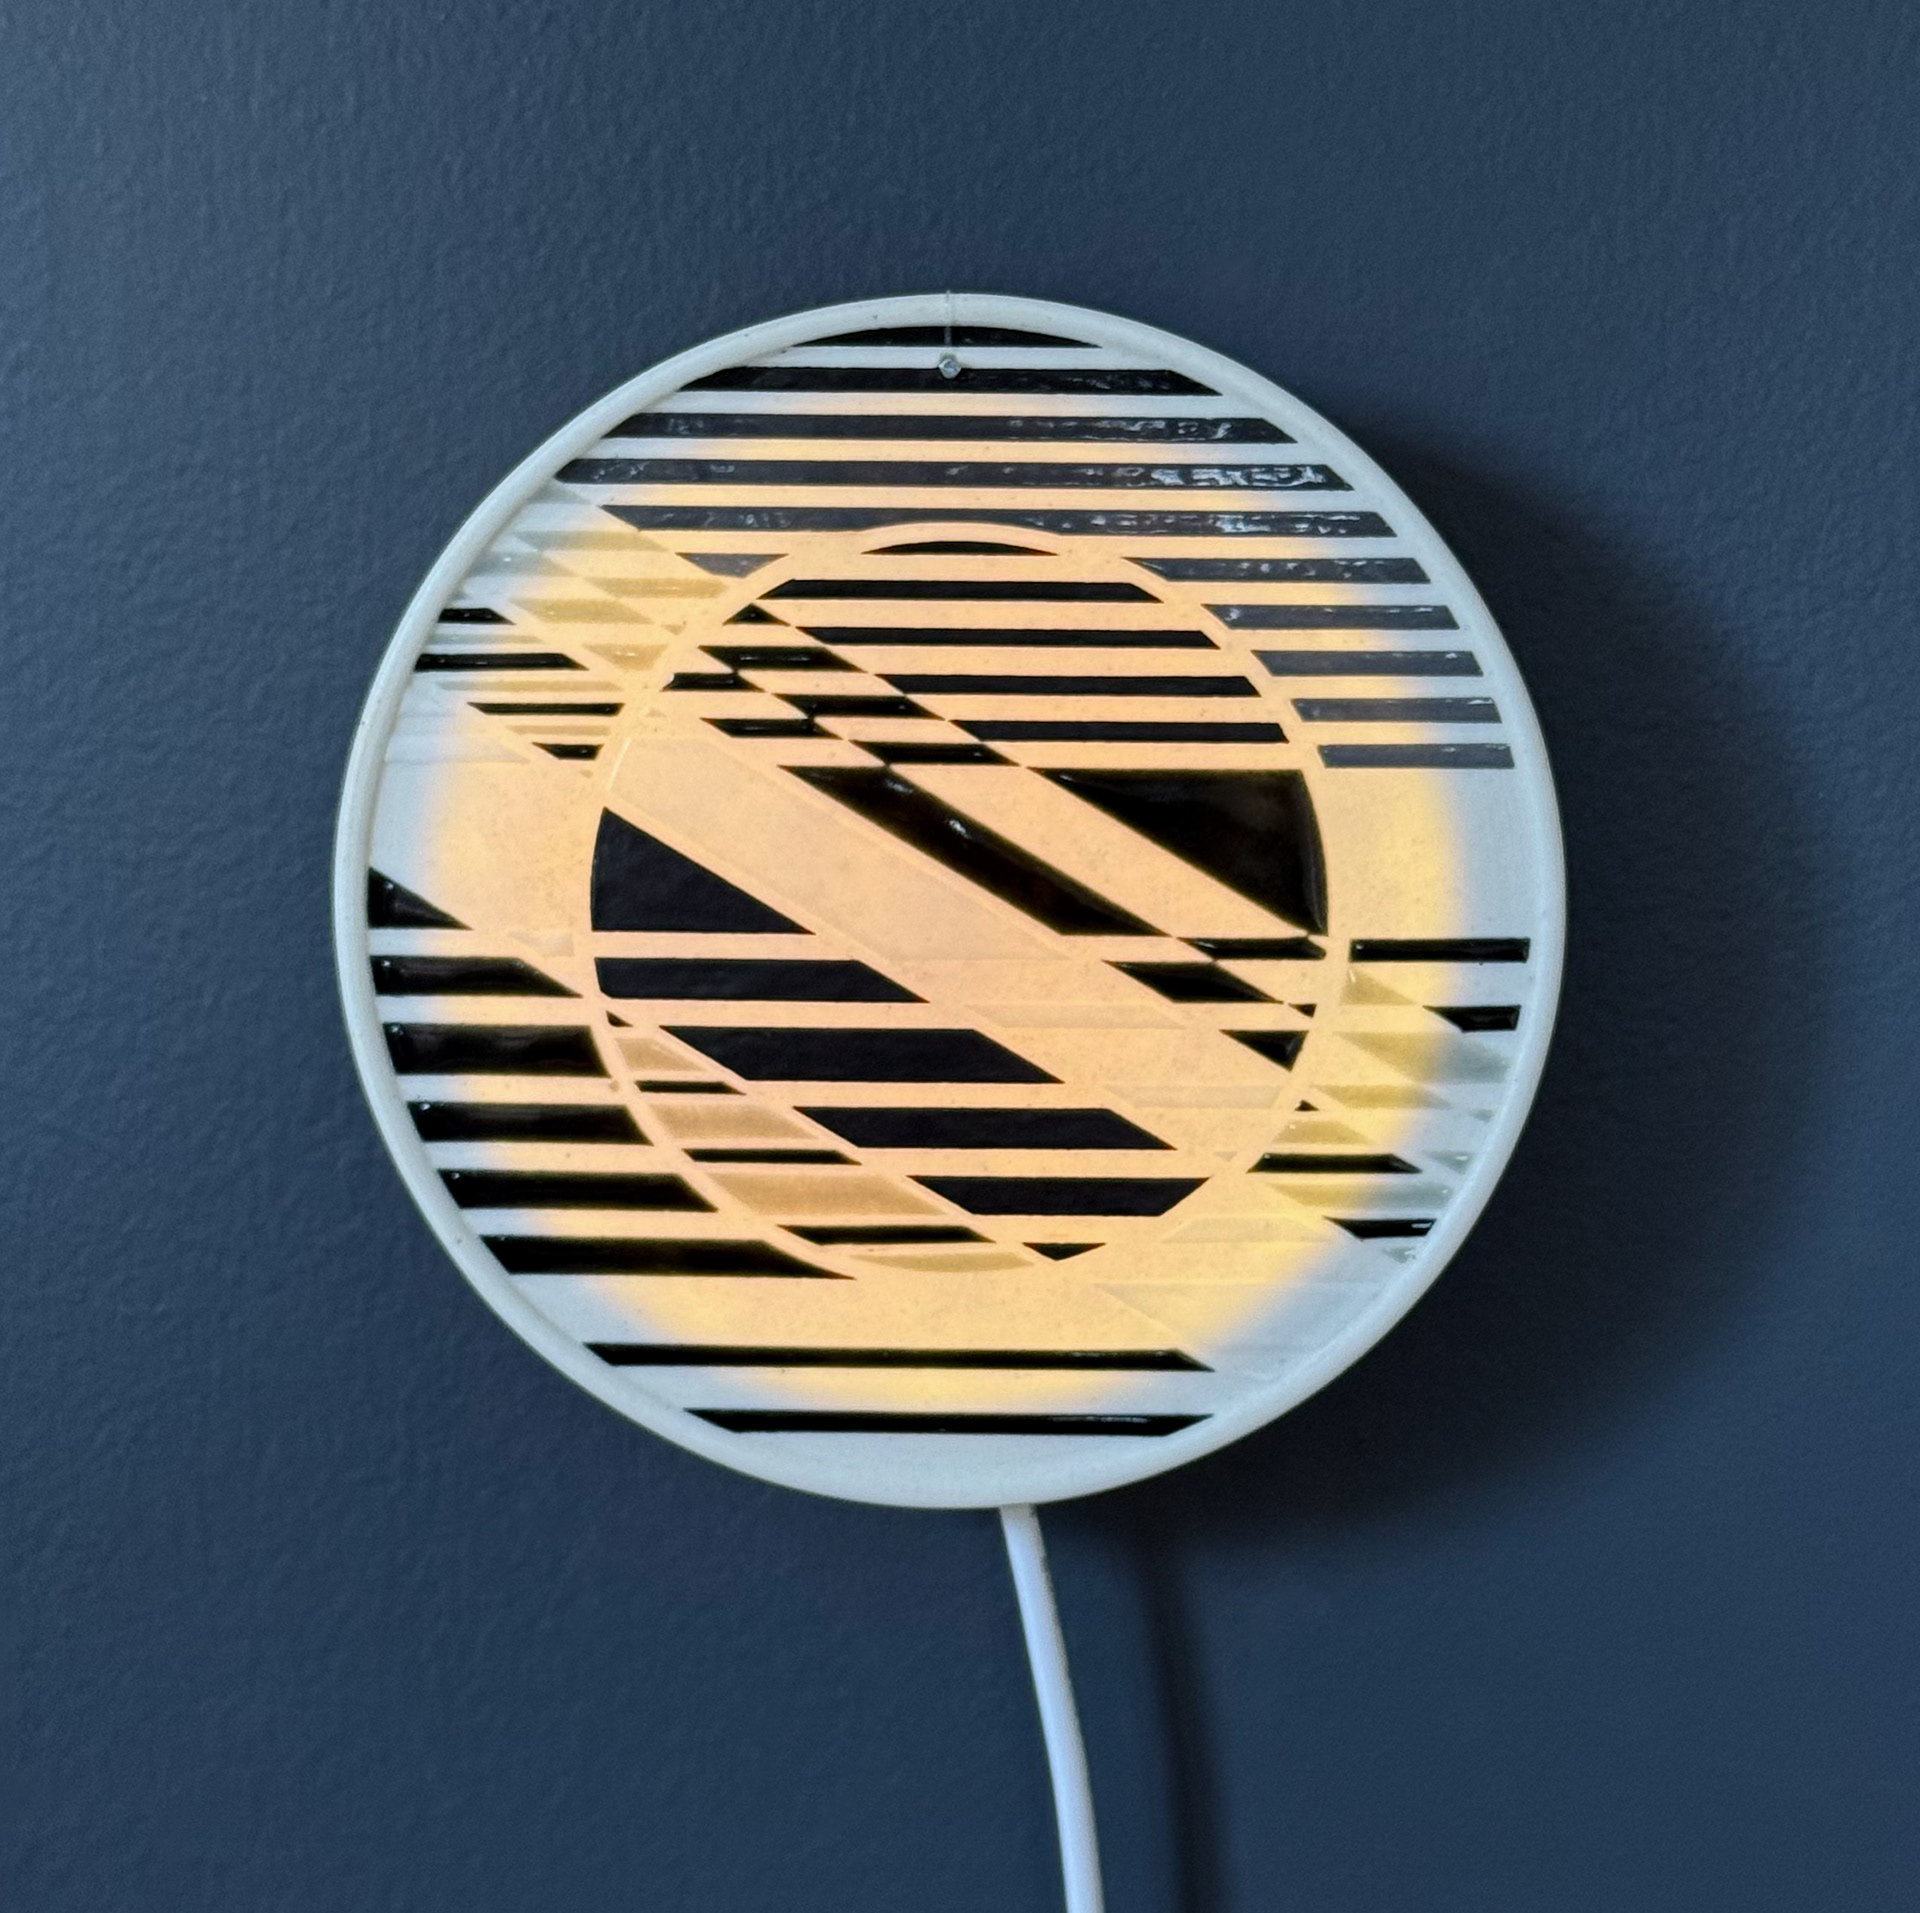
Lighting panel behind a porcelain wall tile. The LED light strip around the sides unfortunately isn't connected, if it was the full circle would be lit up.
I have been thinking about this since making my porcelain wall tiles for the exhibition last year. To check that the porcelain was translucent I placed a wheel thrown cup over a table lamp I made. Then I used a laser cutter to make a MDF mount for LED light panels that could be attached to the ceramic tiles. Using a laser cutter to make this is an easy way to make them exactly the right size for the finished pieces. I would like to spend some time creating these out of hardwood and using more elegant electrical components.
When slip casting you are easily able to control the wall thickness. Thinner = more translucency after firing. I would like to experiment with the thickness of the pieces to purposely create patterns that are only visible when the light is on. I think this could be done by creating plaster moulds that are significantly thicker in certain areas, drawing water out of the slip faster and leading to a thicker (and less translucent) area in the slip cast porcelain.
Experimenting with the digital design and 3D printing for these polyhedra would hopefully lead to new skills that could be applied to a large variety of projects. Going in this direction with my work will also give me the opportunity to build up on what I've done previously and tie it all together into one body of work. While working on this project I am planning to share what I learn with the rest of the ceramics community by documenting the process with photos and videos online. I am looking forward to seeing how it turns out and am keeping an open mind to new ideas and projects to work on once it's finished.